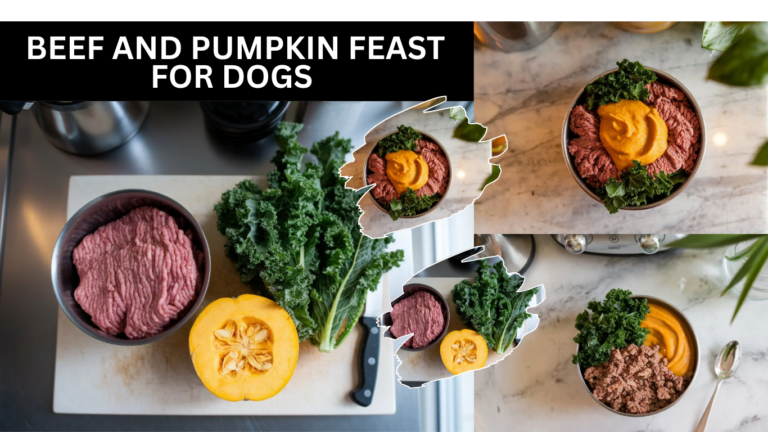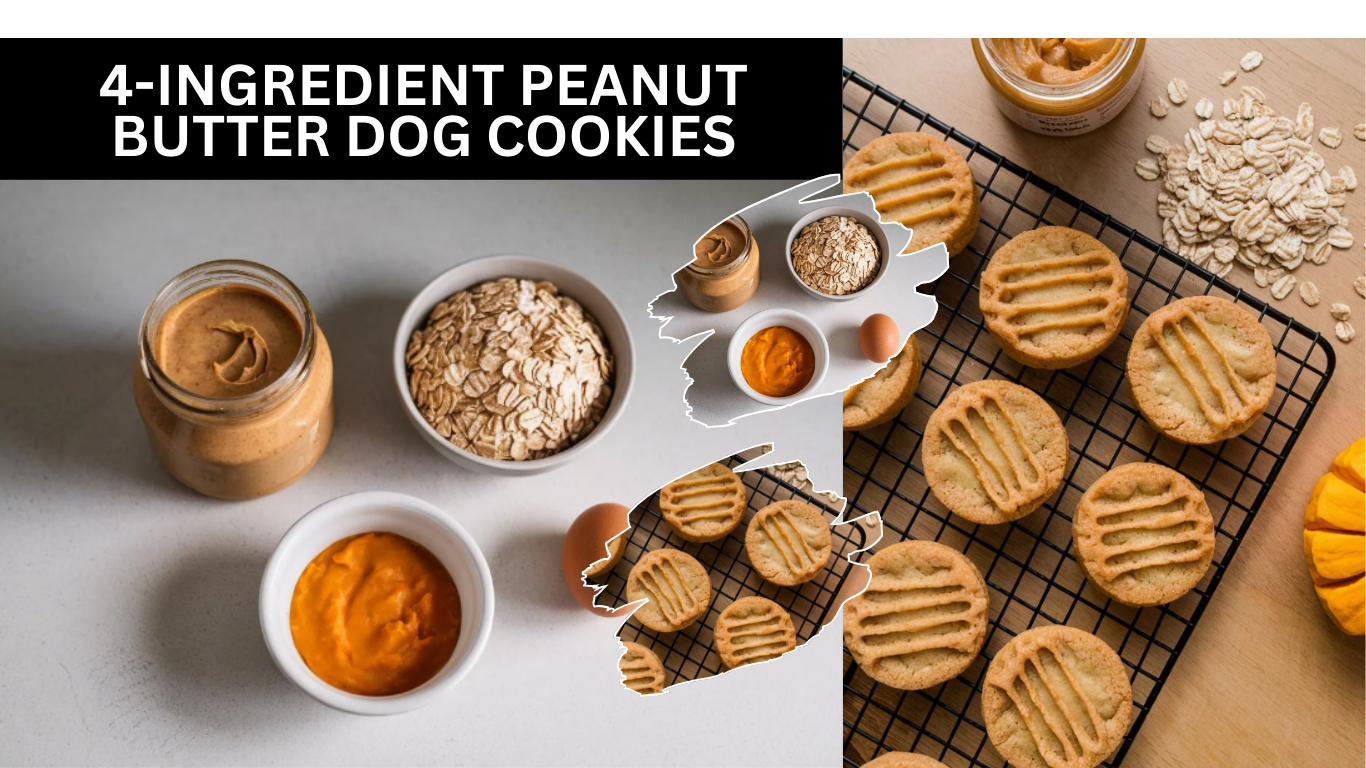
4-Ingredient Peanut Butter Dog Cookies: Easy & Delicious
If you’ve ever caught your dog giving you that adorable, “what’s for me?” look while you’re enjoying a snack, you know exactly why homemade dog treats are the way to go. These cookies aren’t just treats—they’re little bites of love you can make in your own kitchen. They’re simple, healthy, and ridiculously easy to whip up, even if you’re not much of a baker. I promise, once you try this recipe, you’ll feel like the ultimate dog parent, and your pup will definitely agree.
Ingredients
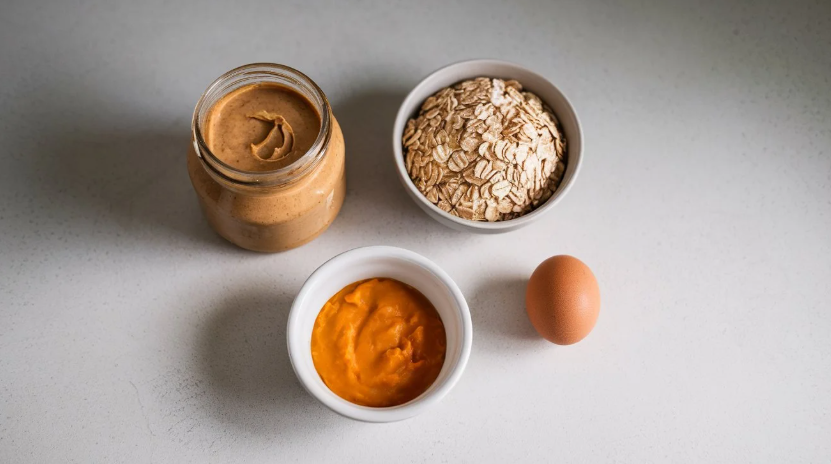
You only need four ingredients for these dog cookies, and they’re all things you probably already have in your kitchen. Here’s what makes them special:
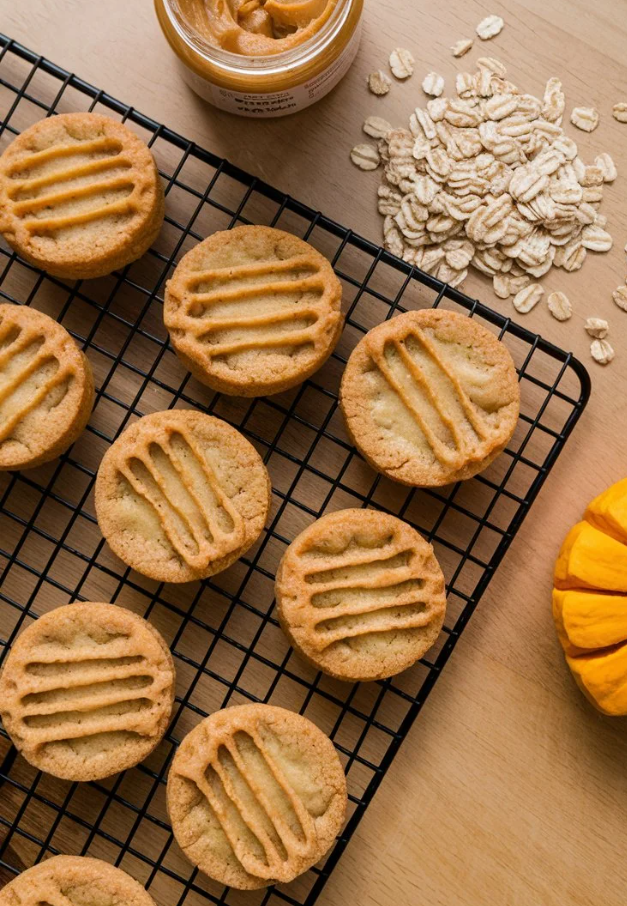
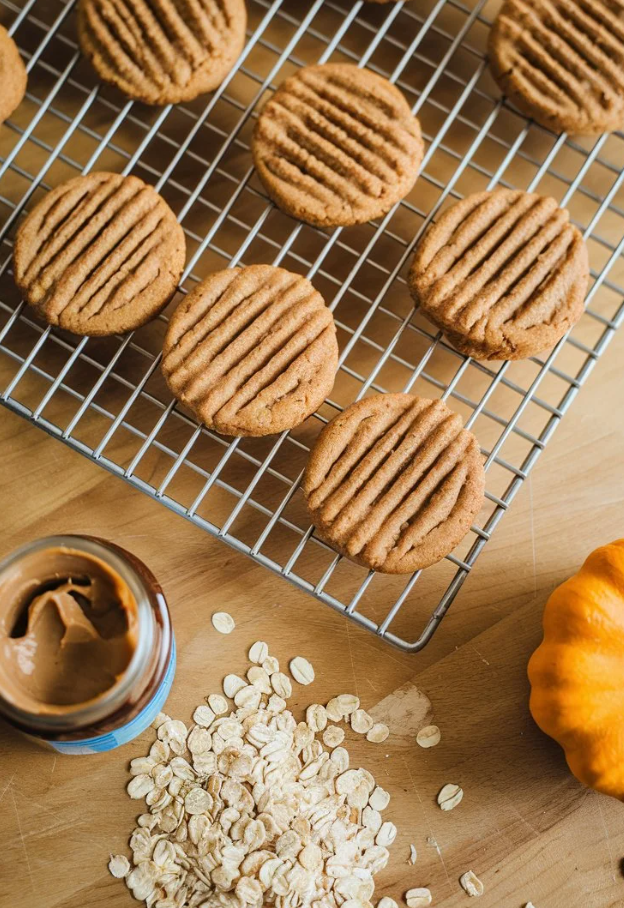
- Rolled Oats (or oat flour): Oats are a fantastic source of fiber, gentle on your dog’s stomach, and filling enough to keep them happy without any junk. Using oat flour gives the dough a smoother texture if you prefer a softer cookie.
- Natural Peanut Butter: This is the real hero of the recipe. Dogs love the taste, and it’s packed with protein and healthy fats. Just make sure it’s free of xylitol—trust me, it’s dangerous for pups.
- Canned Pumpkin: Not the pie filling, just plain pumpkin. It adds moisture, a touch of natural sweetness, and plenty of vitamins. It’s also great for digestion, which is always a plus.
- Egg: The secret glue of the cookies. It holds everything together while adding a little protein boost, making the treats wholesome and satisfying.
Having these ingredients ready is all you need to make treats that feel homemade, wholesome, and totally rewarding for your dog.
Why These Ingredients?
Each ingredient plays a key role in making these cookies tasty, healthy, and safe. The oats provide gentle energy and fiber, peanut butter delivers flavor along with protein and healthy fats, pumpkin keeps the cookies moist and adds digestive support, and the egg binds everything together while contributing extra nutrition. It’s a simple combination, but together they create a cookie your dog will absolutely adore.
Instructions (Step-by-Step)
Even if you’ve never baked before, these steps are easy to follow and almost foolproof.
- Preheat the Oven: Set it to 350°F (175°C) and line a baking sheet with parchment paper or lightly grease it. Don’t worry about perfection here—your dog isn’t judging your technique.
- Mix the Dough: Grab a medium bowl and combine the oats, peanut butter, pumpkin, and egg. Stir until everything comes together into a sticky dough. If it feels too dry, just add a splash of water; too wet, sprinkle in a little more oats. It’s flexible and forgiving.
- Shape the Cookies: Scoop small portions of dough and roll them into balls. Flatten them with your hand or a fork for a classic cookie shape. You can get creative with fun shapes if you like, but your dog mostly cares about taste, not aesthetics.
- Bake: Pop them in the oven for 20–25 minutes. You want the edges firm, but the cookies shouldn’t be hard as rocks. When your kitchen starts smelling like peanut butter heaven, you know they’re almost done. Make sure they cool completely before serving, because burnt tongues are no fun for anyone.
- Serve and Enjoy the Praise: Hand one over and watch your pup’s excitement. Baking these cookies is one of the simplest ways to earn big tail wags and happy puppy eyes.
Common Mistakes
Even with such a simple recipe, there are a few things to watch out for:
- Using Sweetened Peanut Butter: Always check the label for xylitol. It’s toxic for dogs, so stick with natural, unsweetened peanut butter.
- Overbaking the Cookies: Firm is good, but hard as a hockey puck is not. Keep an eye on them in the last few minutes.
- Using Pumpkin Pie Filling: That’s full of sugar and spices your dog doesn’t need. Plain canned pumpkin is perfect.
- Skipping the Cool-Down: Let the cookies cool fully. Hot cookies can burn little mouths, and no one wants that.
Storing Your 4-Ingredient Peanut Butter Cookies
Since these cookies don’t have preservatives, proper storage is important to keep them fresh:
- Room Temperature: Keep them in an airtight container for up to a week.
- Refrigerator: They’ll last about two weeks.
- Freezer: Freeze for up to three months. Just thaw them before giving to your pup unless your dog enjoys an icy surprise.
A little tip from experience: label your container so everyone in the house knows these are dog treats. Otherwise, you might find a sneaky snack gone missing.
Health Benefits
These cookies aren’t just tasty—they’re actually good for your dog. The oats support healthy digestion, peanut butter delivers protein for strong muscles and energy, pumpkin helps sensitive stomachs and adds vitamins, and the egg boosts nutrition while supporting a shiny coat. Treats that taste amazing and support health? That’s a win in my book.
FAQ
- Can I use quick oats instead of rolled oats? Yes, quick oats work fine and create a slightly smoother texture.
- What if my dog doesn’t like pumpkin? You can swap it with mashed sweet potato or banana, both safe and nutritious alternatives.
- Can I add extra flavors? Absolutely! A pinch of cinnamon or some parsley works well, but keep it simple and dog-safe.
- Are these cookies safe for puppies? Yes! Just break them into smaller pieces for little mouths.
Final Thoughts of 4-Ingredient Peanut Butter Dog Cookies
These four-ingredient peanut butter dog cookies are easy, wholesome, and guaranteed to make your dog’s tail wag. They’re simple to make, healthy, and packed with flavors dogs love. Baking these cookies is not just about treats—it’s a fun way to show your pup love while feeling like a proud dog parent. Roll up your sleeves, get the ingredients ready, and enjoy the happiness you’ll see in your dog’s eyes with every bite.