DIY Dog Snack – Ground Chicken & Pumpkin – Easy, Healthy Bites
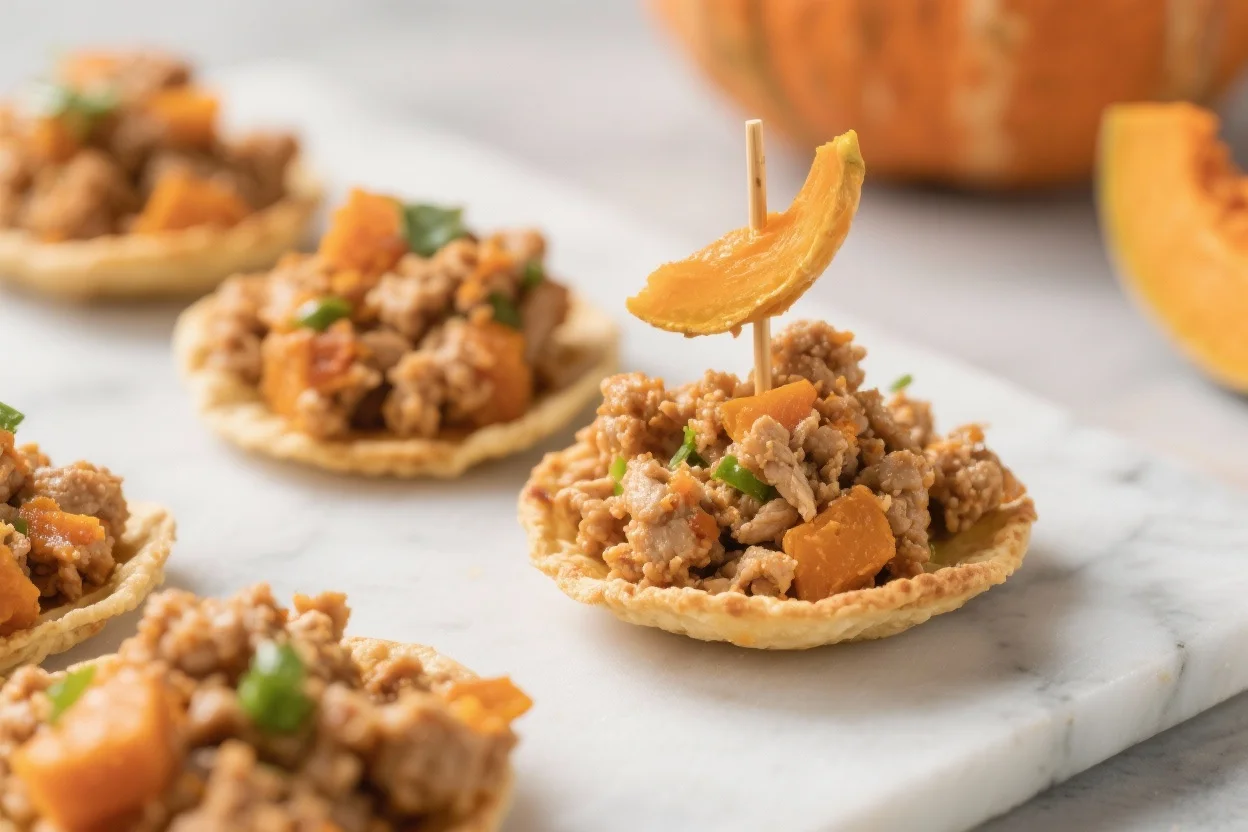
When you want something homemade that doesn’t require a complicated ingredient list, these chicken and pumpkin bites are an easy one to keep in your recipe rotation. The mixture comes together quickly, bakes in one pan, and can be portioned into tiny rewards or slightly larger treats.
Ground chicken provides the base, while pumpkin and oats give the bites their soft, easy-to-shape texture. You can prepare the entire batch ahead of time and keep the finished treats refrigerated or frozen, making them handy for training sessions, afternoon rewards, or whenever your dog deserves a little something extra.
What Makes This Recipe So Good
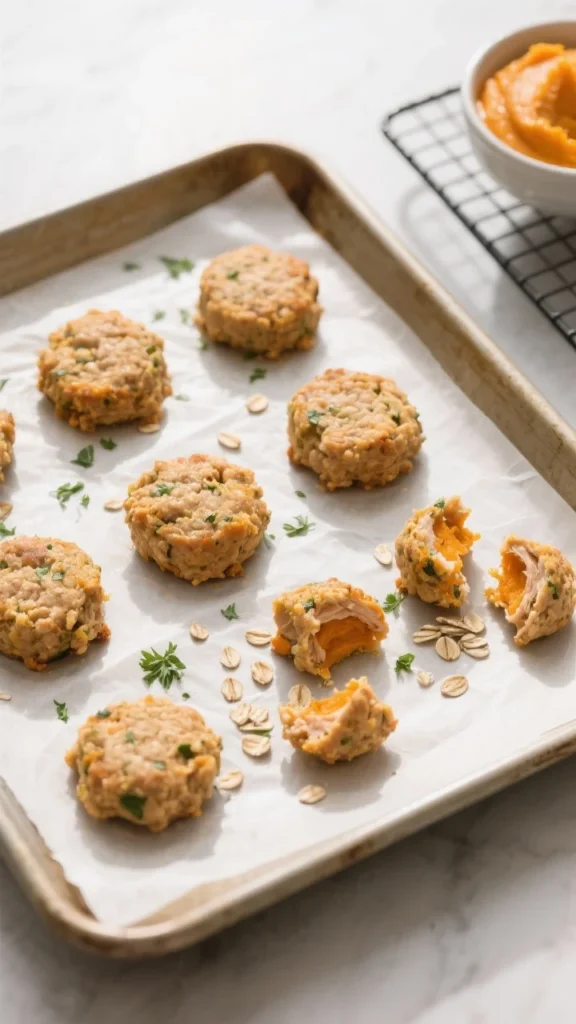
These homemade bites are appealing because they keep the preparation straightforward while leaving plenty of room to adjust the finished treats.
- Straightforward ingredients: Chicken, pumpkin, egg, and oats form the main mixture.
- A gentle combination: Pumpkin and lean chicken make this a simple option for a snack.
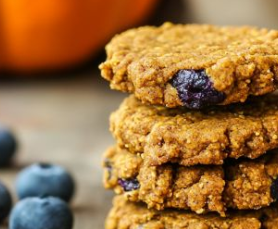
- Easy to customize: Make tiny pieces for training or larger rounds for an everyday reward.
- Affordable to prepare: A homemade batch can stretch across multiple days.
- No unnecessary extras: There’s no need for added sugar, salt, artificial flavors, or preservatives.
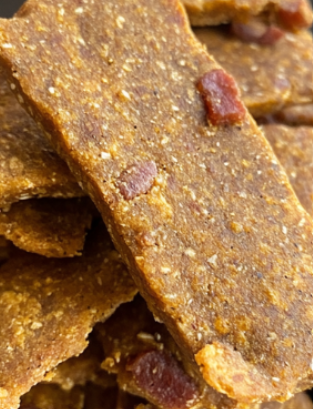
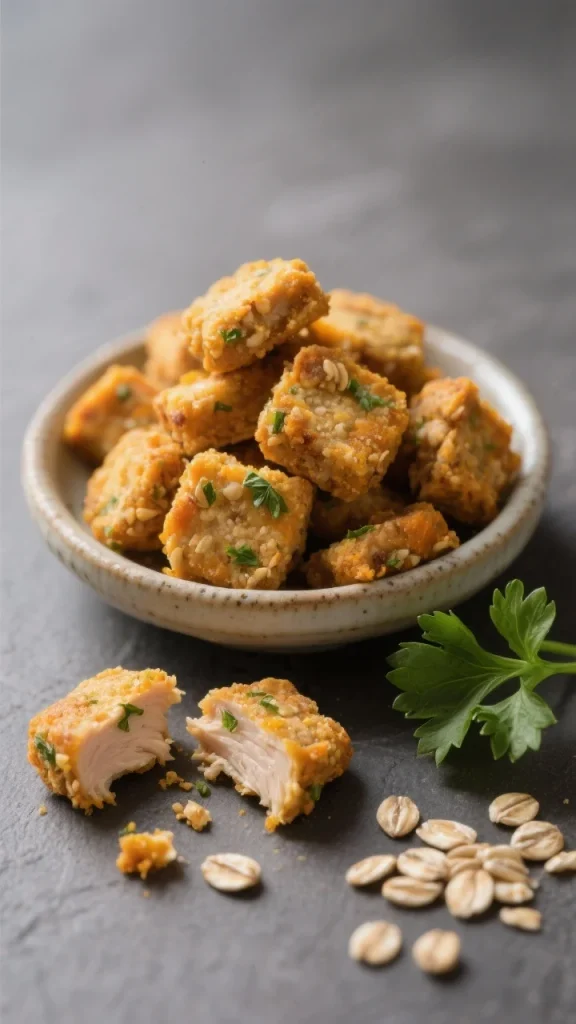
You can also control the final texture yourself. Leave the treats softer for dogs who prefer a tender bite, or give them additional oven time when you want something firmer.
What You’ll Need
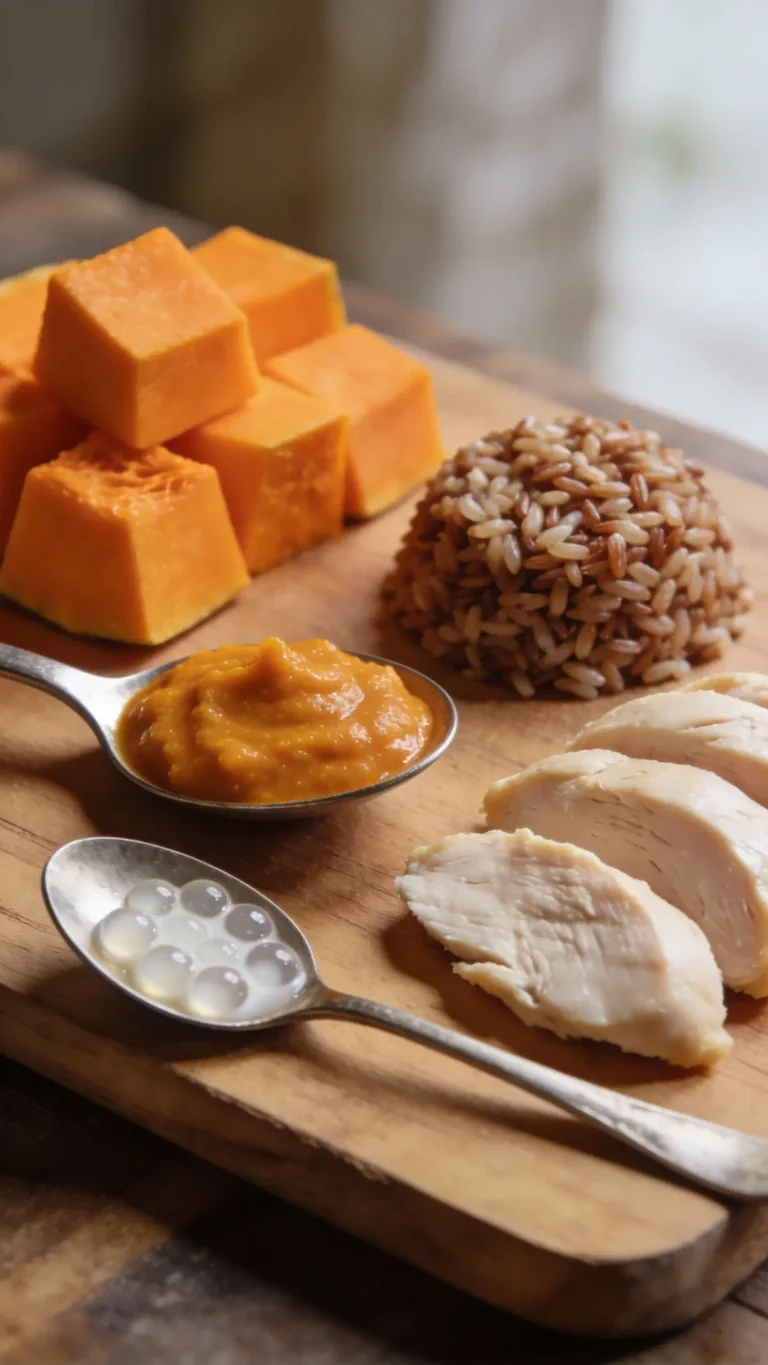
- 1 lb (450 g) ground chicken (turkey works too)
- 1/2 cup plain pumpkin puree (not pumpkin pie filling)
- 1 large egg
- 1 cup rolled oats, lightly pulsed, or 3/4 cup oat flour (you can use whole wheat flour if your dog tolerates it)
- 1 tablespoon finely chopped parsley (optional, for breath and freshness)
- 1–2 tablespoons water as needed for texture
- Nonstick spray or parchment paper for the baking sheet
- Baking sheet and mixing bowl
- Small scoop or spoon for portioning
For the pumpkin, use plain pumpkin puree rather than pumpkin pie filling. The latter can contain added ingredients that don’t belong in a simple dog treat.
Step-by-Step Instructions
- Get the oven ready.
Preheat it to 350°F (175°C). Line a baking sheet with parchment paper or give it a light coating of nonstick spray. - Prepare the oats.
If you’re working with rolled oats, place them into a blender or food processor and pulse several times.The goal is a coarse, slightly smaller texture rather than turning them completely into flour. - Build the wet mixture.
Add the ground chicken, pumpkin puree, and egg to a large bowl. Mix until the ingredients are evenly combined. - Work in the dry ingredients.
Add the pulsed oats or oat flour along with the parsley.Stir until you have a thick mixture that can be scooped. If it seems crumbly, add water gradually, one tablespoon at a time. If it’s overly sticky, add a little more oat flour or oats. - Shape the bites.
Scoop portions measuring roughly 1–1.5 inches and roll them into small balls.For training treats, make the portions smaller and gently flatten each one. Arrange them on the prepared baking sheet with about an inch between pieces. - Flatten the tops.
Press each treat lightly with your fingers so the pieces have a fairly even thickness.Aim for approximately 1/2 inch thick. - Bake until set.
Small bites generally need around 18–22 minutes, while larger cookies can take approximately 22–28 minutes.Look for treats that feel firm and have developed a light golden color underneath. - Allow them to cool.
Leave the treats on the baking sheet for about five minutes before transferring them to a cooling rack.Let them cool completely before storing or serving. - Optional: Give them extra crunch.
If your dog prefers a crispier texture, switch off the oven and leave the treats inside for another 10–15 minutes with the door slightly open. - Serve in small portions.
Start with one treat and see how your dog responds. You can break larger pieces into smaller rewards, particularly when using them during training.
Storage Instructions
Once the treats have cooled completely, place them into an airtight container.
- Room temperature: Up to 24 hours in a cool kitchen.
- Refrigerator: Keep refrigerated for approximately 4–5 days.
- Freezer: Freeze for up to 2 months.
- Layering: Place parchment paper between layers to stop the bites from sticking together.
- Thawing: Defrost overnight in the refrigerator or allow a portion to sit out for about 30 minutes.
For food containing cooked poultry, keeping refrigerated portions within a few days is a practical food-safety guideline; USDA guidance recommends using cooked poultry within 3–4 days when refrigerated.
If you’d like the treats slightly warmer before serving, a very brief microwave warming can bring out more aroma.
Benefits of This Recipe
- Lean protein: Ground chicken gives these bites a protein-rich base.
- Pumpkin: Adds fiber and contributes to the soft texture of the treats.
- Limited ingredient list: You can see exactly what goes into each batch.
- Flexible texture: Adjust the baking time depending on whether your dog prefers softer or crunchier treats.
- Easy portioning: Small homemade pieces work particularly well as training rewards.
Another benefit of homemade treats is that you can control their size. Instead of giving one large biscuit during training, the batch can be divided into tiny pieces so each successful behavior gets a small reward.
What Not to Do
- Don’t use pumpkin pie filling. Choose plain pumpkin puree instead.
- Don’t add salt, garlic, onion, or seasoning mixes. These ingredients can be harmful to dogs; onion and garlic in particular are associated with gastrointestinal irritation and red blood cell damage.
- Don’t serve the chicken undercooked. Make sure the treats are fully cooked before offering them.
- Don’t use these treats as a replacement for meals. They’re intended as snacks or rewards rather than a complete diet.
- Don’t give a large number at once. Start with a small portion, especially if pumpkin is new to your dog’s diet.
Alternatives
- Change the protein: Ground turkey works as an easy substitute for chicken. You can also use lean ground beef and drain away excess fat after cooking.
- Try a grain-free version: Chickpea flour or a combination of coconut and almond flour can replace the oats. An additional egg may help the mixture hold together.
- Add some variety: A tablespoon of plain peanut butter that is free from xylitol or some grated carrot can change the flavor and texture.
- Make them egg-free: Plain mashed banana or unsweetened applesauce can be used as a binding alternative.
- Create uniform training pieces: Spread the mixture into a thinner layer on a baking sheet, bake, then cut it into small squares.
When using peanut butter, always check the ingredient label and avoid products containing xylitol, which can cause dangerous low blood sugar and liver injury in dogs.
FAQ
Is canned pumpkin safe for dogs?
Yes, plain canned pumpkin puree can be used in these treats. Look for a product that lists 100% pumpkin rather than pumpkin pie filling.
Pumpkin pie filling can contain added sugar and spices, so it isn’t the same ingredient as plain pumpkin puree.
How many treats can I give my dog?
Treats should remain a relatively small part of your dog’s overall daily food intake. A common guideline is to keep treats to around 10% or less of daily calories.
For many medium-sized dogs, that might mean one to three small bites during the day, but the appropriate amount depends on the dog’s size, activity, regular diet, and individual needs.
Can I use chicken breast instead of ground chicken?
Yes. Chicken breast can be used, although you’ll need to turn it into a finely chopped or ground texture first.
Cut the cooked or raw chicken into small pieces and pulse it in a food processor until it resembles ground meat. This helps it blend more evenly with the pumpkin, egg, and oats.
My dog is sensitive to grains. What should I use?
You can experiment with chickpea flour or a combination of coconut and almond flour.
Add the flour gradually while mixing so you can judge the consistency. Depending on the combination you choose, you may need another egg to help everything bind together.
How do I make these softer for my senior dog?
Keep the baking time toward the shorter end of the recommended range and skip the additional oven-drying step.
You can also add a tablespoon or two of water to the mixture before baking to help create a softer finished texture.
Can I dehydrate these for longer storage?
Yes.
After baking the treats as directed, reduce the oven temperature to approximately 200°F (93°C) and continue drying them for 45–60 minutes, or until they reach the firmness you want.
Allow them to cool completely before transferring them to a storage container.
Can I make them in an air fryer?
Yes. These bites can also be prepared in an air fryer.
Set the air fryer to approximately 325°F (165°C) and cook for around 10–14 minutes, depending on the size and thickness of the treats.
Turn them halfway through cooking and check that they’re fully cooked before serving.
Is parsley safe for dogs?
Small amounts of parsley are included in the recipe as an optional ingredient.
Because parsley varieties and quantities can differ, you can simply leave it out if you prefer. The treats will still work without it.
Do I need to grease the pan if I use parchment?
No. Parchment paper should provide a nonstick surface on its own.
If you’re placing the treats directly onto the baking sheet, a light coating of nonstick spray or a small amount of oil can help prevent sticking.
What if the mix is too wet or too dry?
The texture is easy to adjust.
If the mixture feels too wet to shape, add a little more oats or flour and mix again. If it feels dry or crumbly, add water gradually, using about a teaspoon at a time.
You’re aiming for a mixture that’s thick enough to scoop and shape without falling apart.
In Conclusion
A homemade treat doesn’t need a long ingredient list to be useful. These ground chicken and pumpkin bites combine a handful of familiar ingredients into small, practical rewards that are easy to prepare ahead of time.
Make them tiny for training, keep a few in the refrigerator for everyday rewards, and freeze the rest so you have another batch ready whenever you need it.
With a simple base of chicken, pumpkin, egg, and oats, these bites are an easy homemade option to keep in your dog’s treat rotation.