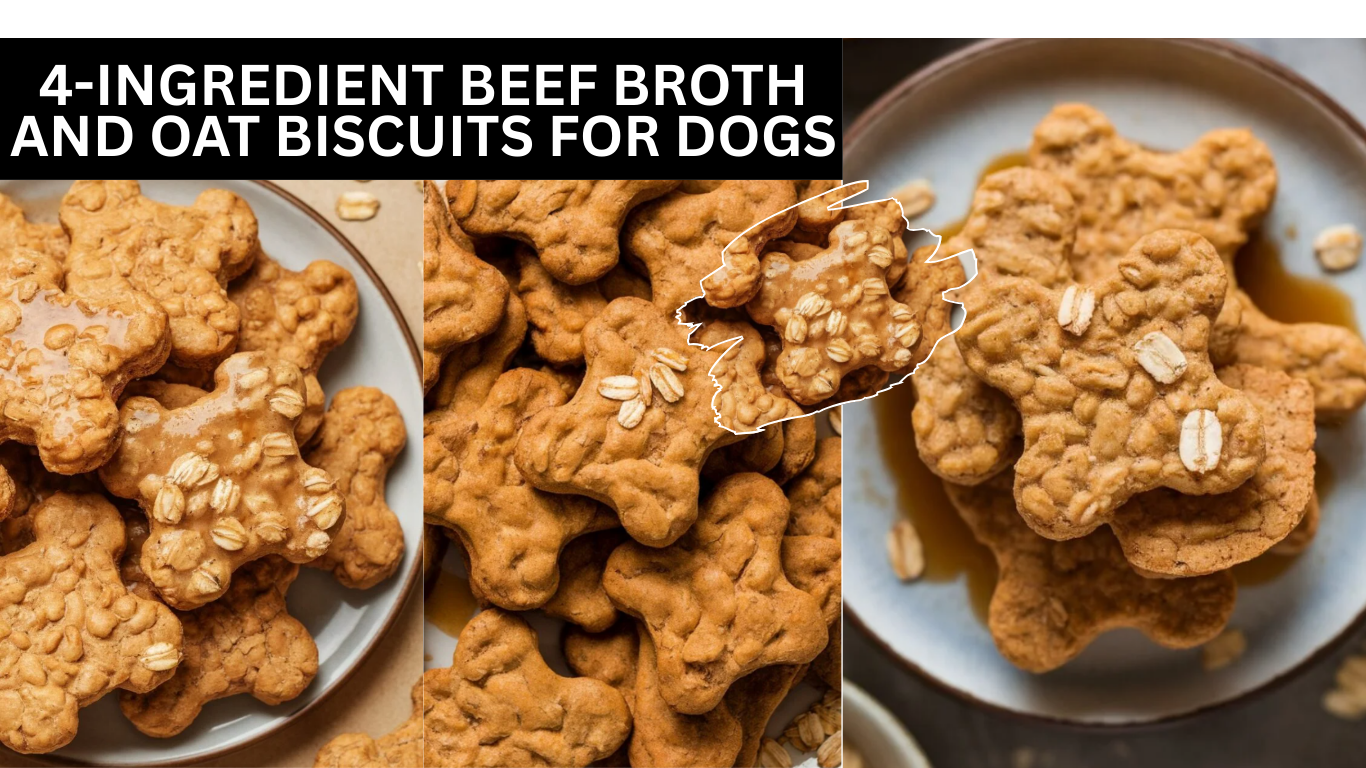
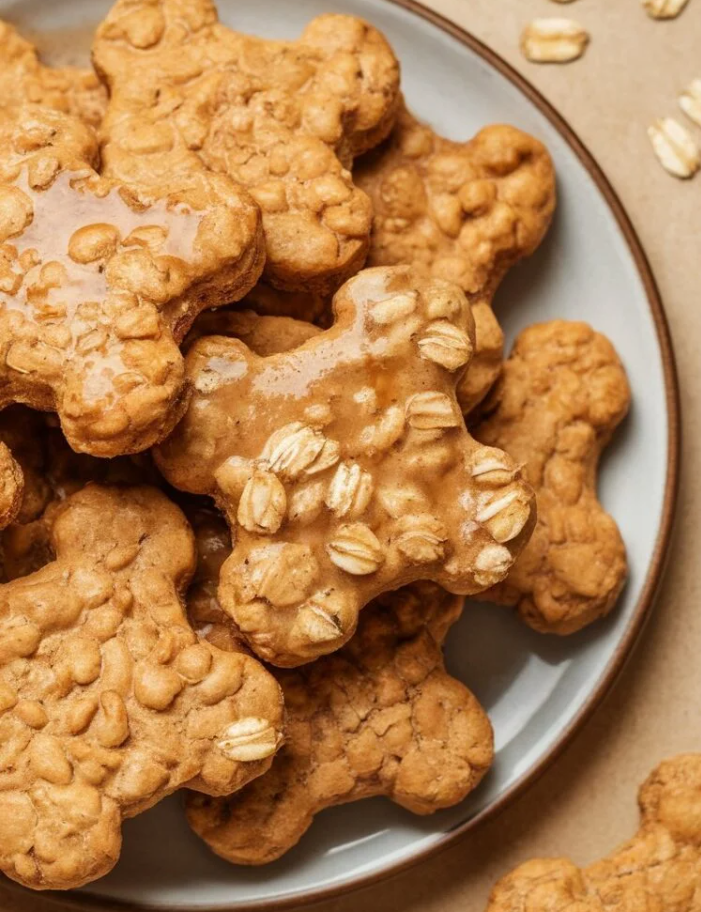
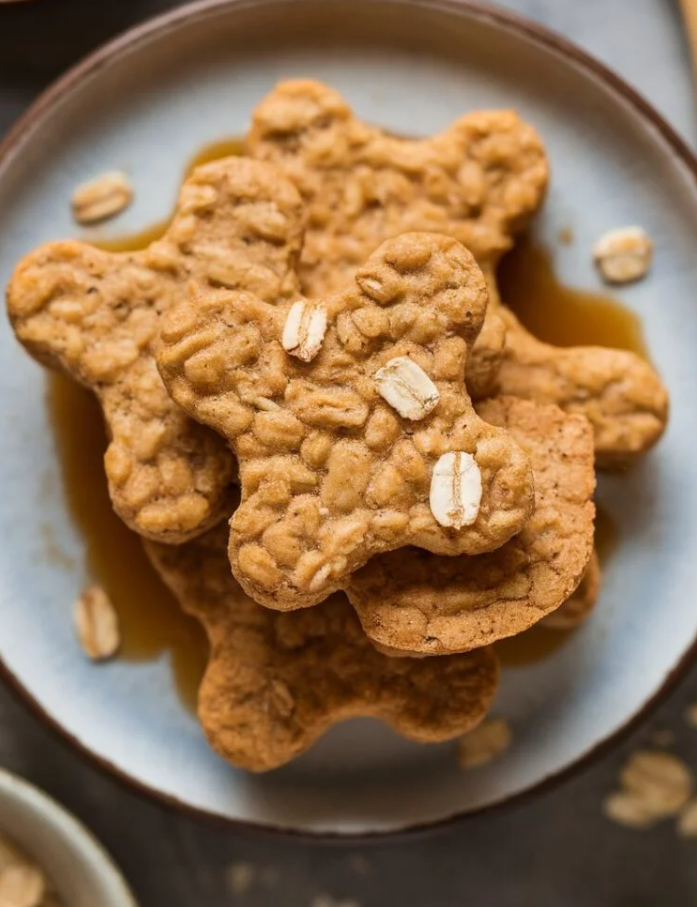
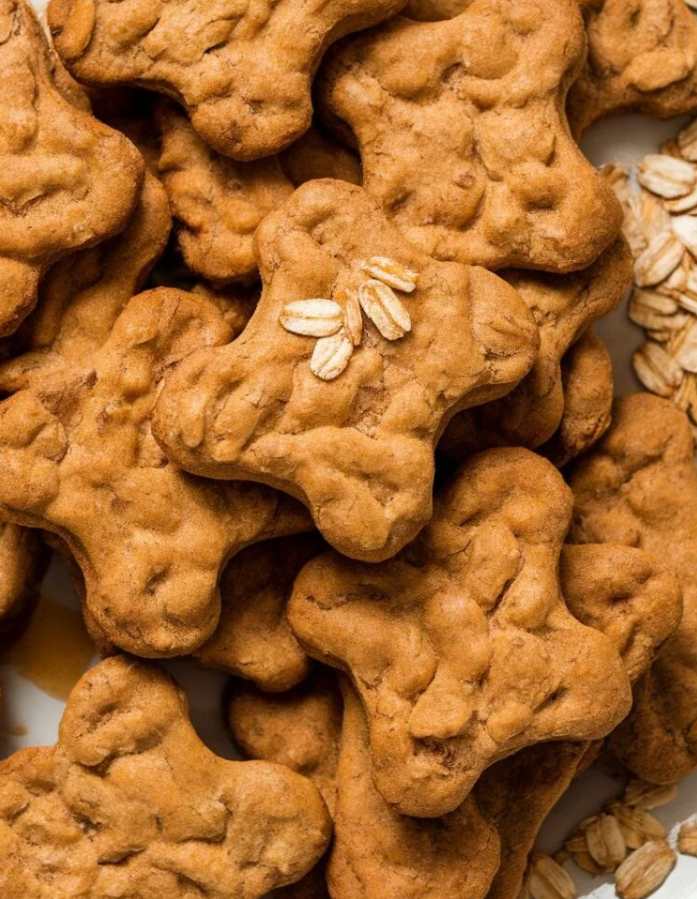
4-Ingredient Beef Broth and Oat Biscuits For Dogs
If your pup perks up just at the thought of a meaty snack, these 4-Ingredient Beef Broth and Oat Biscuits are going to be a game-changer. I’ve tried giving my own dog treats from the store, but nothing compares to something homemade that’s wholesome and simple. These biscuits are packed with flavor without any unnecessary additives or fillers. They’re chewy, hearty, and just the right size to make your dog’s tail wag uncontrollably. You don’t need a kitchen full of fancy ingredients—just a few basics that you probably already have at home. I promise, once your dog takes that first bite, you’ll know you’ve hit the jackpot.
Ingredients
You only need four ingredients to make these biscuits, and each one plays an important role:
- Rolled Oats: They add texture and are gentle on your dog’s stomach. You can even use oat flour if your dog prefers a smoother texture.
- Whole Wheat Flour: This gives structure to the biscuits so they hold together nicely. If your dog is sensitive to grains, swapping it for oat flour works perfectly.
- Beef Broth: The secret to that irresistible meaty flavor. Low-sodium broth is best to keep your dog healthy while making the biscuits extra tasty.
- Egg: The egg binds everything together while adding a little protein boost.
With just these four ingredients, you end up with treats that are simple, healthy, and delicious—no confusing recipes or mystery ingredients.
Why These Ingredients?
Each ingredient has a reason for being there. The rolled oats help with digestion and give a pleasant chewiness. The flour creates a sturdy base, so the biscuits don’t crumble instantly. The beef broth makes them irresistible, even for picky eaters. And the egg is the glue that brings everything together while giving a small protein kick. The combination is balanced, wholesome, and designed to delight your dog with every bite. I’ve noticed that when I switch to these biscuits, my dog actually finishes them faster than any store-bought treat—tail wagging guaranteed.
Step-By-Step Instructions
Prep the Ingredients
Before anything else, preheat your oven to 350°F. This ensures that your biscuits cook evenly. Line your baking sheet with parchment paper so nothing sticks and you won’t have to worry about broken treats.
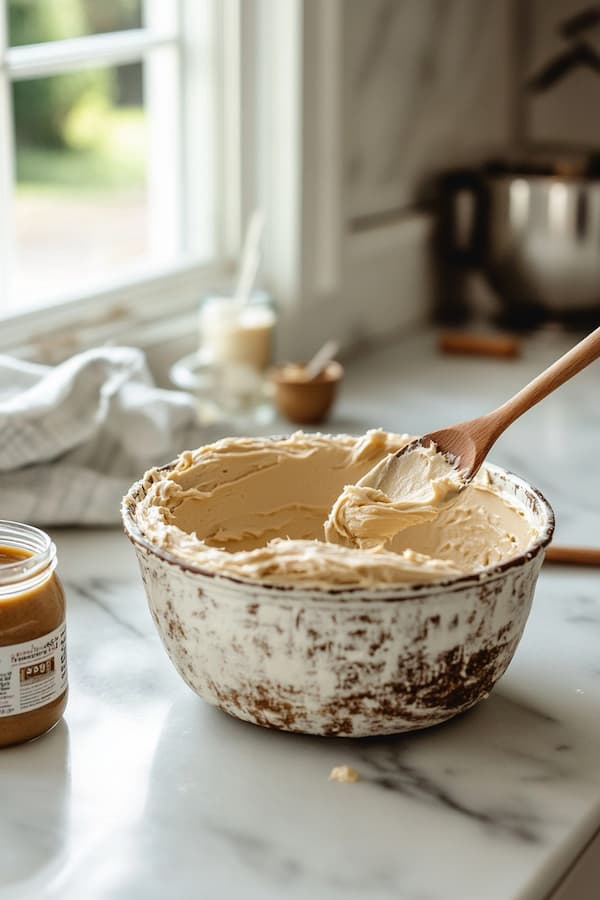
Mixing the Dough
In a bowl, combine the rolled oats and flour. Stir them together so that the dry ingredients are evenly distributed. Then, add the beef broth and egg. Mix everything until a dough forms. If it feels too dry, add a tablespoon of broth at a time. You want it firm enough to roll out but not crumbly. I usually test it with my fingers to make sure it’s easy to handle.
Shape and Bake
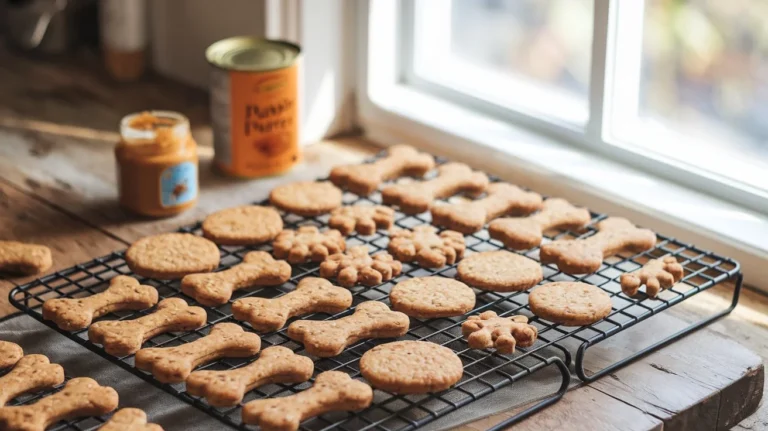
Sprinkle some flour on your surface and roll the dough out to about a quarter-inch thickness. You can get creative with cookie cutters or just cut squares if you prefer. Place the shapes on your prepared baking sheet. Bake them for 20–25 minutes until they turn a nice golden color and feel firm to the touch.
Cool Before Serving
Cooling is essential. Hot biscuits can burn your dog’s mouth, so let them rest until completely cooled. I usually leave a batch on the counter and watch my dog hover around, tail wagging, until I finally give the first treat.
Common Mistakes
Even simple recipes can go wrong if you’re not careful:
- High-sodium broth: Always stick to low-sodium or homemade broth to keep your dog healthy.
- Overbaking: Watch the biscuits carefully. They should be firm but not rock-hard.
- Skipping cooling: Don’t let your excitement rush you—hot biscuits are dangerous.
- Sticky dough: If it’s too sticky to roll, sprinkle in more flour gradually until it’s manageable.
Avoiding these pitfalls makes the process smoother and ensures perfect biscuits every time.
Alternatives
These biscuits are flexible, so you can adjust based on your dog’s preferences:
- Swap beef broth for chicken broth if your dog likes a lighter taste.
- Add parsley for a hint of freshness and to help with doggy breath.
- Mix in shredded carrots or sweet potatoes for extra fiber and natural sweetness.
- Use only oat flour if your dog has grain sensitivities or gluten intolerance.
- Sprinkle a pinch of turmeric for anti-inflammatory benefits and a fun golden color.
These small tweaks let you customize the biscuits without compromising their healthiness.
Storing Your Beef Broth and Oat Biscuits
Making a batch ahead of time is easy:
- Room Temperature: Store in an airtight container for up to a week.
- Refrigerator: Keep fresh for two weeks.
- Freezer: Freeze for up to three months, then thaw as needed.
I usually make a big batch and freeze half, so I always have a healthy treat ready without daily prep.
Health Benefits
These biscuits aren’t just delicious—they’re nourishing:
- Fiber: Rolled oats and flour support healthy digestion.
- Protein: Egg and beef broth provide energy and support muscle health.
- Hydration: The broth adds moisture, which is great for picky drinkers.
- Low Fat: Perfect for dogs who need to watch their weight.
- No Additives: Homemade means no fillers, preservatives, or mystery ingredients.
Every bite contributes to your dog’s overall wellbeing while satisfying their taste buds.
FAQ
- Can I use quick oats? Yes, they work well and mix faster.
- Is store-bought broth okay? Yes, as long as it’s low-sodium and free from onion or garlic.
- Can puppies eat them? Absolutely. Just break them into smaller pieces.
- Can I use other flours? Oat, rice, or almond flour work fine; adjust liquid as needed.
- How many treats? Treats should be under 10% of daily calories. Adjust by size and activity.
Final Thoughts of 4-Ingredient Beef Broth and Oat Biscuits For Dogs
These 4-Ingredient Beef Broth and Oat Biscuits are simple to make, wholesome, and irresistible to dogs. Whether it’s a reward for good behavior or just a special snack, these biscuits are guaranteed to delight. I’ve found that making treats at home not only improves your dog’s nutrition but also strengthens the bond you share—they know when something’s made just for them. So, preheat your oven, roll up your sleeves, and get ready to see some serious tail-wagging excitement.