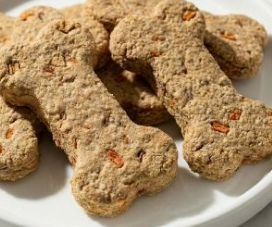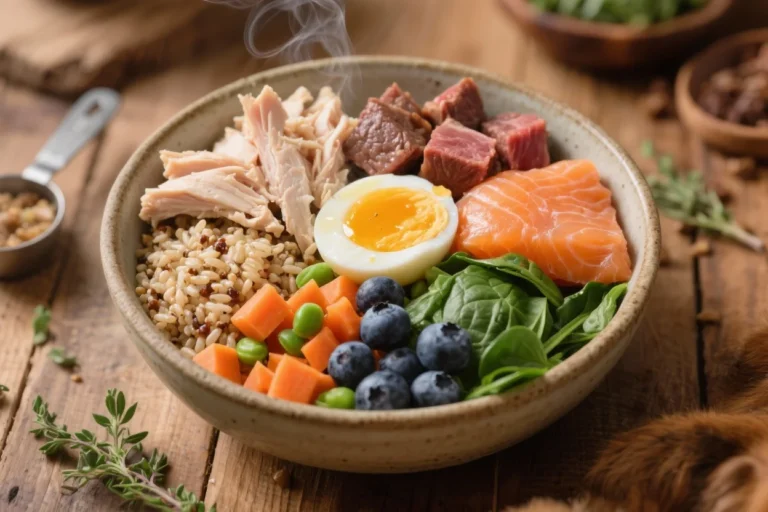
DIY Chicken & Carrot Protein Snacks for Dogs
If your dog bounces off the walls while you’re still trying to find your first cup of coffee, you’re going to love this. These chicken and carrot protein snacks are basically a homemade energy boost for your pup. They’re loaded with protein, full of essential nutrients, and—best part—they’re ridiculously easy to make at home. No weird additives, no mysterious preservatives, just real, wholesome food that will have your dog practically begging for more. I promise, you’ll watch them go from calm to zoomies in seconds.
Why These Treats Are Basically Doggy Superfuel
Dogs thrive on protein, and these treats are packed with it. The chicken provides lean protein that fuels their muscles and keeps them feeling full and satisfied. Carrots aren’t just crunchy fun—they’re loaded with beta-carotene, which promotes a shiny coat and healthy eyes.
There’s nothing fake here. No grains unless you add them yourself, no fluff, no filler. The texture is perfect for training sessions, quick snacks, or just rewarding good behavior. Think of these as protein bars for dogs, without all the marketing nonsense, but with all the tail-wagging joy. Every time I make them, my dog circles the kitchen like I’m the best human on Earth—and honestly, it feels pretty accurate.
What You’ll Need
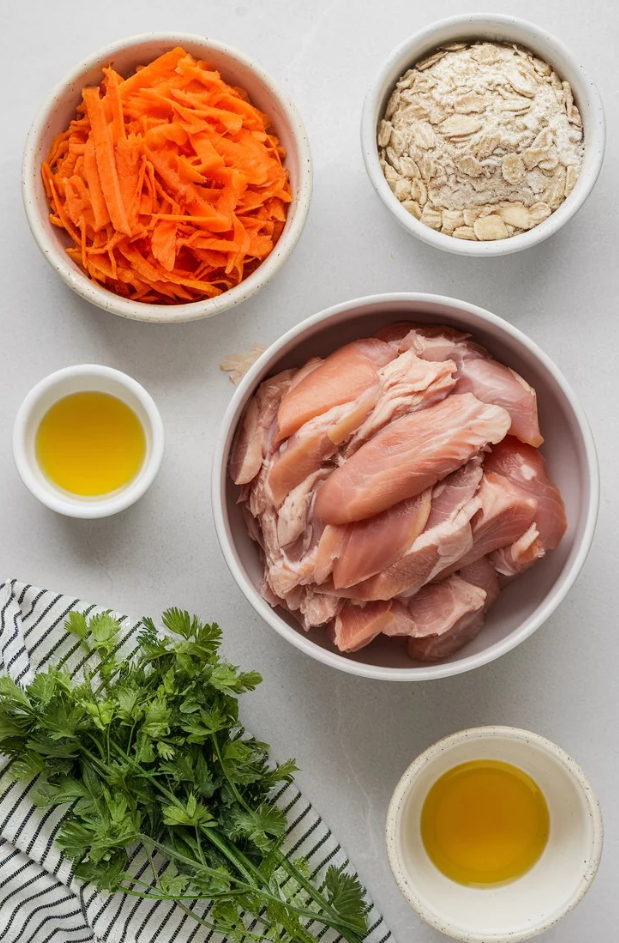
Making these treats doesn’t require anything exotic. Here’s exactly what you’ll need:
- 1 cup cooked chicken breast, shredded or chopped
- ½ cup grated carrots, either raw or lightly steamed
- 1 egg
- ¼ cup coconut flour or oat flour
- 1 tbsp olive oil or coconut oil
- Optional: A pinch of turmeric or parsley for a little extra wellness boost
That’s it. Just simple, wholesome ingredients that you probably already have in your kitchen. No mysteries, no fillers. This is food your dog will actually enjoy eating, and you’ll feel good giving it to them.
Let’s Make ‘Em

Step 1: Preheat the Oven
Set it to 350°F (175°C) so it’s ready when your mixture is all combined. I like to preheat early because nothing ruins momentum like waiting on a cold oven.
Step 2: Combine Everything
Grab a bowl and toss in your chicken, grated carrot, egg, flour, and oil. Stir it all together until you get a thick, sticky mixture. It’s like meatloaf for dogs—but way less judgment if guests are around. You’ll notice how good it smells; your pup will be hovering nearby, already dreaming of the first bite.
Step 3: Shape Those Bad Boys
Now it’s time to get creative. Roll the mixture into small balls, flatten them into mini patties, or press them into fun molds if you’re feeling extra fancy. I usually stick to small, bite-sized balls because they’re easier for training treats, and it helps avoid the inevitable “too big” dilemma.
Step 4: Bake
Place your treats on a parchment-lined baking sheet and let them bake for 20–25 minutes. You’re looking for them to be firm and golden on top. The aroma will have your dog doing laps around the kitchen—it’s that irresistible.
Step 5: Cool Before Serving
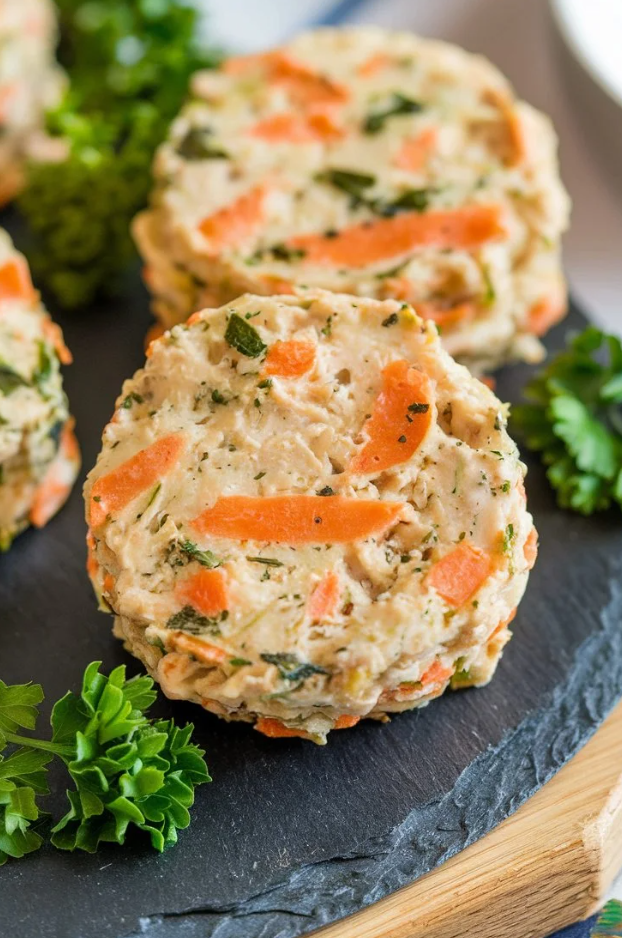
Patience is key. Let them cool completely before letting your dog dive in. If not, you’ll have a very enthusiastic dog and very unhappy burnt mouths.
Mistakes to Dodge
Even simple recipes have pitfalls. Here’s what I’ve learned:
- No pre-seasoned chicken. Salt, garlic, or onion are a big no-no. Plain chicken is perfect.
- Don’t forget to drain steamed carrots. Too much moisture can turn your treats into a mushy mess.
- Keep treats bite-sized. They’re snacks, not burgers. Trust me, your dog doesn’t need a chunk the size of their head.
- Store properly. Keep them in the fridge for up to a week or freeze extras for later.
- Test one first. It’s not because dogs are picky—well, maybe a little—it’s to see the tail-wag reaction, which honestly is priceless.
Tweaks & Variations
Once you get comfortable with the basic recipe, feel free to experiment.
- Add pumpkin for a digestive boost
- Swap chicken for turkey or salmon for a change in flavor
- Mix in spinach or kale for extra greens
- Use flaxseed instead of flour for added fiber and crunch
The best part? You can tailor these treats to what you have on hand, or just show off your inner “doggy gourmet” that day. I’ve made batches with tiny tweaks every week, and it’s always fun to see which version my dog prefers—spoiler, they love them all.
FAQ
Can I use canned chicken?
Yes, as long as it’s plain and low-sodium. Fresh is always better, but in a pinch, canned works.
How long do these last?
In the fridge, they’re good for about a week. Freeze extras for 2–3 months, though honestly, mine never last that long.
Can I make them grain-free?
Absolutely. Coconut flour, almond flour, or even no flour works if the mixture holds together.
Can puppies eat them?
Yes! Just make the bites smaller and supervise chewing to be safe.
Can humans eat them?
Technically yes, but don’t expect gourmet flavor. They’re made for dogs, and trust me, your taste buds will notice the difference.
Are they okay for senior dogs?
Yes. They’re soft enough for older pups who may have lost a bit of their chewing power.
Final Thoughts of DIY Chicken & Carrot Protein Snacks for Dogs
Chicken and carrot might seem simple, but together they create a protein-rich snack that dogs absolutely love. They’re healthy, easy to make, and perfect for training, rewarding, or just showing your dog how much you care. Making homemade treats like this gives a real sense of accomplishment—you’re feeding your dog something wholesome and watching their tail wag like crazy.
Whether you’re a seasoned dog parent or just trying to feel like you’ve got life under control, these protein snacks are an easy win. Your dog will love them, and honestly, you’ll feel like a culinary hero in your own kitchen. Every bite is a little nugget of love, energy, and happiness.