The Perfect Homemade 3-Ingredient Tortillas (So Easy!)
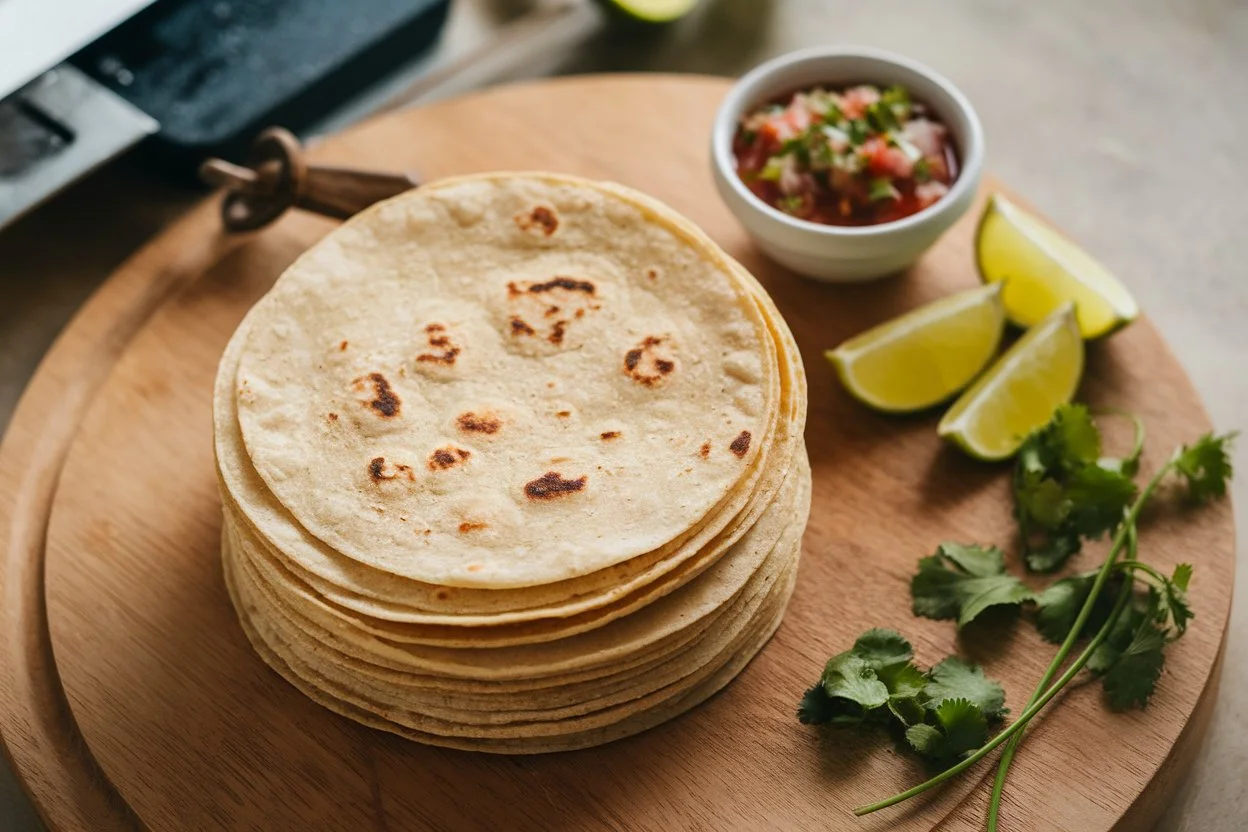
Making The Perfect Homemade 3-Ingredient Tortillas from scratch is one of the simplest kitchen skills I’ve learned, yet it consistently delivers impressive results. While packaged tortillas may seem convenient, they rarely have the same fresh texture, soft bite, and homemade taste that come straight from a hot skillet.
I started making my own tortillas years ago when I wanted a fresher option without a long ingredient list. What surprised me most was how little effort it took. With only a few pantry staples, I can make warm, flexible tortillas that work beautifully for tacos, wraps, quesadillas, and family meals.
Save For later
Key Takeaways
- Only three basic ingredients are needed for this homemade tortilla recipe.
- Fresh tortillas have a softer texture than many store-bought varieties.
- The dough is beginner-friendly and easy to work with.
- Homemade tortillas can be used for wraps, tacos, burritos, and more.
- They cook quickly in a skillet and require minimal equipment.
- Extra tortillas store well for later meals.
Pro Tip
The biggest improvement I noticed came from letting the dough rest before rolling it out. I usually give it at least 20 to 30 minutes, which makes the dough more flexible and easier to shape. When rolling, I avoid adding too much extra flour because it can make the tortillas dry after cooking. I also preheat the skillet thoroughly before the first tortilla goes in. A properly heated pan creates those light golden spots while keeping the tortilla soft inside. If I’m making a large batch, I stack cooked tortillas under a clean kitchen towel to keep them warm and pliable until serving.
Other Posts
- Fiber-Rich Homemade Dog Food Recipe for Better Digestion
- Homemade Dog Food With Ground Chicken Easy Recipe
- Cheap Healthy Homemade Dog Food Ideas on a Budge
Why Make Tortillas at Home
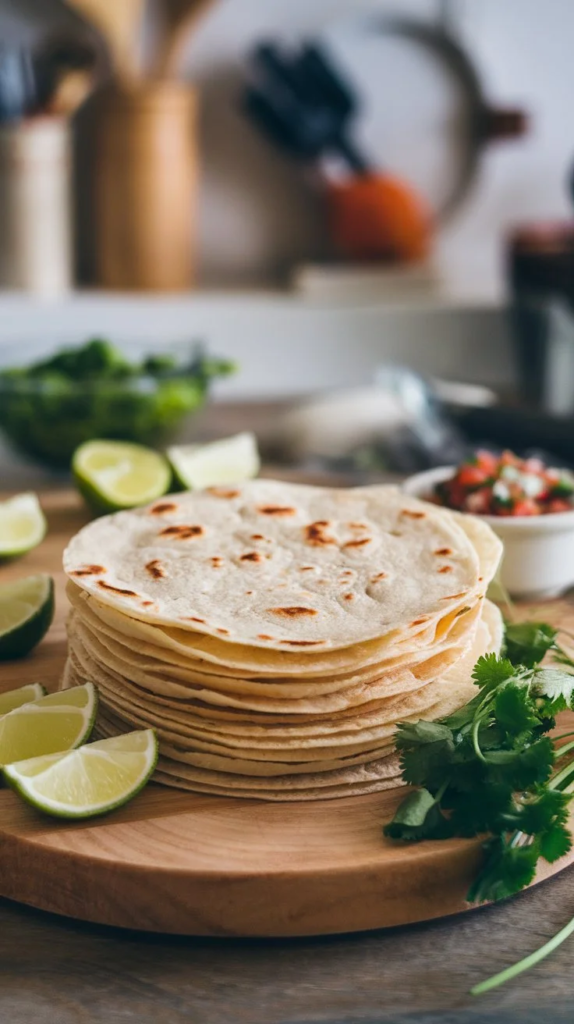
Making tortillas at home changes the game in more ways than one. First, they’re fresher. There’s something special about controlling what goes into your food, knowing there are no preservatives or questionable additives. Second, they’re so much more flavorful than anything you buy prepackaged.
Homemade tortillas are versatile too. Whether you’re assembling tacos, quesadillas, wraps, or just scooping up guacamole, they hold everything together beautifully. And here’s a bonus: they’re extremely cost-effective. Flour, water, and a little fat are all you need to make a batch, and the end result is soft, tender, and utterly delicious.
I’ve been making tortillas at home for years, and the process has always felt like a little kitchen magic. The smell, the texture, the way they puff up slightly when cooking—it’s something store-bought versions just can’t replicate.
The Holy Trinity: Ingredients You’ll Need
To make tortillas at home, you only need three ingredients:
- 2 cups all-purpose flour (or whole wheat if you prefer a nuttier flavor)
- 3 tablespoons oil or fat (vegetable oil, melted coconut oil, or even shortening works well)
- 2/3 cup warm water (adjust slightly as needed)
That’s literally it. No fancy stuff, no hidden chemicals, just simple ingredients that come together beautifully. Using whole wheat gives a deeper, earthier flavor, while all-purpose flour keeps them soft and light.
Tools You’ll Need
You don’t need fancy kitchen gadgets to make perfect tortillas. Here’s what works best:
- A large mixing bowl – for combining ingredients and kneading dough
- A rolling pin – or even a round bottle if you’re in a pinch
- A flat skillet or griddle – for cooking
- A clean kitchen towel – to keep tortillas warm and soft after cooking
Having these basics on hand makes the process smooth and enjoyable. The real magic happens once you start kneading and rolling.
How to Make Homemade Tortillas Step-by-Step
1. Mix the Dough
Start by placing your flour in a large mixing bowl. Add a pinch of salt if you like a slightly savory touch. Pour in your oil or fat and mix it into the flour using your fingers until it resembles coarse crumbs. Slowly add the warm water, a little at a time, and stir or knead with your hands until the dough comes together.
The dough should feel soft but not sticky. If it’s too dry, a teaspoon of water at a time will help. If it’s sticky, a light dusting of flour works perfectly. This step is crucial because it sets the foundation for soft, tender tortillas.
2. Knead It Out
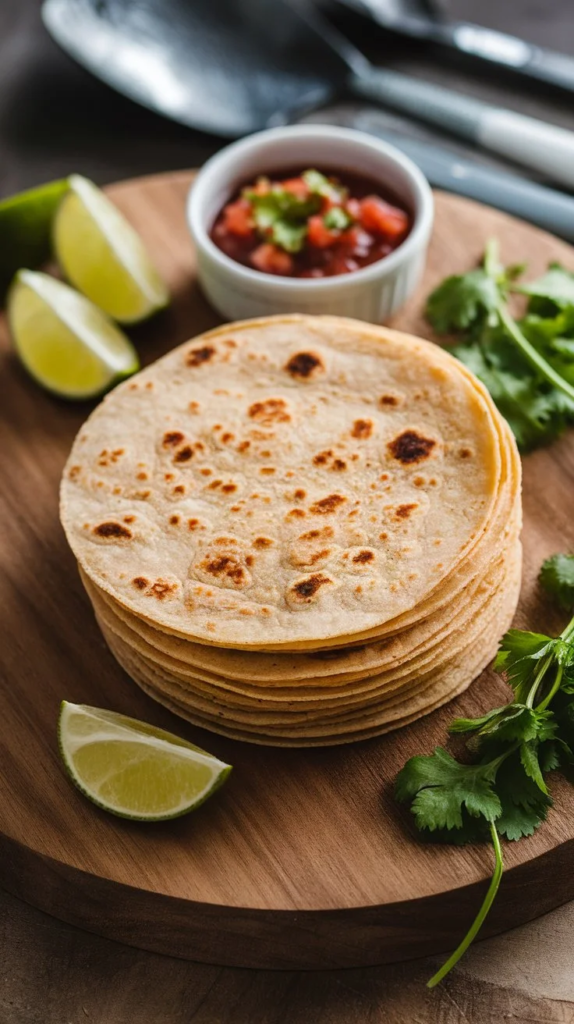
Transfer the dough to a floured surface and knead it for about five minutes. Kneading develops elasticity, which ensures your tortillas are soft and flexible. You’ll notice the dough becoming smooth and slightly springy under your hands—that’s the texture you want.
Once kneaded, let the dough rest under a damp towel for 20–30 minutes. This resting period relaxes the gluten, making it much easier to roll out later. Trust me, skipping this step will make the rolling trickier, and the tortillas might shrink while cooking.
3. Divide and Conquer
After the dough has rested, divide it into 8–10 equal portions depending on the size you prefer. Roll each piece into a ball and cover them with a damp towel to prevent them from drying out. This makes it easier to work with each piece individually and keeps your tortillas soft while you cook them.
4. Roll It Out
Take one dough ball and flatten it slightly. Using a rolling pin, roll it into a thin circle, roughly 1/8-inch thick. Don’t worry if your circles aren’t perfect—rustic shapes have their own charm. The goal is thin enough so the tortillas cook quickly, but thick enough to hold fillings without tearing.
5. Cook to Perfection
Heat a dry skillet or griddle over medium-high heat. Once it’s hot, place a rolled-out tortilla on it. Cook for 30–45 seconds, watching for bubbles and golden-brown spots to appear. Flip it and cook the other side for another 30 seconds.
Place cooked tortillas under a clean towel to stay warm while you finish the batch. The smell of fresh tortillas cooking is incredible and will make your kitchen feel like a warm, welcoming bakery.
6. Serve and Savor
Now comes the best part: eating them. Serve your tortillas warm with tacos, wraps, or even just butter. They’re incredibly satisfying fresh off the skillet. I often find myself sneaking one straight from the pan because they’re that good.
Tips for Tortilla Success
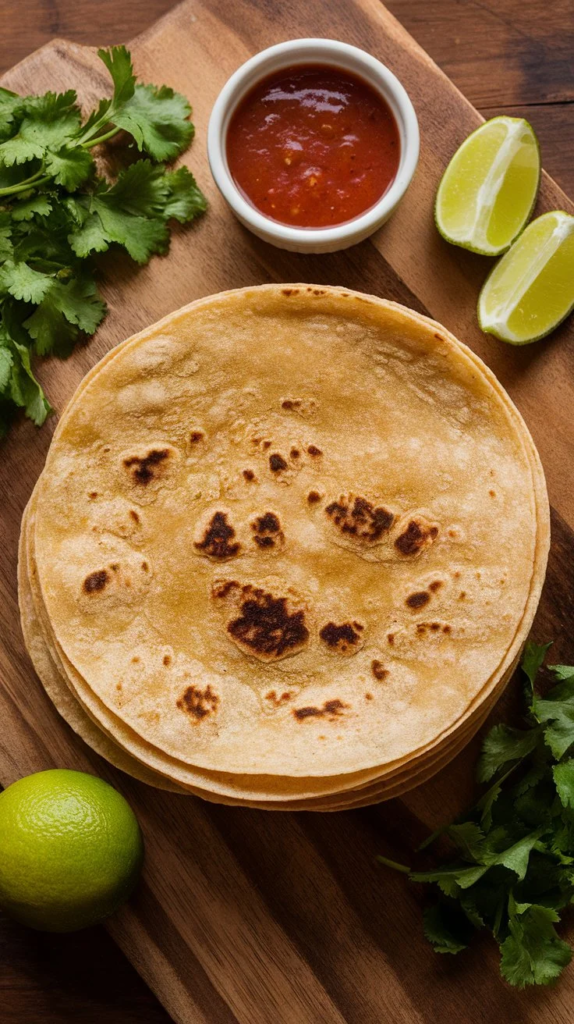
- Warm Water Is Important: It helps hydrate the dough and makes it pliable.
- Never Skip Resting: Resting relaxes the gluten and prevents the tortillas from shrinking while rolling.
- Cook on a Hot Skillet: Proper heat ensures beautiful brown spots and prevents sticking.
- Adjust Flour or Water as Needed: Humidity and flour types may require slight adjustments to get perfect dough consistency.
Common Mistakes to Avoid
- Skipping Kneading: Kneading develops the dough’s structure and elasticity.
- Overcooking: Tortillas cook very quickly; too long and they turn dry or brittle.
- Rolling Too Thick: Thick tortillas can feel doughy and unevenly cooked. Thin is best.
- Improper Storage: Keep cooked tortillas under a towel or in a sealed bag; leaving them uncovered makes them hard.
Storing and Reheating Homemade Tortillas
If you can resist eating them all immediately, store tortillas in a zip-top bag or airtight container. They stay fresh at room temperature for 1–2 days, or in the fridge for up to a week. To reheat, pop them back on a hot skillet for 10–15 seconds per side, or wrap in foil and warm in the oven. They regain their soft texture quickly and taste just like freshly made.
Conclusion of Homemade 3-Ingredient Tortillas
Once you make your own tortillas, there’s really no going back. The flavor, softness, and freshness are unmatched. Making them at home might sound intimidating, but it’s actually simple and rewarding. You’ll be amazed at how satisfying it feels to roll up a tortilla, watch it puff on the skillet, and then enjoy it warm. Every time I make them, it feels like a small triumph in the kitchen—a reminder that the simplest recipes can bring the most joy.
All content on this site is written and reviewed by our experienced team to ensure it is accurate, reliable, and helpful for our readers. Our Our Process page explains how we carefully research and create high-quality content, while our Team page introduces the professionals behind our work. We also provide clear guidelines for content or image concerns on our Image Removal page, so you can trust that we prioritize transparency, quality, and reader safety.