How To Make A DIY Dog Crate (Indoor Furniture)
Building a dog crate doesn’t have to mean settling for a bulky, unattractive piece that clashes with your home decor. With a little planning and some basic tools, you can create a wooden crate that is not only comfortable for your dog but also stylish and functional. This guide walks you through each step of the process, from measuring and gathering materials to finishing touches, so your furry friend has a cozy space that blends perfectly with your living area.
If you want, I can also rewrite the intro in a more SEO-friendly way
Step 1: Decide on Dimensions and Gather Materials
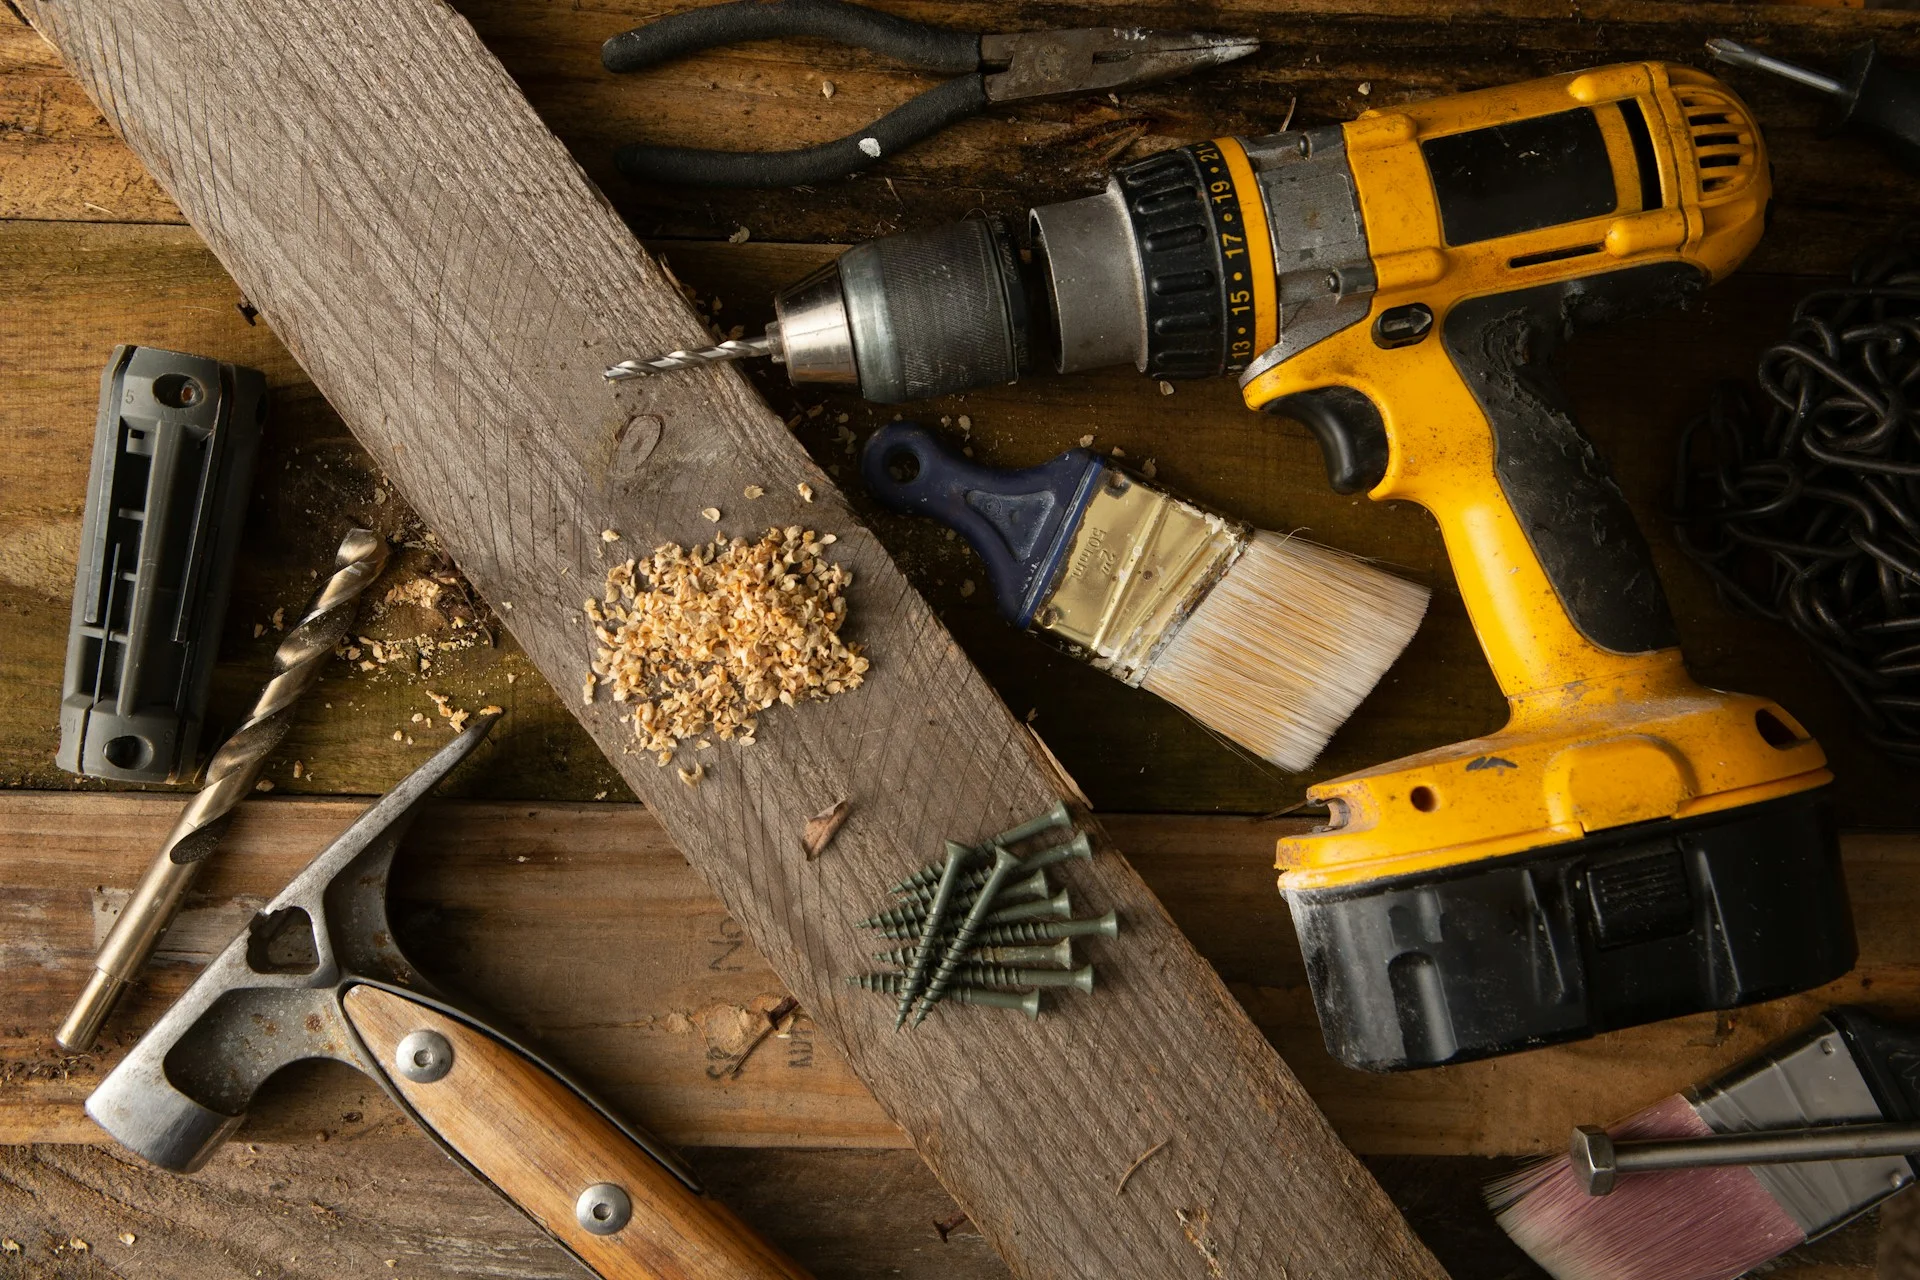
Start by determining the right size for your dog crate using your dog’s bed or a tray liner as a guide. Gather materials including plywood for the main structure, pine boards, wooden dowels, screws, hinges, a latch, paint or stain, edge banding, sandpaper, clamps, and your essential tools like saws and a drill. This step ensures your crate will be both comfortable for your dog and suitable for your home.
Step 2: Build the Cabinet Box (a.k.a. the Main Crate Body)
Cut the plywood into panels for the sides, top, and bottom, making sure measurements are accurate. Use pocket holes and screws to assemble the panels, adding support strips at the top. Optionally, you can add a toe kick for a polished look and use edge banding to cover raw edges, giving the crate a cleaner, more professional appearance.
Step 3: Create the Face Frame and Door
Construct the face frame and door from pine boards. Drill holes for dowels to create the rails, ensuring proper spacing to keep your dog safe. Paint the frames and dowels before assembly for easier coverage. Once dry, assemble the door and stationary frame using dowels and wood glue, securing them in place carefully.
Step 4: Paint, Sand, and Finish
Smooth all surfaces with sandpaper, then apply primer followed by paint or stain. Finish with a clear coat to protect the wood and make cleaning easier. Using a small roller can help achieve an even coat, and gloves are recommended to keep your hands clean during this process.
Step 5: Assemble and Attach the Frames
Attach the stationary frame to the front of the crate, leaving a small clearance at the top. Install the door with hinges, making sure it swings correctly, and add a latch to keep it securely closed. Proper alignment here ensures smooth operation of the door.
Step 6: Attach the Top Panel and Add Finishing Touches
Cut the top panel to size, add edge banding, and paint it to match the crate. Secure it to the top support strips. For added convenience, a magnetic catch can be installed to keep the door closed tightly, especially for dogs that push against the door.
Bonus Tips for Success
Consider your dog’s habits when customizing the crate: use stronger dowels for chewers or a waterproof liner for messy dogs. Add padding or a bed at the bottom to create a cozy space. Take your time and enjoy the project, knowing the result is a functional and stylish crate for your dog.
Final Thoughts of How To Make A DIY Dog Crate
Building your own wooden dog crate is both practical and rewarding, providing a comfortable home for your pet while complementing your living space. With careful planning, patience, and following the steps outlined, you can create a crate that is sturdy, attractive, and uniquely suited to your dog.