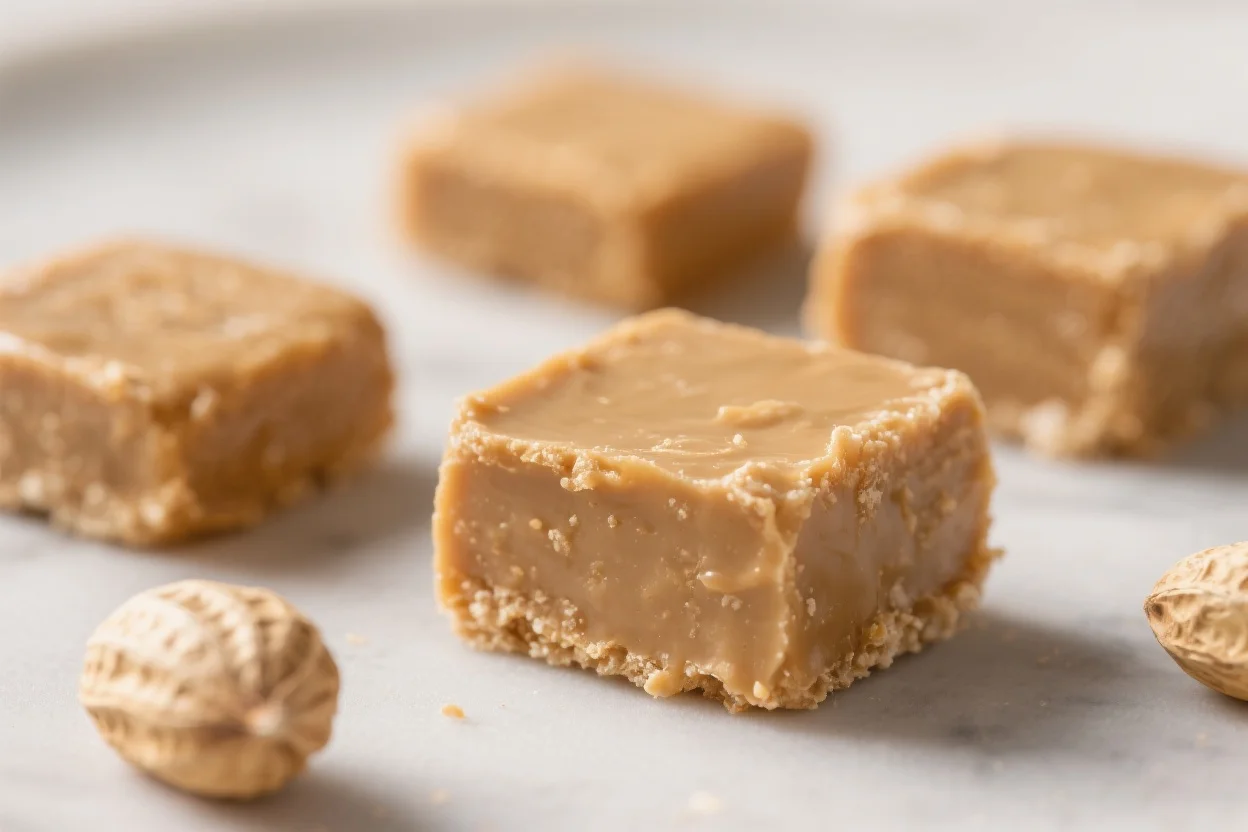
Peanut Butter Square Dog Treats: Easy, No-Mess Homemade Snacks
As a lifelong dog lover and someone who has spent years experimenting with homemade dog treats, I can tell you that peanut butter treats are a tried-and-true favorite. Dogs absolutely go wild for the aroma, the flavor, and the texture. These square treats are simple to make, easy to handle, and require almost no cleanup. I use them daily for training, rewarding good behavior, or just as a healthy snack.
Key Takeaways:
- Quick, no-mess press-and-bake method saves time and effort.
- Made with wholesome, dog-safe ingredients like oats, peanut butter, and applesauce.
- Treats can be baked soft or crunchy depending on your dog’s preferences.
- Cost-effective and customizable for dietary restrictions.
- Expert tips on storage, allergy alternatives, and portion control included.
What Makes This Recipe So Good
No-Mess Method
I love that I don’t have to roll dough or dust counters. Pressing it into a pan means clean preparation and easy slicing.
Simple Ingredients
With pantry staples like peanut butter, oats, flour, eggs, and a bit of fruit, I can make a batch in minutes. Dogs respond better to simple, natural ingredients anyway.
Dog-Friendly Flavors
Peanut butter is naturally enticing for dogs, and adding a little applesauce or mashed banana makes it irresistible.
Customizable
You can adjust thickness, size, or baking time to make soft chews for older dogs or crunchy bites for dental health.
Budget-Friendly
Making treats at home is cheaper than buying high-quality store treats, and one batch produces enough to last a week for a medium-sized dog.
Shopping List
- Natural peanut butter (unsweetened, unsalted, no xylitol)
- Old-fashioned rolled oats or quick oats
- Whole wheat flour or oat flour for wheat-free option
- Unsweetened applesauce or mashed banana
- 1 egg
- Water as needed
- Ground cinnamon (optional)
Step-by-Step Instructions
Preheat and Prepare the Pan
Set your oven to 325°F (165°C). Line an 8×8-inch or 9×9-inch baking pan with parchment paper, leaving extra for easy lifting. Lightly grease the paper to prevent sticking.
Mix the Wet Ingredients
In a medium bowl, whisk together ½ cup peanut butter, ½ cup applesauce or banana, and 1 egg until smooth.
Combine the Dry Ingredients
In a separate bowl, stir 1 cup flour, 1 cup oats, and ½ teaspoon cinnamon if using. Break up any clumps.
Bring the Dough Together
Add the dry mixture to the wet. Mix with a sturdy spoon until a thick dough forms. If crumbly, add 1–3 tablespoons of water, a little at a time, until it has a soft cookie-dough consistency.
Press into the Pan
Use damp hands or a spatula to press dough evenly into the pan. Uniform thickness ensures even baking.
Score for Easy Slicing (Optional)
Lightly score the top into 1-inch squares for standard treats or ½-inch for training bites. This makes cutting neat and easy.
Bake
Bake 22–28 minutes depending on thickness. For crisper treats, add 3–5 extra minutes.
Cool Completely
Lift the slab with parchment and place on a wire rack. Cooling fully prevents crumbling.
Slice into Squares
Use a sharp knife or pizza cutter along the score lines. For extra crunch, return the cut squares to a 250°F (120°C) oven for 15–20 minutes.
Serve and Store
Offer a small test piece to your dog. Store the rest as below.
Storage Instructions
- Room Temperature: Soft treats last 3 days; drier ones 5–7 days.
- Refrigerator: Sealed container 7–10 days; add a paper towel to maintain texture.
- Freezer: Up to 3 months. Freeze individually or separate layers with parchment. Thaw at room temperature 10–15 minutes or overnight in the fridge.
Benefits of This Recipe
- Clean-Cut Squares: Ideal for training, portion control, or quick rewards.
- Whole Ingredients: You control what goes in—no xylitol, fillers, or hidden sugars.
- Flexible Texture: Bake short for soft chews or longer for crunchy bites.
- Economical and Scalable: Double batches in larger pans for prep or gifts.
- Digestible Options: Oats and applesauce are gentle on most dogs’ stomachs.
Common Mistakes to Avoid
- Using Peanut Butter with Xylitol: Always read labels; it’s toxic for dogs.
- Overbaking: Start with the minimum time; you can always add a few minutes.
- Skipping Cooling Time: Cutting too soon leads to uneven squares.
- Making Treats Too Big: Smaller treats are safer for portion control.
- Ignoring Allergies: Swap ingredients for dogs with wheat or peanut sensitivities.
Alternatives
- Flour Swap: Oat flour or gluten-free blends work; coconut flour requires extra moisture.
- Peanut-Free: Unsalted sunflower seed butter or pumpkin puree works; color may darken slightly.
- Fruit Base: Replace applesauce with banana or pumpkin puree.
- Add-Ins: Small amounts of parsley, shredded carrot, or unsweetened coconut for flavor.
- Soft-Bake Option: Slightly thicker dough and shorter baking for senior dogs.
FAQ
Can I use crunchy peanut butter?
Yes, as long as it contains no xylitol or added sugar. It adds texture dogs love.
How many treats can my dog have each day?
Treats should be less than 10% of daily calories. For medium dogs, 1–3 squares is typical. Adjust for weight and activity.
Do I have to use eggs?
No. Replace with 2 tablespoons extra applesauce or pumpkin puree. Texture will be slightly denser but still holds well.
How do I make them extra crunchy?
Bake, cool, slice, then dry in a 250°F (120°C) oven for 15–30 minutes, flipping halfway.
Are these safe for puppies?
Yes, in tiny portions, assuming no allergies. Introduce new foods slowly and consult your vet if needed.
Can I add honey or sugar?
I avoid it. Dogs don’t need added sugar; applesauce or banana provides natural sweetness.
What if my dough is sticky?
Lightly wet hands or spatula. Add a bit more flour or oats if too wet.
Can I air-fry these?
Yes, use a parchment-lined air fryer insert at 300–315°F (150–160°C). Watch closely as times vary.
Final Thoughts
These peanut butter square dog treats are simple, tidy, and budget-friendly. With just a few pantry staples, you can make treats that store well and delight your dog every day. I guarantee that once you try this press-and-bake method, rolling dough will feel like a thing of the past.
All content on this site is written and reviewed by our experienced team to ensure it is accurate, reliable, and helpful for our readers. Our Our Process page explains how we carefully research and create high-quality content, while our Team page introduces the professionals behind our work. We also provide clear guidelines for content or image concerns on our Image Removal page, so you can trust that we prioritize transparency, quality, and reader safety.