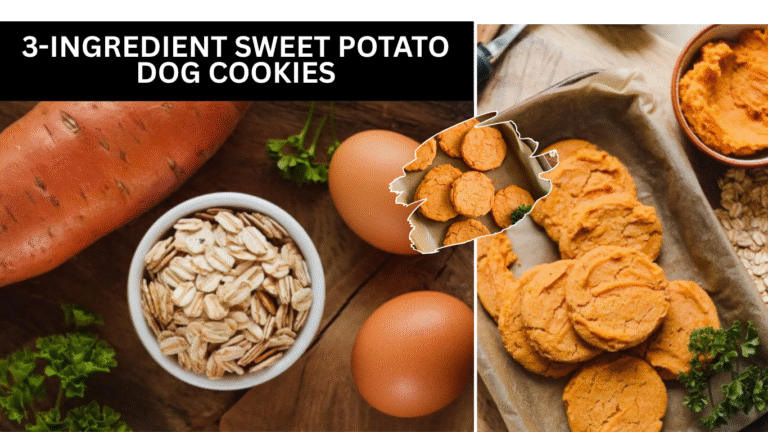
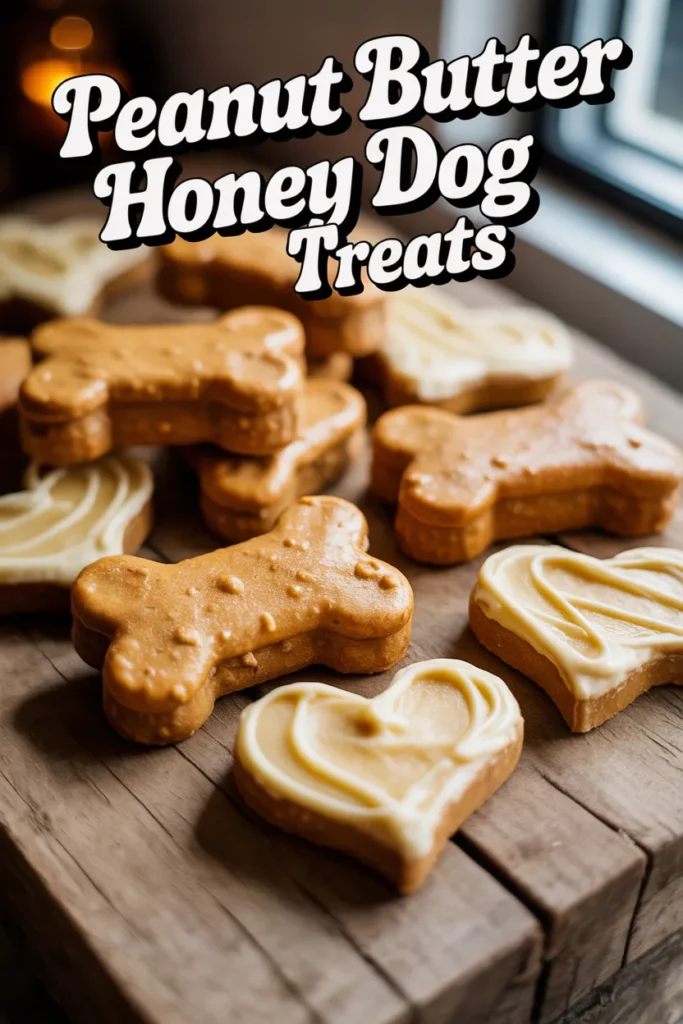
Easy and Delicious Peanut Butter Honey Dog Treats
I made these peanut butter honey dog treats on a slow afternoon when I wanted to give my dog something homemade after a week of long walks. They turned out crunchy on the outside with a soft, creamy frosting on top that my dog absolutely loved.
Save For Later
What I like most about this recipe is how simple it is—just a few basic ingredients, no complicated steps, and it’s much better than store-bought treats. I also control what goes in, which means no harmful additives like xylitol.
These treats are perfect for rewards, training, or just spoiling your dog a little. If you want a safe, budget-friendly, and tasty homemade option, this recipe works really well.
Key Takeaways
- Peanut butter treats are a high-protein, energy-rich snack for dogs
- Homemade treats can reduce unwanted additives found in commercial products
- This recipe makes 20–25 treats in under 40 minutes
- Frosting is optional but adds extra flavor and appeal
- Safe feeding should stay within 10% of your dog’s daily calories
Introduction
I often find myself checking ingredient labels on dog treats, and honestly, many contain fillers or preservatives I’d rather avoid. That’s why I started making treats at home.
This peanut butter and honey combination is one I’ve tested multiple times, and it consistently works. Dogs are naturally drawn to peanut butter, and adding a small amount of honey makes the flavor even more appealing without overdoing sugar.
Why You’ll Love This Peanut Butter Honey Treat Delight
I keep coming back to this recipe for a few simple reasons:
- The peanut butter flavor is strong, and dogs instantly recognize it
- The recipe uses basic pantry ingredients, so no extra shopping is needed
- The texture comes out crispy with a soft frosting layer
- It’s a safer option compared to many packaged treats
- I can adjust ingredients based on my dog’s needs
Peanut Butter Honey Dog Treats Recipe
From my experience, this recipe is beginner-friendly and doesn’t require any special equipment. It’s great for weekend baking or quick prep during the week.
For the Treats
Ingredients:
- 2½ cups oat flour or whole wheat flour
- 1 large egg
- ¾ cup natural peanut butter (unsalted, no xylitol)
- ¾ cup water
- 1 tablespoon honey (optional)
Step 1: Preheat the Oven
I always start by preheating the oven to 350°F (175°C). This ensures even baking. Lining the tray also helps avoid sticking and saves cleanup time.
Step 2: Mix Wet Ingredients
I mix peanut butter, water, egg, and honey until smooth. This step usually takes about 1–2 minutes. A smooth mixture helps the dough come together evenly.
Step 3: Add Dry Ingredients
I slowly add the flour and mix until a dough forms. The texture should be slightly sticky but firm enough to handle.
Step 4: Roll Out the Dough
I roll the dough to about ¼ to ½ inch thick. Keeping the thickness even helps all treats bake properly at the same time.
Step 5: Cut the Treats
I use simple cookie cutters and place the shapes on the tray with a bit of space. Usually, I get around 20–25 treats from one batch.
Step 6: Bake the Treats
I bake them for 17–20 minutes. Shorter baking keeps them softer, while longer baking makes them crunchier.
Step 7: Cool Completely
I always let the treats cool fully before adding frosting. This step is important because it helps the texture set properly.
For the Frosting
Ingredients:
- 2 tablespoons peanut butter
- 1 tablespoon honey (optional)
- ⅓ cup arrowroot powder or cornstarch
- 4 tablespoons hot water
Step 1: Heat the Water
I heat the water just enough to help mix the ingredients smoothly.
Step 2: Mix the Base
I combine peanut butter and honey first. This creates a smooth, slightly glossy base.
Step 3: Add Thickener
I mix in the powder slowly to avoid lumps. It may look dry at first, but that’s normal.
Step 4: Add Hot Water
I add water gradually while stirring. This helps control the consistency and prevents the frosting from becoming too thin.
Step 5: Frost the Treats
I spread a thin layer on each treat. From experience, about half a teaspoon per treat is enough.
Storage and Serving
I store these treats in the fridge because the frosting adds moisture. They usually stay fresh for about a week.
For longer storage, I freeze the treats without frosting. This method can extend shelf life up to 3 months.
Feeding Guidelines
From what I’ve learned, treats should never replace meals. I follow the 10% rule—treats should not exceed 10% of daily calories.
- Small dogs: half to one treat per day
- Medium to large dogs: up to two treats
I always introduce new treats slowly to check for any reactions.
Substitutes and Variations
I’ve tested a few variations that work well:
- Oat flour → Brown rice flour (for gluten-free option)
- Water → Low-sodium broth (adds more flavor)
- Honey → Mashed banana (natural sweetness)
- Arrowroot → Tapioca starch (same texture result)
Benefits of the Ingredients
Here’s what I’ve noticed from using these ingredients:
- Peanut Butter: High in protein and healthy fats
- Flour: Provides fiber and structure
- Egg: Helps bind and adds protein
- Honey: Contains small amounts of antioxidants
- Arrowroot/Cornstarch: Improves frosting texture
FAQs
Is honey safe for dogs?
Yes, but I use it in small amounts to avoid excess sugar.
How much frosting should I use?
A thin layer is enough since it’s just an extra treat.
Can I skip the frosting?
Yes, the treats are still great without it.
Conclusion
I’ve made these peanut butter honey treats several times, and they never fail to get my dog excited. The process is simple, and I feel more confident knowing exactly what goes into the treats.
If you enjoy baking and want a safer option for your dog, this recipe is worth trying. It’s affordable, easy, and honestly, it feels good seeing your dog enjoy something you made yourself.
All content on this site is written and reviewed by our experienced team to ensure it is accurate, reliable, and helpful for our readers. Our Our Process page explains how we carefully research and create high-quality content, while our Team page introduces the professionals behind our work. We also provide clear guidelines for content or image concerns on our Image Removal page, so you can trust that we prioritize transparency, quality, and reader safety.