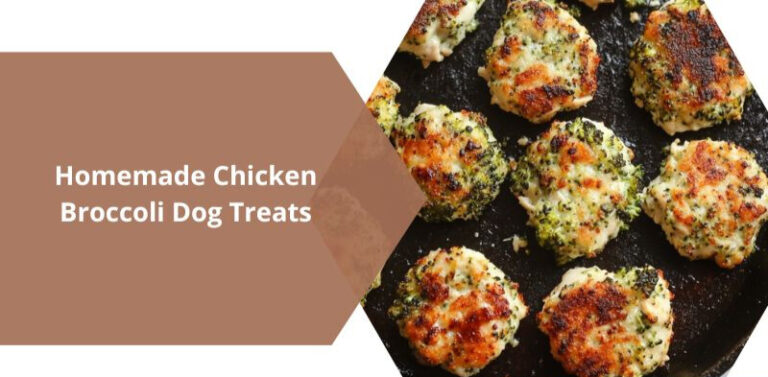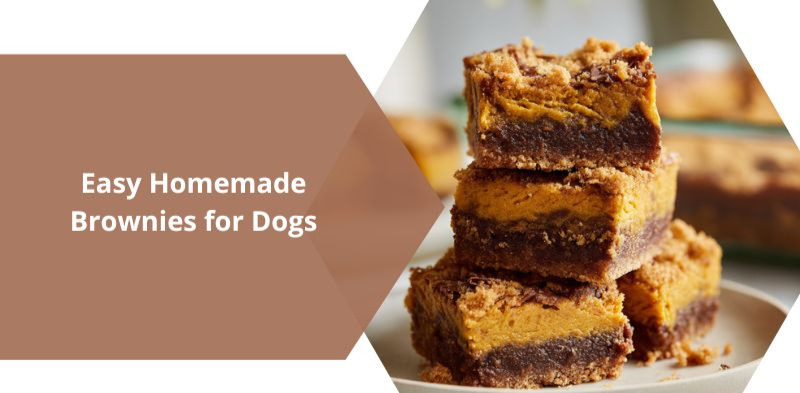
Easy Homemade Brownies for Dogs
I still remember the first time I baked these brownies for my dog—it felt like I was making something special for a family member. The smell was rich and sweet, but I didn’t have to worry about chocolate because I used carob instead. My dog couldn’t wait, and that reaction alone made this recipe worth keeping.
From my experience, homemade treats give me better control over what my dog eats. This recipe is simple, uses safe ingredients, and works well even if you’re new to baking for pets.
I’ve learned that making dog brownies at home is one of the easiest ways to provide a safe and healthy treat. This recipe uses oat flour, pumpkin puree, and carob powder to replace harmful ingredients while still delivering great taste.
I explain each step clearly so you can avoid common mistakes and get consistent results. I also include storage tips, feeding limits, and nutritional insights. Most vets recommend keeping treats under 10% of daily calorie intake, and I always follow that guideline to keep things balanced.
Key Takeaways
- I always replace chocolate with carob because it’s safe for dogs
- I keep treats under 10% of daily calories to prevent weight gain
- Pumpkin and oats help support digestion and energy levels
- Cooling the brownies properly improves texture and structure
- Storing them correctly keeps them fresh for up to a week
Homemade Brownies for Dogs
For the Brownies
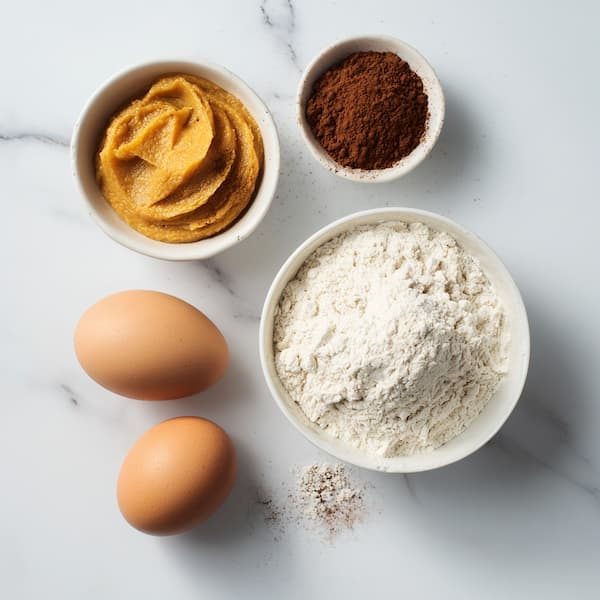
I use oat flour as a base because it’s gentle on digestion and provides steady energy. Many dogs struggle with wheat, so this is a safer option in my experience. Carob powder gives a similar taste to chocolate but without any toxicity, making it ideal for dog treats.
Pumpkin puree is one of the best ingredients I include because it supports digestion and contains vitamins A and C. Eggs provide protein and essential amino acids that help maintain muscle health. Coconut oil adds healthy fats, which I’ve noticed can improve coat shine and skin condition over time.
For the Peanut Butter Swirl
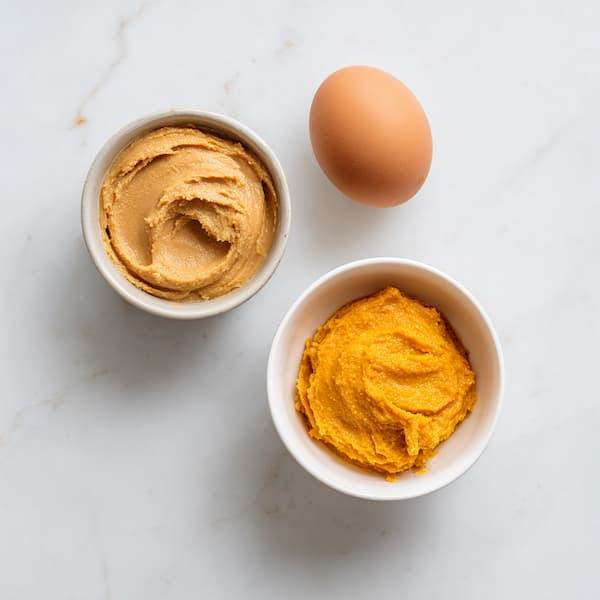
I like adding a peanut butter swirl because it makes the brownies more appealing and adds extra nutrients. The key thing I always check is that the peanut butter is xylitol-free, since xylitol is highly toxic to dogs.
Mixing peanut butter with pumpkin puree and an egg creates a smooth texture and adds protein and healthy fats. This combination also improves the flavor without making the treat unhealthy.
Required Equipment
I keep things simple with basic kitchen tools like mixing bowls, a whisk, and a baking dish. An 8-inch square pan works best for even baking. I also use parchment paper because it makes removing and cutting the brownies much easier.
From my experience, setting up everything before starting saves time and helps avoid mistakes during the process.
Step-by-Step Instructions
Step 1: Preparation Setup
I start by preheating the oven to 350°F (175°C) and lightly greasing the baking dish. Lining it with parchment paper helps me remove the brownies easily later. Keeping the oven rack in the center ensures even baking.
I also make sure all ingredients are measured and at room temperature. This small step improves mixing and gives a better final texture.
Step 2: Create the Perfect Peanut Butter Swirl
I mix pumpkin puree, peanut butter, and an egg until the texture becomes smooth and creamy. If it feels too thick, I add a small amount of warm water. If it’s too thin, I mix in a bit more peanut butter.
Getting the consistency right here makes a big difference in how the swirl looks and tastes after baking.
Step 3: Combine Dry Ingredients
I whisk together oat flour and carob powder in a separate bowl. This helps prevent clumps and ensures the flavor spreads evenly throughout the brownies.
Skipping this step can lead to uneven texture, so I always take a minute to do it properly.
Step 4: Create the Foundation Brownie Batter
In another bowl, I mix pumpkin puree, eggs, and melted coconut oil until smooth. I make sure the oil is not too hot, as that can affect the eggs.
Then I slowly add the dry ingredients and mix until everything is combined. I avoid overmixing because it can make the brownies dense.
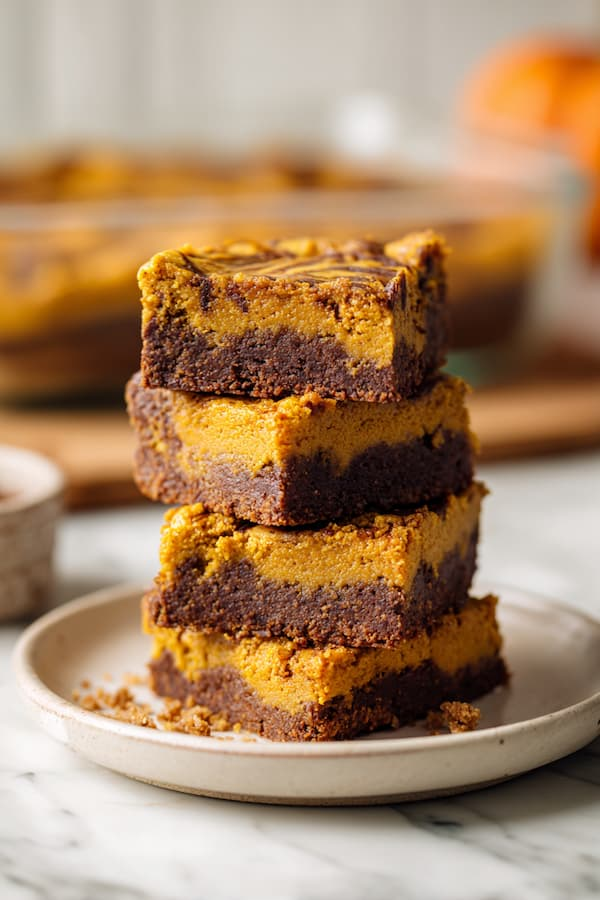
Step 5: Assembly and Swirling Technique
I pour the batter into the baking dish and spread it evenly. Then I add spoonfuls of the peanut butter mixture on top.
Using a knife or toothpick, I gently swirl the mixture to create a marbled pattern. This step not only improves appearance but also spreads the flavor evenly.
Step 6: Optimal Baking Process
I bake the brownies for about 30–35 minutes. I check doneness by inserting a toothpick into the center—it should come out with a few moist crumbs, not wet batter.
From what I’ve seen, slightly underbaking is better than overbaking because it keeps the brownies soft and more enjoyable for dogs.
Step 7: Cooling and Serving Preparation
I let the brownies cool completely for at least 2 hours before cutting. This helps them firm up and makes slicing easier.
Cutting too early can cause them to fall apart, so I always wait until they are fully set.
Storage Tips
I store the brownies in an airtight container in the refrigerator, where they stay fresh for up to 7 days. For longer storage, I freeze individual pieces and thaw them when needed.
Freezing is useful if you want to prepare treats in advance without worrying about spoilage.
Feeding Tips
I treat these brownies as an occasional snack, not a regular meal. Keeping treats under 10% of daily calories helps maintain a healthy weight.
Portion size depends on the dog’s size and activity level. I usually start with a small piece and observe how my dog reacts before giving more.
If a dog has allergies or health conditions, I always recommend checking with a vet before trying new foods.
Nutritional Benefits of Ingredients
Oat flour provides fiber that supports digestion and helps maintain steady energy levels. Carob powder contains antioxidants and offers a safe alternative to chocolate.
Pumpkin puree is rich in fiber and vitamins, which can improve gut health. Eggs supply protein and amino acids that support muscles and coat health.
Coconut oil provides healthy fats that benefit skin and brain function. Peanut butter adds protein and flavor, making the treat more enjoyable.
Customization Ideas
In spring, I sometimes add a small amount of fresh mint to help freshen breath. During summer, mixing in mashed blueberries or strawberries adds antioxidants.
In autumn, I like adding grated sweet potato and a pinch of cinnamon for extra nutrients. In winter, a bit of plain yogurt can increase protein and improve taste.
These small changes keep the recipe interesting while still maintaining its nutritional value.
Common Mistakes to Avoid
I never use chocolate instead of carob because it’s dangerous for dogs. I also always check peanut butter labels to ensure there’s no xylitol.
Overbaking is another mistake I avoid because it can make the brownies too hard. Keeping an eye on baking time helps maintain the right texture.
FAQs
Is carob safe for dogs?
Yes, from everything I’ve researched and used myself, carob is completely safe and provides a similar taste to chocolate without harmful effects.
How long do these brownies last at room temperature?
I don’t leave them out for more than 2–3 hours. After that, I store them in the fridge to avoid spoilage.
Can I use regular flour instead of oat flour?
I avoid regular flour because some dogs are sensitive to gluten. Alternatives like rice or coconut flour can work, but I adjust liquids accordingly.
Can I add honey for sweetness?
I use honey sparingly, usually no more than one teaspoon for the entire batch. Too much sugar isn’t good for dogs and can upset digestion.
Final Thoughts
For me, these homemade dog brownies are more than just treats—they’re a simple way to show care and attention to what my dog eats. Using safe and nutritious ingredients makes a big difference in long-term health.
Every time I bake these, I see the same excitement and energy, and that’s what makes it worthwhile. Small efforts like this can go a long way in keeping dogs happy and healthy.
All content on this site is written and reviewed by our experienced team to ensure it is accurate, reliable, and helpful for our readers. Our Our Process page explains how we carefully research and create high-quality content, while our Team page introduces the professionals behind our work. We also provide clear guidelines for content or image concerns on our Image Removal page, so you can trust that we prioritize transparency, quality, and reader safety.