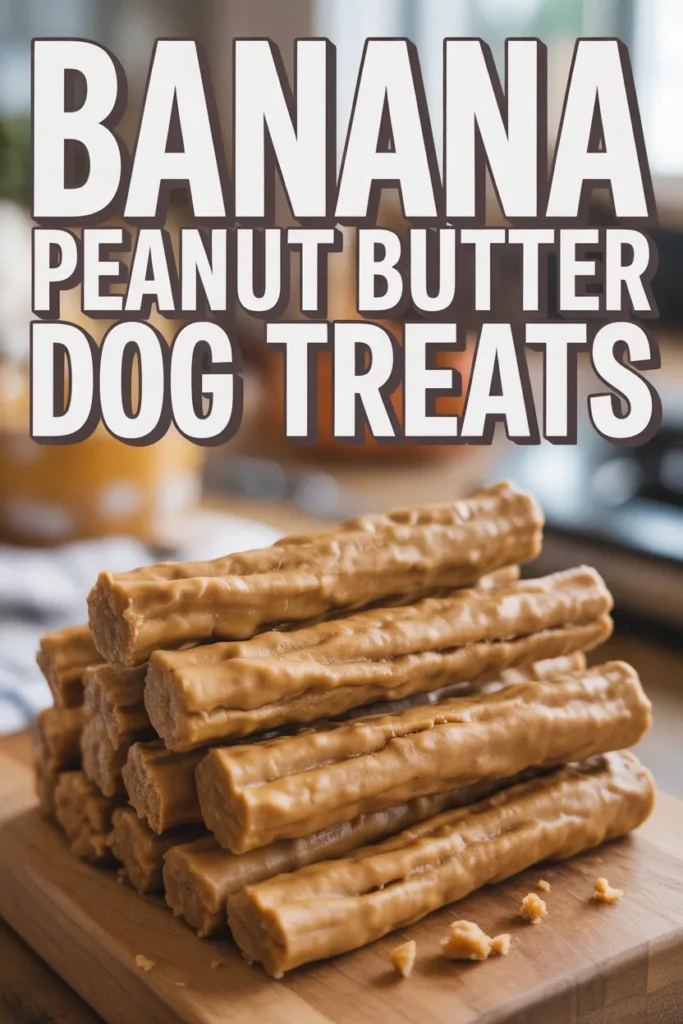
Banana Peanut Butter Chew Sticks for Dogs
I’ve made a lot of homemade dog treats over the years, but these banana peanut butter chew sticks are one of the easiest and most loved recipes in my kitchen. They combine simple, dog-safe ingredients into a chewy, flavorful snack that works as both a treat and a light enrichment activity.
Save For Later
In this guide, I’ll walk through exactly how I make them, different cooking methods (oven, air fryer, dehydrator), feeding guidelines based on dog size, storage tips, and ingredient benefits backed by real nutritional value. I’ll also share small adjustments I personally use to get the perfect texture every time.
Key Takeaways
- I use ripe bananas for natural sweetness and better digestion
- Peanut butter adds protein, but must always be xylitol-free
- These chew sticks support dental stimulation due to their texture
- Proper portion control prevents excess calorie intake
- You can bake, air fry, or dehydrate depending on texture preference
Why Your Dog Will Love This Recipe
From my experience, dogs are naturally drawn to sweet and nutty flavors, and this recipe delivers both in a balanced way.
Bananas bring natural sugars and potassium, which help support muscle function. Peanut butter is highly palatable for most dogs—studies show fat-rich foods increase reward response in dogs, making this a high-value treat.
What I like most is the chewy texture. It keeps dogs engaged longer compared to soft treats, which can help reduce boredom. Plus, making these at home means I avoid preservatives and artificial additives commonly found in store-bought treats.
Banana and Peanut Butter Chew Sticks for Dogs
I keep this recipe simple and consistent because that’s what works best for digestion and repeat results.
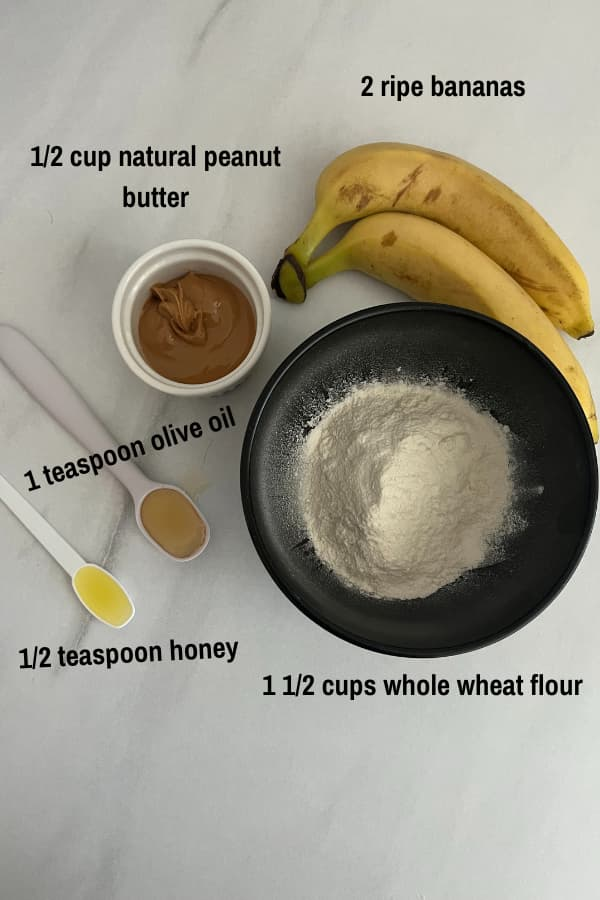
Ingredients
Here’s exactly what I use and why:
- 2 ripe bananas (mashed): I always choose overripe bananas because they’re easier to digest and naturally sweeter
- 1/2 cup natural peanut butter: Provides protein and healthy fats (around 8g protein per 2 tbsp)
- 1 1/2 cups whole wheat flour: Adds fiber and structure to the chew sticks
- 1 teaspoon olive oil: Supports skin and coat health due to omega fats
- 1/2 teaspoon honey (optional): Adds flavor, but I keep it minimal
- Water (as needed): Helps adjust dough consistency
Step-by-Step Instructions
Making the Dough
When I make these, I focus on texture more than anything.
I start by preheating the oven to 350°F (175°C) so everything is ready. Then I mash the bananas until mostly smooth—small lumps are fine and actually help with texture.
Next, I mix in peanut butter, olive oil, and honey until everything blends evenly. After that, I slowly add flour. I’ve learned not to dump it all at once—gradual mixing gives better dough control.
If the dough feels dry, I add water one tablespoon at a time. Then I knead it for about 2–3 minutes until it becomes soft and workable.
Pro Tip: If the dough sticks to your hands, a light dusting of flour fixes it instantly.
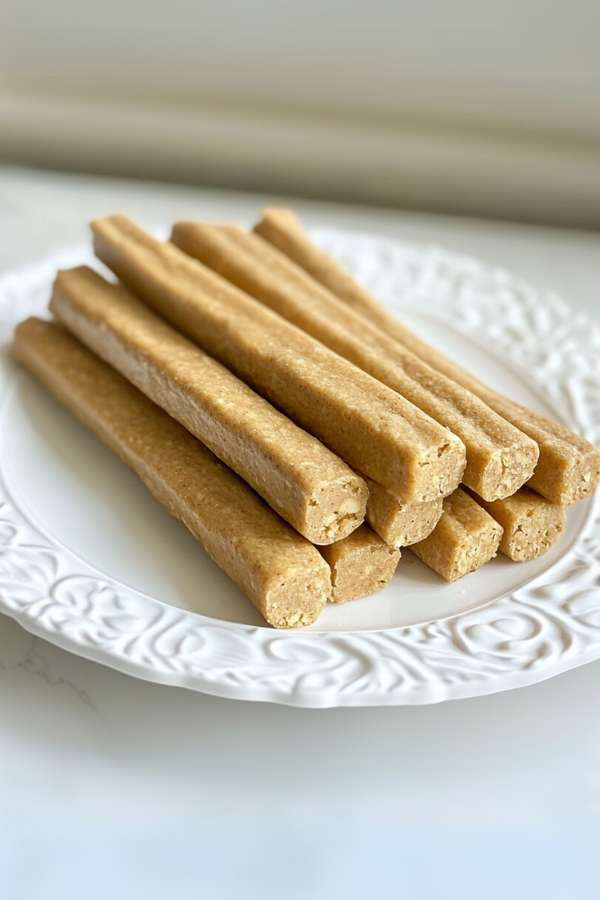
Shaping the Sticks
I usually divide the dough into small portions about the size of a golf ball.
Rolling them into sticks is simple, but I’ve noticed that slightly damp hands prevent cracking. I aim for about 4–5 inches long and medium thickness so they cook evenly.
Spacing them properly on the tray is important—this ensures even airflow and prevents uneven baking.
Oven Method
This is the method I use most often.
I bake the sticks for about 20–25 minutes until they turn lightly golden and firm. The firmness matters because it directly affects chew time.
After baking, I always let them cool completely. They harden slightly as they cool, which improves texture.
Air Fryer Method
When I’m short on time, I switch to the air fryer.
I set it to 325°F (160°C) and cook in small batches. From my testing, 8–10 minutes works best, flipping halfway through for even cooking.
This method gives a slightly crisp outer layer while keeping the inside chewy.
Dehydrator Method
For longer-lasting chew sticks, I prefer dehydrating.
I set the dehydrator to 145°F (63°C) and let them dry for 6–8 hours. This removes moisture slowly, making the treats tougher and longer-lasting.
This method is ideal if your dog enjoys extended chewing sessions.
Feeding Guidelines
Even though these are healthy, I always treat them as snacks, not meals.
- Small dogs (under 20 lbs): I stick to 1 per day
- Medium dogs (20–50 lbs): 1–2 sticks
- Large dogs (50+ lbs): 2–3 sticks
I always monitor for reactions when introducing new treats. Bananas and peanut butter are generally safe, but every dog is different.
Storage and Serving Tips
From my experience, proper storage makes a big difference.
I keep them in an airtight container for up to a week at room temperature. If I want them to last longer, I refrigerate them for up to two weeks.
Freezing works great too—I store them up to 3 months and thaw when needed.
For training, I often break them into smaller pieces. It helps control portions while still rewarding my dog.
Tips for Success
Over time, I’ve learned a few small tricks that make this recipe more reliable:
- I always use ripe bananas for better flavor and digestion
- I double-check peanut butter labels for xylitol (it’s toxic)
- I adjust dough consistency instead of forcing it to work
- I stick to portion sizes to avoid excess calories
Benefits of the Ingredients
I like knowing exactly what goes into my dog’s treats.
Bananas provide potassium and vitamin B6, which support energy and muscle health. Peanut butter offers protein and healthy fats, but moderation is key due to calories.
Whole wheat flour adds fiber for digestion, while olive oil supports coat health. Honey, when used sparingly, adds antioxidants.
FAQ Section
1. Can I use a different flour?
Yes, I’ve tested oat flour and it works well. Coconut flour absorbs more moisture, so I reduce the quantity slightly.
2. Is honey safe for dogs?
In small amounts, yes. I avoid giving it to puppies or dogs with blood sugar issues.
3. Can I use store-bought peanut butter?
Yes, but I always check the label carefully. It must be natural and free from xylitol.
Final Words of Banana Peanut Butter Chew Sticks for Dogs
I keep coming back to this recipe because it’s simple, affordable, and consistently loved by dogs. It gives me full control over ingredients, which matters when I want to avoid unnecessary additives.
Whether I’m making a quick batch in the oven or prepping longer-lasting treats in the dehydrator, these chew sticks always turn out reliable. For me, it’s one of those recipes that balances nutrition, taste, and practicality without overcomplicating things.
All content on this site is written and reviewed by our experienced team to ensure it is accurate, reliable, and helpful for our readers. Our Our Process page explains how we carefully research and create high-quality content, while our Team page introduces the professionals behind our work. We also provide clear guidelines for content or image concerns on our Image Removal page, so you can trust that we prioritize transparency, quality, and reader safety.