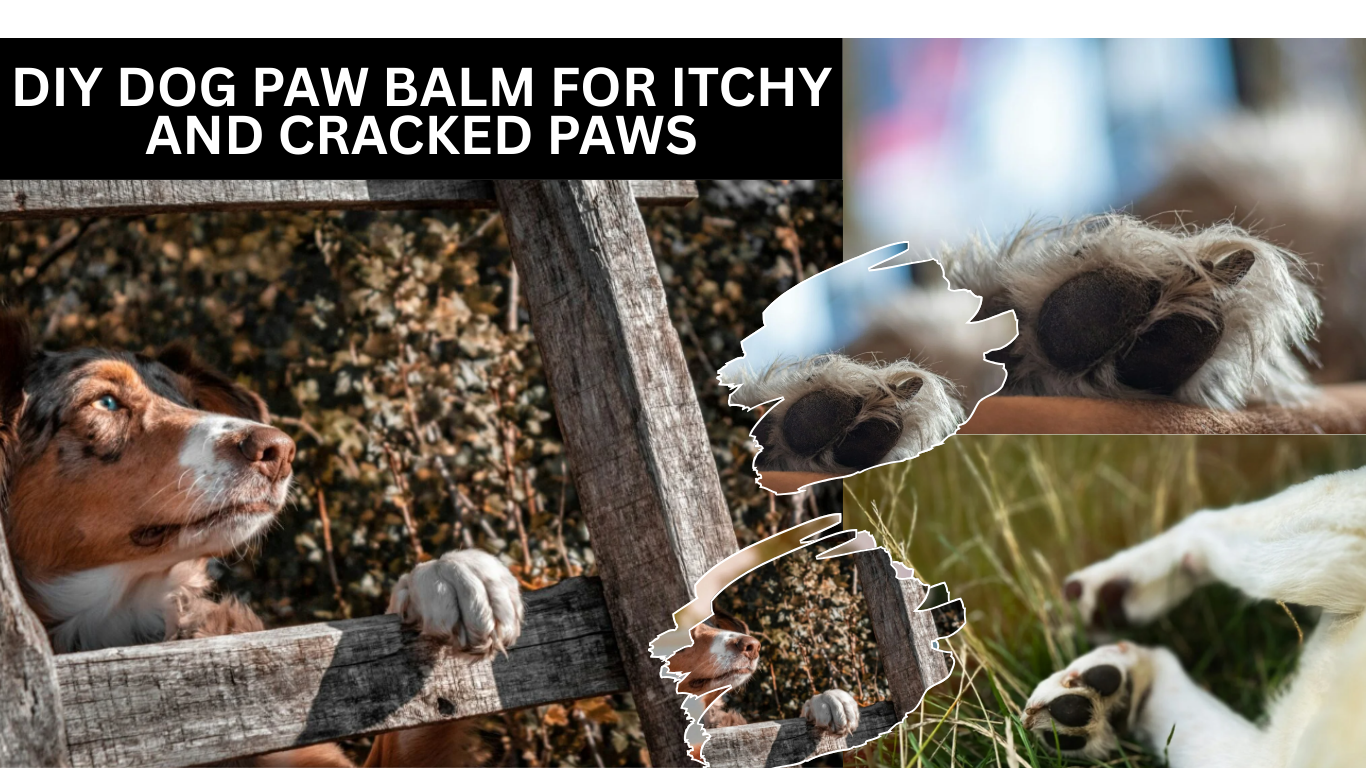
DIY Dog Paw Balm for Itchy and Cracked Paws
Ever noticed your dog slowing down on walks, lifting a paw for no obvious reason, or licking their feet more than usual? Over time, you start to realize how much stress their paws quietly take every single day. Hot sidewalks, freezing winter ground, rough trails, cleaning chemicals on floors — paws deal with it all without complaint.
I’ve seen dogs with otherwise perfect health struggle just because their paw pads became too dry or cracked. When paws hurt, dogs don’t always cry or limp right away. Instead, they change behavior. They hesitate before walks. They stop enjoying outdoor play. That’s usually when you know something isn’t right.
That’s where a simple, natural paw balm can make a real difference. Not something filled with artificial scents or mystery ingredients — but a gentle, homemade blend that supports your dog’s paws the way nature intended. The best part is that it’s easy to make, safe to use, and feels good knowing exactly what you’re putting on your dog.
Why Does Your Dog Need Paw Balm?
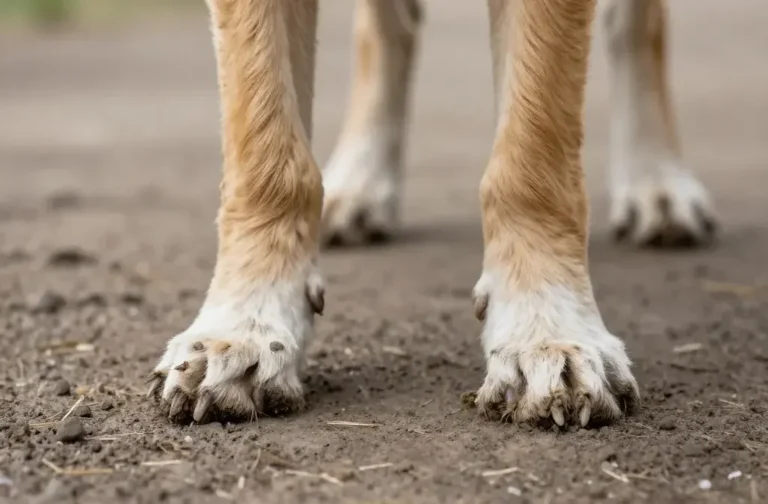
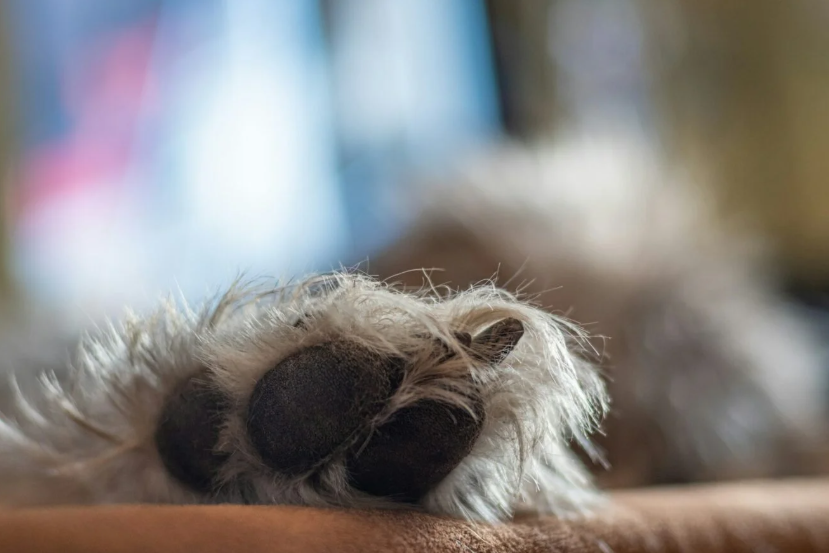
Dog paws may look tough, but they aren’t indestructible. The pads are designed for traction and protection, yet they can dry out quickly when exposed to extreme weather or hard surfaces. Once dryness sets in, tiny cracks can form. Left alone, those cracks can worsen, become painful, and even invite infection.
I’ve learned that paw balm isn’t just a “nice extra.” It’s basic care — just like brushing or bathing. Regular use helps keep the skin flexible and resilient, which is what prevents problems before they start.
A good paw balm keeps moisture where it belongs, protects pads from damage, and helps paws recover faster when they’ve already been stressed. Dogs that receive consistent paw care move more comfortably, walk more confidently, and show fewer signs of irritation overall.
Hydration
Dry paw pads lose their natural elasticity. When that happens, even normal walking can feel uncomfortable. A proper balm replenishes moisture deep into the pad, helping the skin stay soft without becoming slippery. This hydration is especially important during winter heating seasons and peak summer heat, when paws dry out faster than owners expect.
Protection
Healthy paws still need defense. Pavement can burn, ice can crack skin, and rough ground can wear pads down over time. A balm creates a thin protective layer that acts like a shield. It doesn’t block sensation, but it does reduce friction and exposure, making everyday surfaces easier on your dog’s feet.
Healing
Minor irritation and surface cracks don’t heal well when skin stays dry. Natural oils and butters support the skin’s natural repair process. With consistent application, paws recover faster, redness fades, and tenderness decreases. This kind of healing support helps prevent small issues from turning into long-term problems.
Comfort
Comfort changes everything. Dogs with healthy paws move more freely, play longer, and lick their feet less. When discomfort disappears, you often notice improved mood and energy. Paw balm isn’t just about physical care — it affects how your dog feels day to day.
The Ingredients You’ll Need
One of the biggest advantages of making paw balm at home is simplicity. You don’t need complex tools or hard-to-find items. Everything used is gentle, widely trusted, and well-tolerated by most dogs.
These ingredients work together to moisturize, protect, and soothe without overwhelming sensitive skin.
Why These Ingredients Work
Each ingredient plays a clear role. Coconut oil softens and calms dry skin while supporting overall skin health. Shea butter adds deep nourishment and helps pads stay flexible even in harsh weather. Beeswax locks everything in place and forms a breathable barrier that protects paws during walks. Olive oil improves texture and adds an extra layer of hydration, making the balm smooth and easy to apply.
Lavender oil, when used carefully and in very small amounts, can offer calming and soothing benefits. It’s optional, and skipping it doesn’t reduce the effectiveness of the balm.
Step-by-Step Instructions
Making paw balm at home doesn’t require special skills. It’s a straightforward process that takes very little time, yet the results last for months.
Melt the Ingredients
All solid ingredients are gently melted together until smooth. This step blends everything evenly, ensuring each ingredient works as intended. Low heat is important to preserve the quality of the oils and butters.
Add Essential Oil (Optional)
If you choose to use lavender oil, it’s added only after the mixture is removed from heat. This prevents the oil from losing its properties and ensures even distribution throughout the balm.
Pour Into Containers
Once melted and mixed, the balm is poured into containers while still liquid. Small jars or tins work well and make application easy whenever your dog needs it.
Let It Cool
The balm naturally firms as it cools. No refrigeration is required. Once solid, it’s ready to use and keeps its texture well when stored properly.
How to Use Your DIY Paw Balm
Applying paw balm is simple, but doing it correctly helps it work better. Clean paws allow the balm to absorb properly and prevent trapping dirt underneath.
A small amount goes a long way. Massaging it into each pad not only spreads the balm evenly but also increases circulation, which supports healing. Keeping your dog distracted for a few minutes helps prevent licking while the balm settles in.
Consistency matters more than quantity. Regular use during extreme weather or when paws look dry keeps problems from returning.
Practical Tips for Paw Balm Success
Timing plays a big role. Applying balm before rest periods gives it time to absorb fully. Using a towel underneath keeps things clean and stress-free. Storing the balm in a cool place maintains its texture, and if it softens, it can easily be firmed again.
FAQs
Is this balm safe if my dog licks it?
Yes. The ingredients are chosen specifically for safety. Occasional licking won’t cause harm, though less licking means better results.
How often should I use the balm?
Daily use works well during extreme conditions. For general care, a few times a week is usually enough.
Can I use it on other areas?
Dry noses, elbows, and rough skin patches respond well to the same balm.
How long does it last?
Properly stored balm remains effective for several months. Any change in smell or texture means it’s time to make a fresh batch.
What if my dog’s paws are bleeding or infected?
Serious injuries require veterinary care. This balm supports minor dryness and irritation only.

Why You’ll Love This DIY Paw Balm
There’s peace of mind in knowing exactly what you’re using on your dog. No unnecessary chemicals, no fillers, and no guesswork. It’s affordable, adaptable, and genuinely effective. Over time, you’ll notice healthier paws, fewer issues, and a dog that moves with more confidence and comfort.
Final Thoughts of DIY Dog Paw Balm for Itchy and Cracked Paws
Your dog’s paws carry them through every part of their life — daily walks, playtime, adventures, and quiet moments at home. Caring for them isn’t optional; it’s part of responsible ownership.
This DIY paw balm offers a simple, natural way to protect and support those paws year-round. Once you see the difference it makes, it quickly becomes part of your regular care routine — and your dog will feel that difference with every step they take. 🐾