Homemade Cheese Dog Treats: A Cheesy Two-Ingredient Delight for Your Pup
I’ve found that nothing makes my dog happier than a fresh homemade treat. These 2-ingredient cheese dog treats are one of the easiest recipes I rely on when I want something quick, healthy, and budget-friendly.
In my experience, simple recipes like this work best because I know exactly what goes into my dog’s food—no fillers, no preservatives, just real ingredients. Plus, most dogs love cheese, which makes these treats a guaranteed win.
Save For Later

From my testing, this recipe takes less than 30 minutes from start to finish and uses only pantry basics—flour, cheese, and a little water. The result is a crunchy, protein-rich snack that supports dental health and works great for training.
I also like how flexible this recipe is. I sometimes add parsley for fresher breath or turmeric for joint support, which makes these treats even more functional.
Key Takeaways
- I use only 2 main ingredients, making it beginner-friendly
- Ready in about 25–30 minutes total
- Crunchy texture helps reduce plaque buildup
- Can be customized with healthy add-ins
- Works well as a training treat when broken into small pieces
2-Ingredient Cheese Dog Treats Recipe
Ingredients
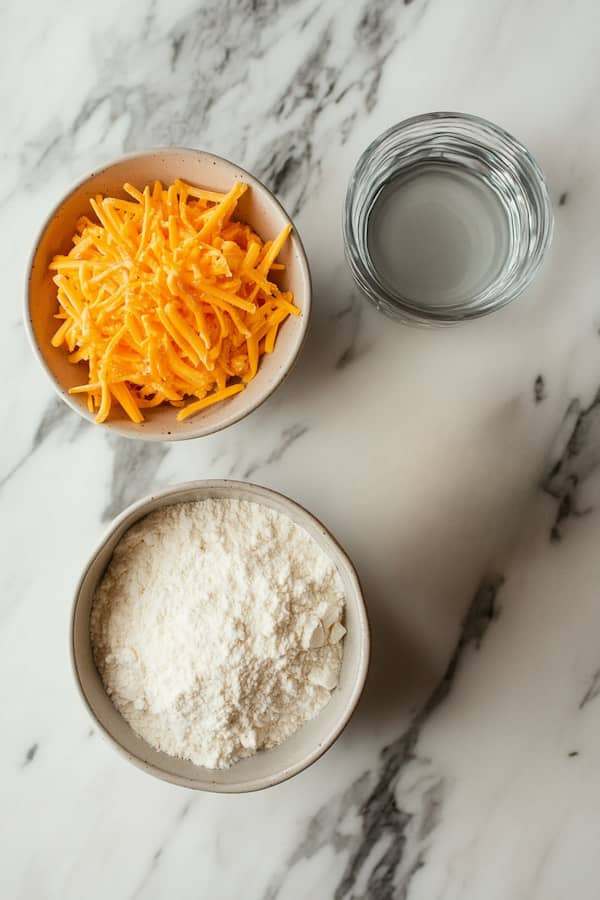
- 1 ½ cups whole wheat flour
- 1 ½ cups shredded cheddar cheese
- 2 tablespoons water
Optional Add-Ons
- 1 tablespoon parsley
- 1 teaspoon turmeric
My Insight: Whole wheat flour adds fiber (around 12g per cup), while cheddar provides calcium and protein, both important for bone strength and muscle support.
Step-by-Step Instructions
Step 1. Preheat the Oven
I always preheat my oven to 350°F (175°C) and line a tray with parchment paper. This prevents sticking and keeps cleanup simple.
Step 2. Mix the Dry Ingredients
I combine flour and cheese in a large bowl and mix until evenly distributed. This step ensures every bite has that cheesy flavor dogs love.
Step 3. Add Water and Form the Dough
I slowly add water and mix until a firm dough forms. If it feels too dry, I add a few drops more—but I avoid making it sticky.
Then I knead it lightly for about 1–2 minutes so everything binds well.
Pro Tip: A firm dough gives crunchier treats, which helps support dental health.
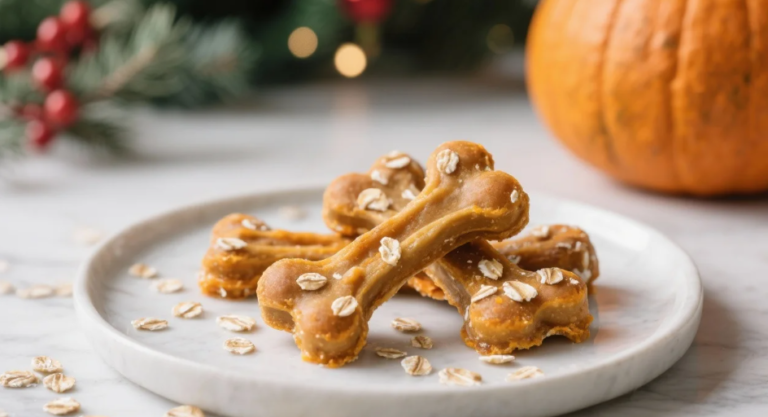
Step 4. Roll Out and Cut Shapes
I roll the dough to about ¼-inch thickness and cut it into shapes. Bone cutters are fun, but I often just use simple circles to save time.
Step 5. Bake
I place the treats on the tray with a little space between them and bake for 20–25 minutes until they turn golden and firm.
Step 6. Cool Completely

I always let them cool fully on a rack. This step is important because it helps the treats harden and become crunchy.
Feeding Guidelines
I treat these as snacks, not meals, and keep portions controlled to avoid weight gain.
Portion Sizes
- Small Dogs (under 20 lbs): 2–3 treats daily
- Medium Dogs (20–50 lbs): 3–4 treats daily
- Large Dogs (50+ lbs): 4–5 treats daily
Fact: Treats should not exceed 10% of a dog’s daily calorie intake to maintain a healthy weight.
Tips for Feeding
I always watch my dog’s reaction when introducing new treats. Cheese can be rich, so I avoid giving too much at once.
For training, I break these into smaller pieces—it helps with portion control and keeps my dog motivated without overfeeding.
Storage and Serving Guidelines
I store these treats in an airtight container in the fridge, where they stay fresh for up to 7 days.
For longer storage, I freeze them for up to 3 months and thaw before use.
Pro Tip: Freezing in small batches makes daily use more convenient.
Why These Treats Are Great
I keep coming back to this recipe because it’s simple, affordable, and effective.
The crunchy texture helps reduce plaque buildup, and the cheesy flavor keeps my dog excited every time. I also like that I can easily adjust ingredients based on my dog’s needs.
FAQs on Cheese Dog Treats
Can I use a different type of flour?
Yes, I sometimes use oat flour for dogs with wheat sensitivity. Almond flour can also work but should be used in moderation due to higher fat content.
Can I store these treats at room temperature?
If baked until very firm, I’ve stored them for up to 5 days at room temperature. Still, I prefer refrigeration for better freshness and safety.
Are these treats safe for puppies?
Yes, but I give smaller portions and always suggest checking with a vet, especially for young puppies with sensitive digestion.
All content on this site is written and reviewed by our experienced team to ensure it is accurate, reliable, and helpful for our readers. Our Our Process page explains how we carefully research and create high-quality content, while our Team page introduces the professionals behind our work. We also provide clear guidelines for content or image concerns on our Image Removal page, so you can trust that we prioritize transparency, quality, and reader safety.