How to Clean Hair Brushes (Without Losing Your Cool)
Let’s be honest for a second—when was the last time you actually cleaned your hair brush? If your answer is somewhere between “I can’t remember” and “never,” you’re definitely not alone.
Over the years, I’ve noticed something interesting. As someone who has spent more than 20 years grooming dogs and caring for coats, I’m extremely strict about cleaning grooming tools for pets—but many people completely forget to clean the brushes they use on themselves. And trust me, hair brushes collect a surprising amount of oil, dust, dead skin, lint, styling products, and even pet fur.
A brush that looks clean on the surface can still be holding a lot of buildup underneath the bristles. The good news is that cleaning it is actually simple, quick, and oddly satisfying.
Key Takeaways
• Hair brushes collect oils, dead skin, lint, and product buildup that should be cleaned regularly
• Removing trapped hair before washing makes cleaning far easier
• A simple mix of warm water and shampoo or dish soap works perfectly
• Plastic brushes can be soaked, while wooden brushes should only be lightly cleaned
• Proper drying prevents mold and damage to the brush base
• Cleaning your brush every 2–3 weeks keeps hair healthier and reduces scalp irritation
• Regular brush cleaning extends the life of your grooming tools
Step 1: Get the Hair Out
This part is obvious but it’s also the step most people underestimate.
When I clean grooming brushes after working with dogs, the first thing I always do is remove as much loose hair as possible. The same rule applies to human hair brushes.
Start with your fingers and pull out the larger clumps of hair. If your brush has been neglected for a while, it might look like it’s wearing its own tiny wig.
For hair that’s tightly wrapped around the base:
• Use scissors and gently cut through the hair vertically
• Pull the strands out in sections
• Use a tail comb or even a pen to hook and lift trapped hair
I’ve learned this trick from years of pet grooming—cutting the hair bundle first makes removal much faster and prevents damaging the bristles.
And if you live with pets, don’t be surprised if you find more dog or cat fur in your brush than your own hair.
Step 2: Make a Cleaning Solution
You don’t need any expensive beauty products to clean a brush.
In my experience—whether I’m cleaning a dog grooming slicker brush or a regular hair brush—warm water and mild soap work perfectly.
Here’s a simple solution:
• Fill a bowl or sink with warm water
• Add a few drops of shampoo or gentle dish soap
• Mix until slightly sudsy
Shampoo works especially well because it’s designed to remove natural oils and product buildup from hair, which is exactly what’s stuck on your brush.
For brushes with heavy buildup, I sometimes add a small spoon of baking soda. It acts as a mild degreaser and helps loosen stubborn residue.
Step 3: Wash That Brush
Now comes the actual cleaning.
Different brush materials require slightly different care.
Plastic brushes can usually be fully submerged. Swirl them in the cleaning solution and scrub the base and bristles using an old toothbrush. This helps remove dirt trapped at the base.
Wooden brushes or brushes with cushioned pads need a gentler approach.
Instead of soaking them completely:
• Dip only the bristles into the water
• Use a toothbrush or cloth to scrub
• Avoid soaking the wooden handle
Too much water can warp wood or weaken the adhesive holding the brush together.
From years of cleaning grooming tools, I can tell you something simple but true: most dirt hides where the bristles meet the base. Spend a little extra time there.
Step 4: Rinse Like You Mean It
After scrubbing, rinse the brush thoroughly.
Run plastic brushes under warm water until the soap and residue are completely gone. If you still see white flakes or product residue clinging to the bristles, rinse again.
For delicate or wooden brushes, use a damp cloth to wipe away soap rather than placing the whole brush under running water.
Proper rinsing prevents leftover residue from transferring back into your hair later.
Step 5: Dry Properly
Drying is one of the most important steps, and many people rush through it.
After rinsing:
• Shake off excess water
• Place the brush bristle-side down on a clean towel
• Allow it to air dry completely
This position prevents water from collecting inside the brush base.
If moisture gets trapped, it can lead to mold or bacterial growth, which is the last thing you want touching your scalp.
Depending on the brush type, drying may take a few hours to overnight.
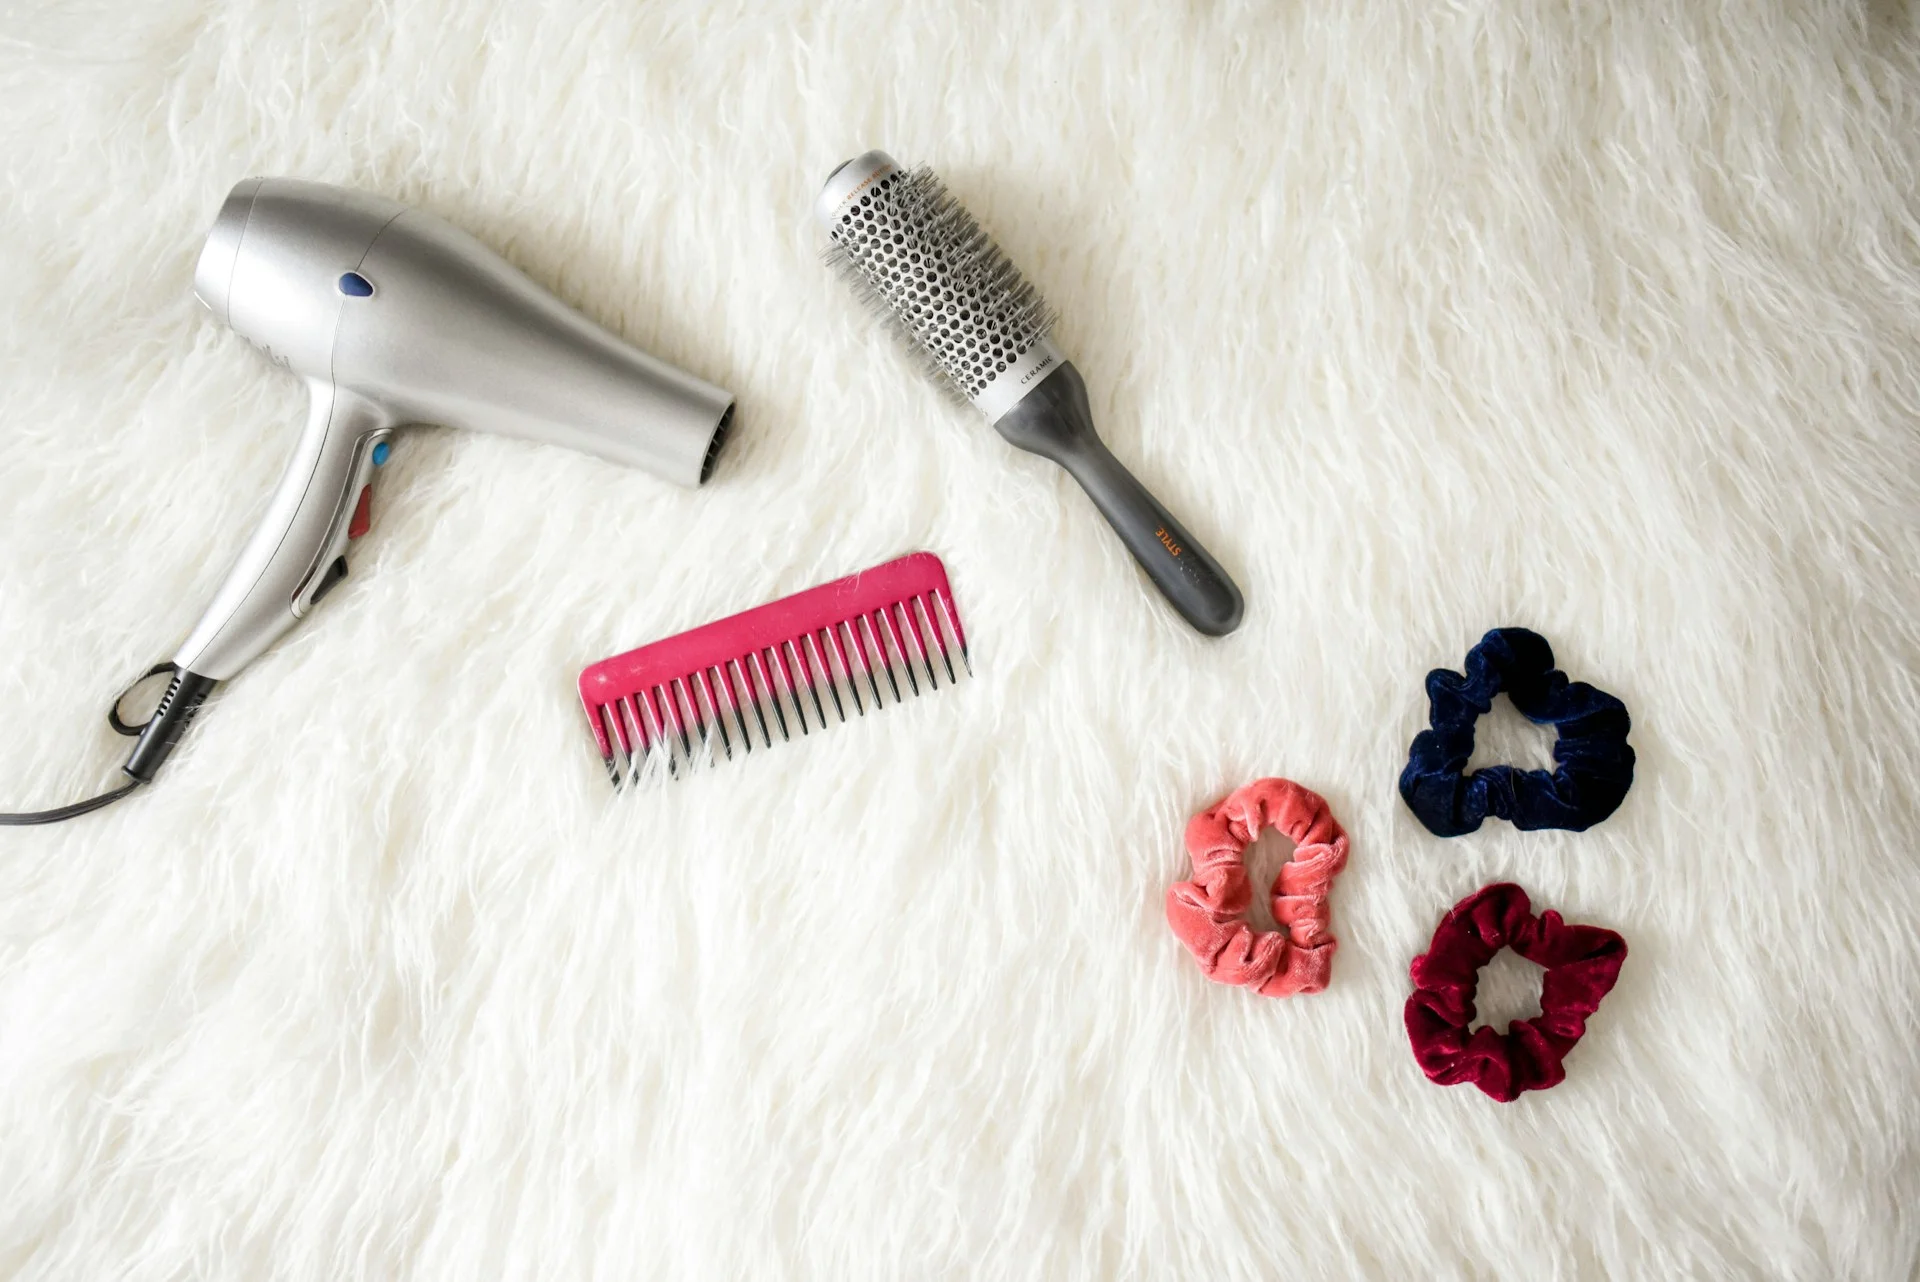
Step 6: Don’t Forget the Combs
Combs collect the same buildup as brushes, sometimes even more.
Luckily, they’re much easier to clean.
Just place them in your soapy water solution, scrub gently with a toothbrush if needed, rinse thoroughly, and let them dry on a towel.
I personally clean combs at the same time as brushes so I don’t forget.
How Often Should You Clean Your Hair Brush?
This is where many people fall short.
Based on my experience with grooming tools, regular cleaning keeps brushes working better and prevents buildup from transferring back to hair.
Here’s a simple guideline:
If you use styling products like gels, sprays, or dry shampoo
Clean your brush once a week
If you rarely use products
Clean your brush every 2–3 weeks
If you live with pets or share brushes
Clean them more frequently
A surprising stat: the average person sheds 50–100 hairs per day, and a good portion of those end up trapped in brushes.
Regular cleaning prevents that buildup from mixing with oils and dust.
Extra Tips for a Super Clean Brush
After grooming dogs for two decades, I’ve picked up a few extra cleaning tricks that work just as well for human brushes.
Disinfect occasionally
Soak the bristles briefly in a mix of 1 part vinegar and 2 parts water to reduce bacteria and odor.
Clean immediately after illness
If you’ve had dandruff, scalp irritation, or illness, wash your brush sooner to prevent bacteria buildup.
Choose easier-to-clean brushes
Brushes with widely spaced bristles are much easier to maintain.
Remove hair regularly
Even if you don’t fully wash the brush, pulling hair out every few days keeps it cleaner longer.
Why Bother Cleaning Anyway?
I completely understand why people skip this task. Cleaning a hair brush isn’t exactly exciting.
But the benefits are real.
Healthier hair
A dirty brush spreads old oil and product residue back onto freshly washed hair.
Better scalp health
Clean brushes reduce the chance of buildup and scalp irritation.
Longer brush lifespan
Dirt and oils can weaken bristles over time.
Better styling
Clean brushes glide through hair more easily, which reduces breakage and pulling.
In professional dog grooming, clean tools are essential for healthy coats, and the same idea applies to human hair.
Final Thoughts
Hair brushes are one of those everyday tools that quietly do their job without much attention. They deal with tangles, oils, styling products, lint, and sometimes even pet fur.
The least we can do is clean them occasionally.
After spending more than two decades grooming dogs and maintaining grooming tools, I can tell you one thing with confidence: clean brushes always perform better and last longer.
So the next time your brush starts looking a little fuzzy around the bristles, take a few minutes to clean it properly. Your hair and scalp will absolutely notice the difference.
And if your dog decides to investigate while you’re cleaning it—well, after 20 years around dogs, I can say that curiosity is always part of the process.