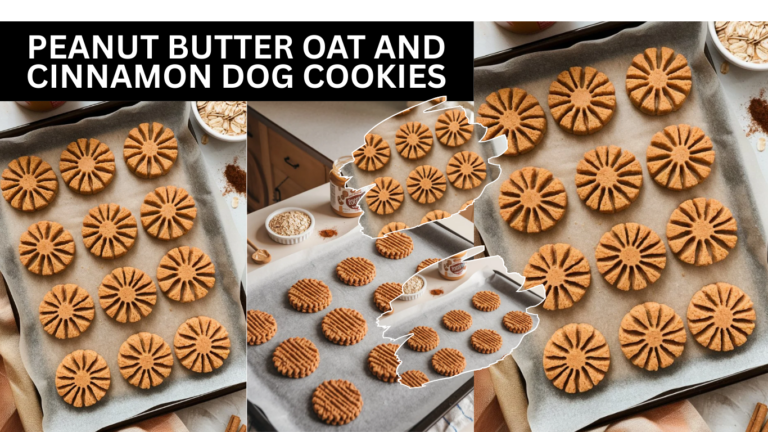
Mini Peanut Butter Bite sized Dog Treats for Training
If your dog instantly perks up at the word “treat,” you already know how powerful the right reward can be. When training regularly, the size and texture of the treat make a huge difference. Large treats slow things down. Crumbly treats make a mess. High-calorie treats add up fast. That’s why these mini peanut butter bite-sized treats work so well.
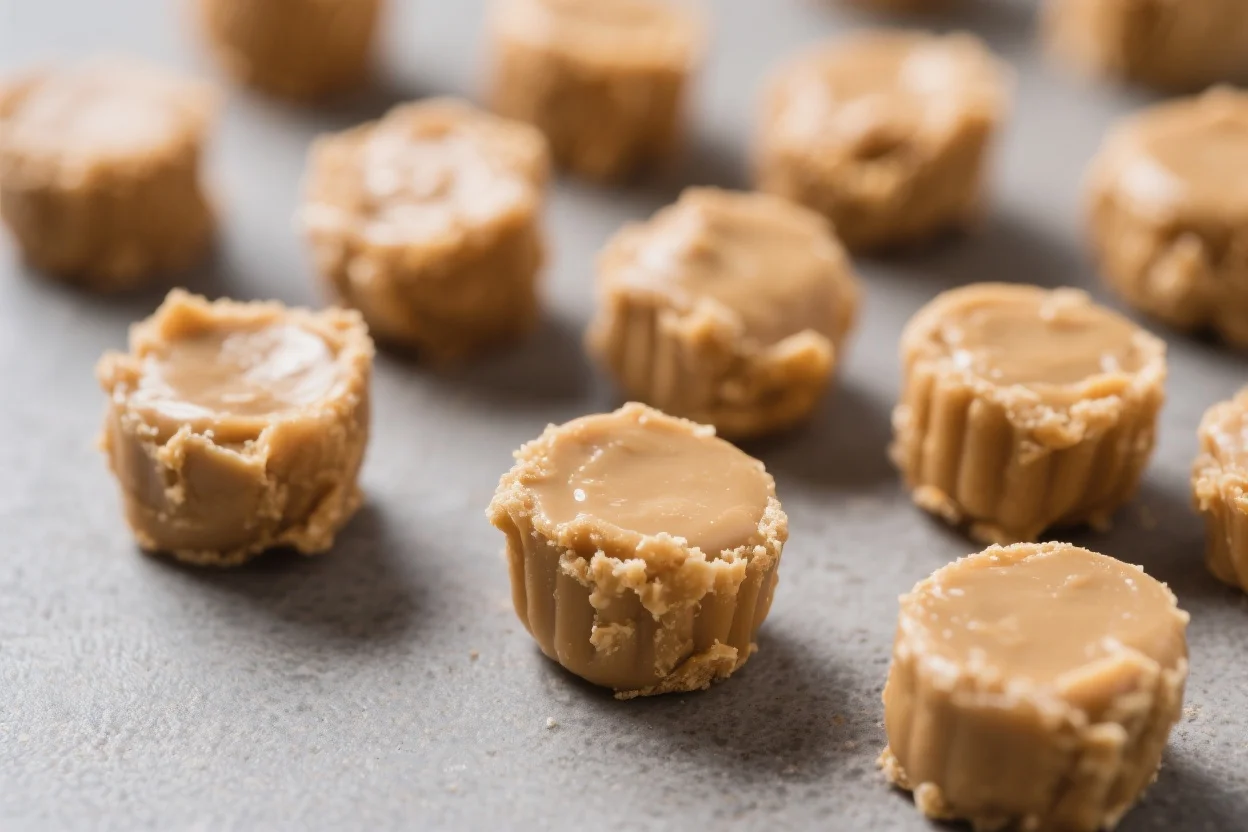
They’re soft, tiny, easy to handle, and ideal for repeated rewards during training sessions. You stay in control of the ingredients, the texture, and the portion size. They’re simple to prepare and ready in under an hour, making them practical for weekly prep.
What Makes These Perfect for Training
Training requires repetition. Repetition requires small rewards.
These treats are designed to:
- Be pea-sized for frequent reinforcement
- Stay firm enough not to crumble in your pocket
- Deliver a simple peanut butter flavor dogs naturally love
- Avoid unnecessary fillers or artificial ingredients
- Support consistent, focused training sessions
Because they’re small, your dog chews quickly and refocuses on you instead of getting distracted. That flow makes training smoother and more effective.
Ingredients
You only need a few basic pantry ingredients:
- 1/2 cup natural peanut butter (unsweetened, unsalted, and xylitol-free)
- 1 large egg
- 2/3 cup oat flour (or blend rolled oats until fine)
- 1/4 cup unsweetened applesauce or mashed ripe banana
- 1–2 tablespoons water (only if needed for dough consistency)
Optional:
- 1 tablespoon finely ground flaxseed
- A small pinch of ground cinnamon
- Parchment paper or nonstick spray
Always check the peanut butter label carefully. Xylitol is toxic to dogs and must never be used.
Step-by-Step Instructions
1. Preheat the Oven
Preheat to 325°F (165°C). Line a baking sheet with parchment paper or lightly grease it.
2. Mix Wet Ingredients
In a bowl, whisk together the egg, peanut butter, and applesauce (or banana) until smooth and creamy.
3. Add Dry Ingredients
Stir in oat flour and any optional ingredients. Mix until a soft dough forms.
Adjust if needed:
- If crumbly → Add water one teaspoon at a time
- If sticky → Add a little more oat flour
The dough should be soft but easy to roll.
4. Shape the Treats
Pinch off very small portions and roll into pea-sized balls, about 1/2 inch wide.
For flatter treats, gently press with a fork.
Keeping them small is essential for proper portion control during training.
5. Bake
Place on the baking sheet with slight space between each treat.
- Bake 10–12 minutes for softer treats
- Bake up to 14 minutes for firmer bites
Watch closely to avoid overbaking.
6. Cool Completely
Let them cool on the pan for five minutes, then transfer to a rack. Cooling fully helps them firm up and prevents crumbling.
Before training, break any larger pieces into smaller bits.
Storage Guidelines
To maintain freshness:
- Room temperature: Up to 3 days in an airtight container
- Refrigerator: Up to 10 days in a sealed container
- Freezer: Up to 2 months
Thaw small portions as needed.
For moisture control, place a small piece of paper towel in the container to absorb excess moisture.
Nutritional Benefits
Each ingredient serves a purpose:
- Peanut butter and egg provide protein for muscle support
- Oat flour offers gentle fiber for digestion
- Natural fats support skin and coat health when fed in moderation
- No artificial sweeteners or fillers keep the recipe clean and simple
These treats are designed to reward without unnecessary additives.
Common Mistakes to Avoid
- Never use peanut butter containing xylitol
- Do not make treats too large
- Avoid overbaking
- Introduce new ingredients gradually
- Keep treats within 10% of daily calorie intake
Proper portion control ensures training remains healthy and effective.
Recipe Variations
To add variety while keeping the base simple:
- Replace applesauce with 1/4 cup pure pumpkin puree
- Use mashed ripe banana and a small pinch of cinnamon
- For a grain-free version, use fine almond flour plus 1 tablespoon coconut flour
- Bake 8–9 minutes for extra-soft treats
- Bake slightly longer and pulse into crumbs for kibble toppers
Small adjustments keep training interesting without complicating the recipe.
Frequently Asked Questions of Mini Peanut Butter Bite sized Dog Treats for Training
Can I use any peanut butter?
Only use plain, natural peanut butter without added sugar, salt, xylitol, or artificial sweeteners.
How small should training treats be?
Pea-sized or smaller for quick chewing and better focus.
Are these safe for puppies?
Yes, for most puppies over 8 weeks old if there are no allergies. Introduce gradually and consult your vet if unsure.
How many treats can my dog have daily?
Treats should not exceed 10% of daily calorie intake. Adjust meals slightly on heavy training days.
Can I make them crunchier?
Yes. Bake 1–2 minutes longer and allow to cool completely.
What if I don’t have oat flour?
Blend rolled oats until fine. It works the same way.
Do I need molds?
No. Rolling small balls by hand is quick and effective.
Can I add meat or cheese?
Yes, in small amounts. Finely grated low-fat cheese or a teaspoon of pureed cooked chicken can be added. Adjust moisture if necessary.
Will they crumble in my pocket?
If fully cooled, they hold their shape well. Baking an extra minute can increase firmness.
How long do they last?
Up to 3 days at room temperature, 10 days refrigerated, and 2 months frozen. Always check for spoilage before serving.
These mini peanut butter bite-sized dog treats are built specifically for training. They’re tiny, simple, and practical. With controlled ingredients and proper portioning, you can reward consistently while maintaining your dog’s health and focus.