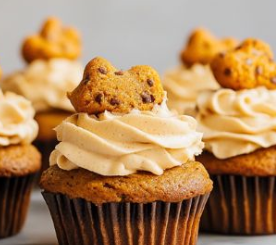
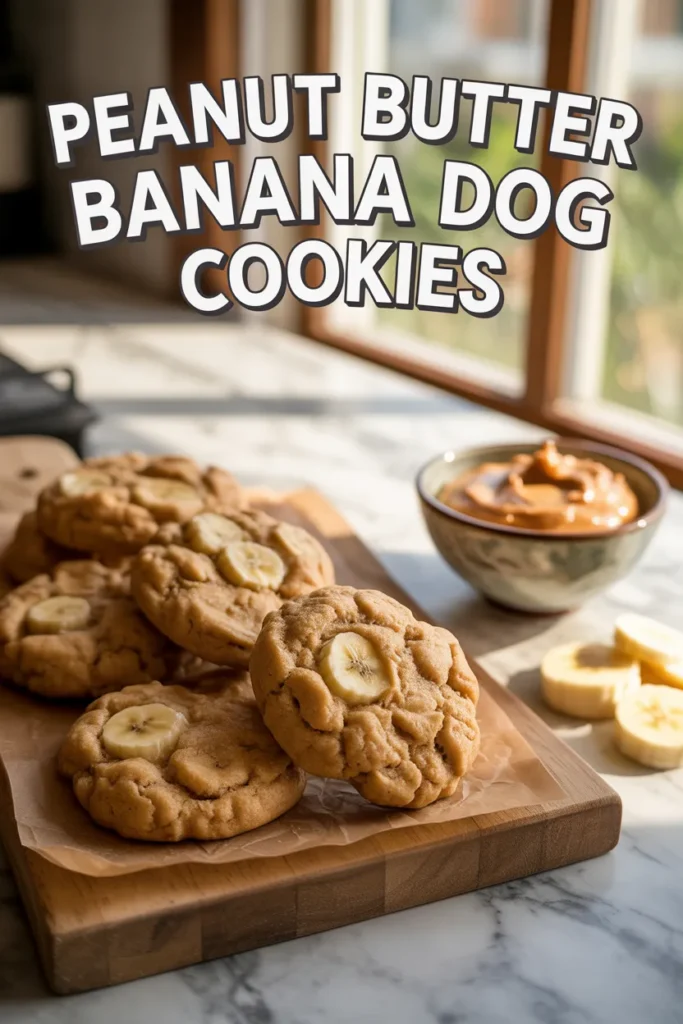
Peanut Butter & Banana Cookies: A Classic Combo for Happy Pups
After spending years around dogs—feeding, grooming, and testing homemade treats—I’ve learned one thing: simple recipes work best. These Peanut Butter & Banana Dog Cookies are one of my go-to treats because they’re quick, affordable, and dogs genuinely love them.
Save For Later
In this guide, I’ll walk you through exactly how I make them, why each ingredient matters, and how to store and serve them safely. I’ll also share tips I’ve learned over time to make sure your dog gets the most benefit without overfeeding.
These cookies are soft, nutritious, and perfect for training, snacks, or even as a meal topper when used in moderation.
Key Takeaways
- I’ve been making this recipe for years for dogs of all ages
- Peanut butter adds protein and healthy fats (when xylitol-free)
- Banana provides natural sweetness, fiber, and potassium
- Recipe is beginner-friendly and takes under 30 minutes
- Works well for training, rewards, or occasional treats
- Always keep treats under 10% of daily calorie intake
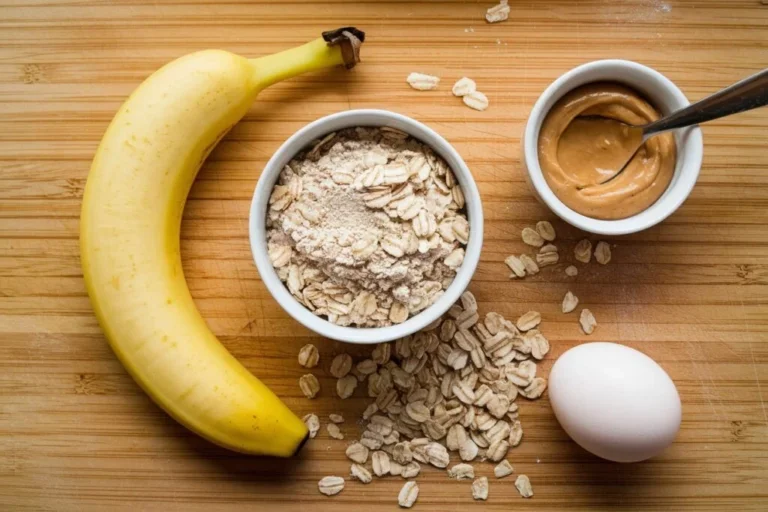
Ingredients: Simple, Nutritious, and Drool-Worthy
I always keep my dog treat recipes simple because fewer ingredients mean fewer chances of digestive issues. These are ingredients I trust and use regularly.
- 1 cup oat flour – Gentle on digestion and naturally gluten-free. I prefer this for dogs with sensitive stomachs.
- 1/2 cup natural peanut butter – Great protein source, but I always double-check it’s free from xylitol (which is toxic to dogs).
- 1 ripe banana (mashed) – Adds natural sweetness plus fiber and potassium.
- 1 egg (optional) – Helps bind the dough and adds extra protein.
From my experience, dogs with mild digestive issues respond really well to oat flour and banana compared to heavier ingredients like wheat.
Instructions: Making Peanut Butter & Banana Cookies in 5 Easy Steps
I’ve shared this method with many dog owners, and it works consistently without fail.
Step 1: Preheat Your Oven
I preheat the oven to 350°F (175°C) and line a baking tray with parchment paper. This prevents sticking and saves cleanup time.
Step 2: Mix Ingredients
In a bowl, I combine oat flour, peanut butter, mashed banana, and egg. I mix until it forms a thick dough.
If it’s too sticky, I add a little more flour. If it’s dry, a splash of water fixes it.
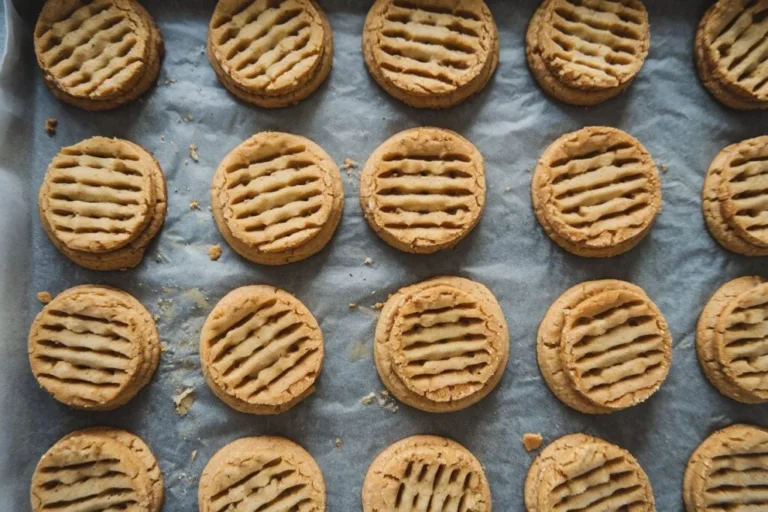
Step 3: Shape the Cookies
I roll small portions into balls and flatten them gently. Keeping them small helps with portion control later.
Step 4: Bake
I bake them for 15–20 minutes. If I want crunchier cookies, I leave them in a bit longer—most dogs seem to prefer that texture.
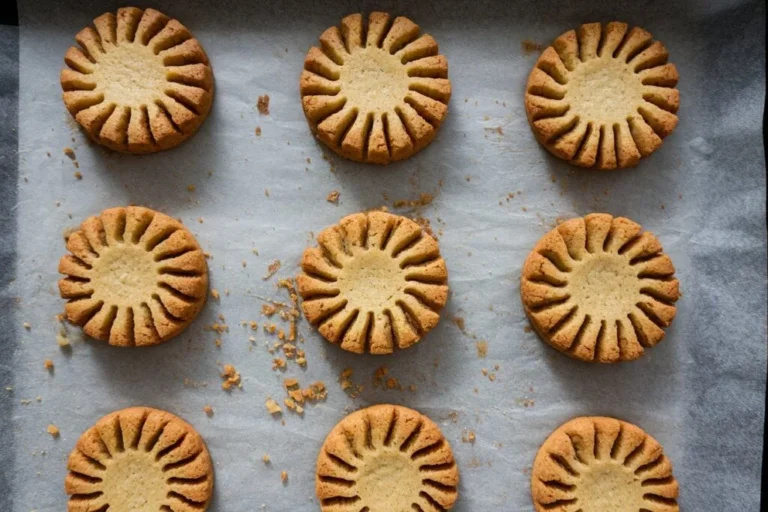
Step 5: Cool and Serve
I always let them cool completely before serving. This step is important to avoid mouth burns and to firm up the texture.
Why These Ingredients Are Perfect for Your Pup
I don’t just pick ingredients for taste—I look at how they support a dog’s health.
- Oat Flour – Provides fiber and steady energy without upsetting the stomach
- Peanut Butter – Supports skin and coat health due to healthy fats
- Banana – Helps digestion and supports muscle function with potassium
- Egg – Adds high-quality protein for muscle maintenance
From a nutritional standpoint, most vets recommend keeping treats under 10% of a dog’s daily calories, which this recipe easily fits when portioned correctly.
Pro Tip: To keep these treats extra healthy, lightly toast the oat flour before mixing—it enhances flavor and makes it easier for dogs with sensitive stomachs to digest.
Storing the Goodies
I usually make a batch and store it properly to save time during the week.
- In the fridge – Keeps fresh for up to 7 days in an airtight container
- In the freezer – Lasts up to 3 months; I freeze half and thaw as needed
Freezing is especially useful if you want to maintain freshness without baking frequently.
Related Posts:
- Peanut Butter Macarons for Dogs
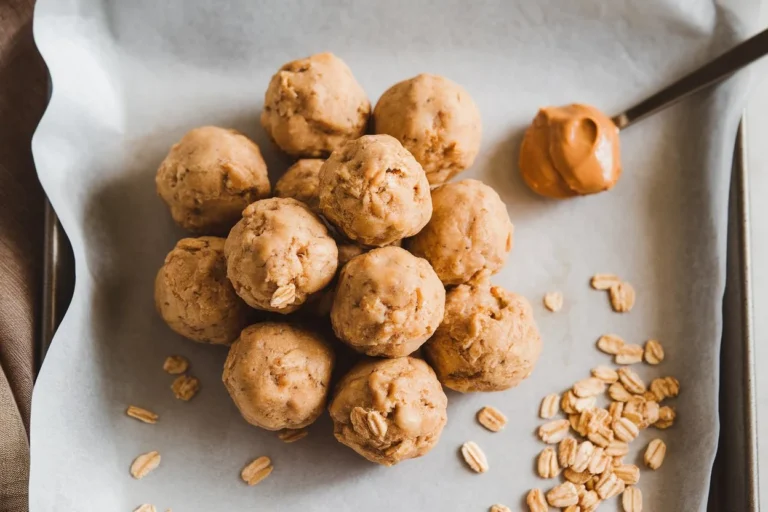
- Easy No-Bake Homemade Peanut Butter and Banana Dog Treats
- Banana Peanut Butter Chew Sticks for Dogs
Serving Suggestions: Anytime, Anywhere
Over the years, I’ve used these cookies in different ways depending on the situation.
- Training Treats – I break them into smaller pieces for quick rewards
- Snack Time – Great as an occasional treat between meals
- Meal Topper – Crumbling them works well for picky eaters
One tip I follow: smaller portions keep dogs interested without overfeeding.
FAQs
Q: Can I use a different flour?
Yes, I’ve tried rice flour and whole wheat flour. You may need to adjust moisture slightly.
Q: What if my dog can’t eat eggs?
I use a flax egg (1 tbsp flaxseed + 3 tbsp water) or just increase banana.
Q: How often should I give these?
I stick to the 10% rule. For small dogs, usually one cookie per day is enough.
Q: Can I add extra flavor?
Yes, small amounts of cinnamon or turmeric are safe and may support joint health.
Q: Are these okay for puppies?
Yes, but I introduce them slowly and serve smaller pieces.
Q: What if my dog doesn’t like banana?
I swap it with pumpkin puree or unsweetened applesauce.
Q: How do I make them crunchier?
I bake them a bit longer or leave them in the oven as it cools.
Final Thoughts
After years of making homemade dog treats, this is one recipe I keep coming back to. It’s simple, reliable, and works for most dogs without causing digestive issues.
What I like most is that I know exactly what’s going into my dog’s food—no preservatives, no fillers, just real ingredients. That peace of mind matters.
If your dog enjoys peanut butter, there’s a good chance they’ll love these cookies. And once you make them a few times, you’ll probably stop buying store-bought treats altogether.
All content on this site is written and reviewed by our experienced team to ensure it is accurate, reliable, and helpful for our readers. Our Our Process page explains how we carefully research and create high-quality content, while our Team page introduces the professionals behind our work. We also provide clear guidelines for content or image concerns on our Image Removal page, so you can trust that we prioritize transparency, quality, and reader safety.