
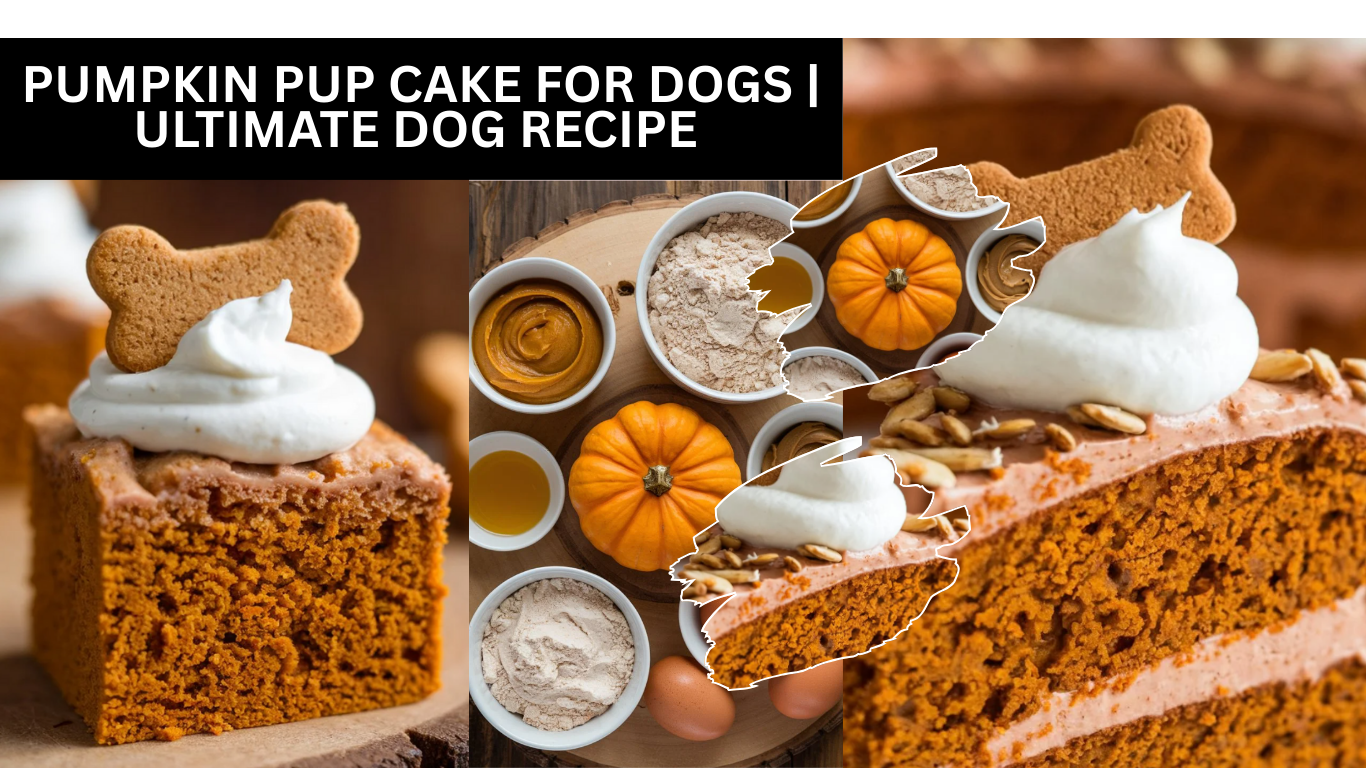
Pumpkin Pup Cake for Dogs | Ultimate Dog Recipe You Pup Will Love
You know your dog is the best companion you could ever have. They greet you with pure joy, listen to your thoughts even if they don’t understand every word, and love you unconditionally. You should never underestimate how much they rely on your care. That’s why you need to show them some love back with a homemade pumpkin pup cake. It’s so much better than those store-bought treats that are often bland and full of fillers. And let’s be honest—you’ll get just as much joy from watching them devour it as they do eating it.
Plus, if you have leftover pumpkin puree sitting in the fridge, you should absolutely put it to good use here. There’s no better way to make your dog feel special and appreciated.
Why Pumpkin for Pups?
You need to know that pumpkin is not just tasty—it’s packed with nutrients that support your dog’s health. Fiber in pumpkin keeps their digestion smooth and predictable, which means fewer unexpected messes around the house. Vitamins A, C, and E, along with antioxidants, help support immunity, skin, and coat health. When you give your dog pumpkin, you’re not just giving them a treat; you’re giving them something that genuinely contributes to their wellbeing. You should feel proud knowing you’re offering something that’s both healthy and delicious.
The Recipe: Easy Pumpkin Pup Cake (Even I Can Do It)
If you think you’re not a baker, don’t worry—you can do this. I promise. You need just a few simple ingredients that you probably already have at home. The instructions are straightforward, and following them carefully will result in a treat your dog will go crazy for. You should pay attention to each step because the little details—like mixing just enough—make a big difference in texture and taste.
Ingredients: The Lineu
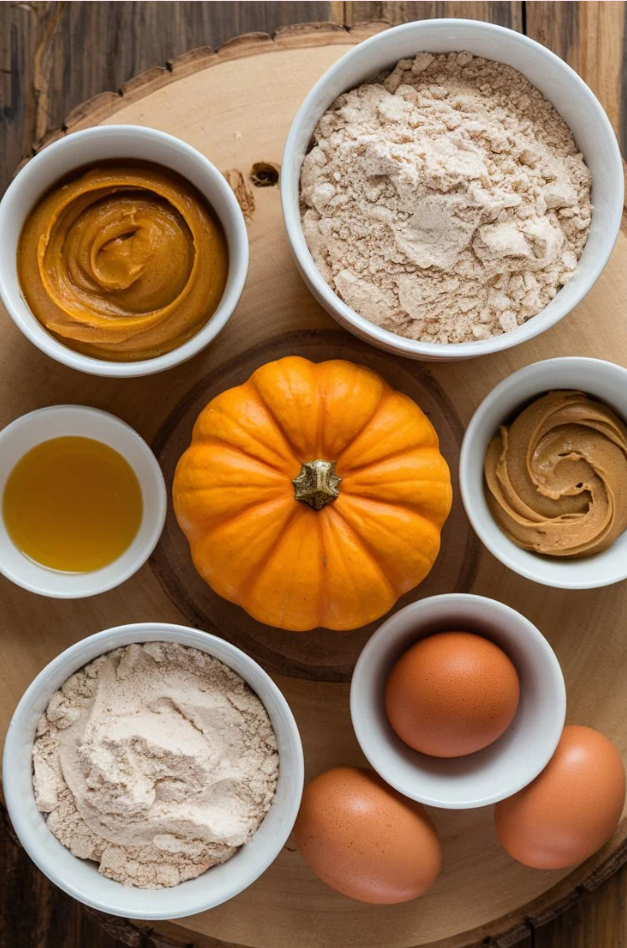
- 1 ½ cups whole wheat flour – You can use oat flour if your pup has a sensitive stomach. This is essential for a good base.
- 1 cup pumpkin puree – Make sure it’s plain pumpkin, not pie filling. You need to double-check the label; your dog’s tummy will thank you.
- ½ cup unsweetened applesauce – Adds moisture and a hint of sweetness. If you don’t have it, mashed banana or plain yogurt works too.
- 2 eggs – These are necessary for structure and binding.
- ¼ cup peanut butter (xylitol-free!) – Seriously, this is non-negotiable. Xylitol is toxic to dogs, and you should always read the label.
- 1 teaspoon baking soda – Helps the cake rise.
- ½ teaspoon cinnamon – Optional, but it makes the kitchen smell amazing and adds a touch of warmth.
Optional “Frosting”
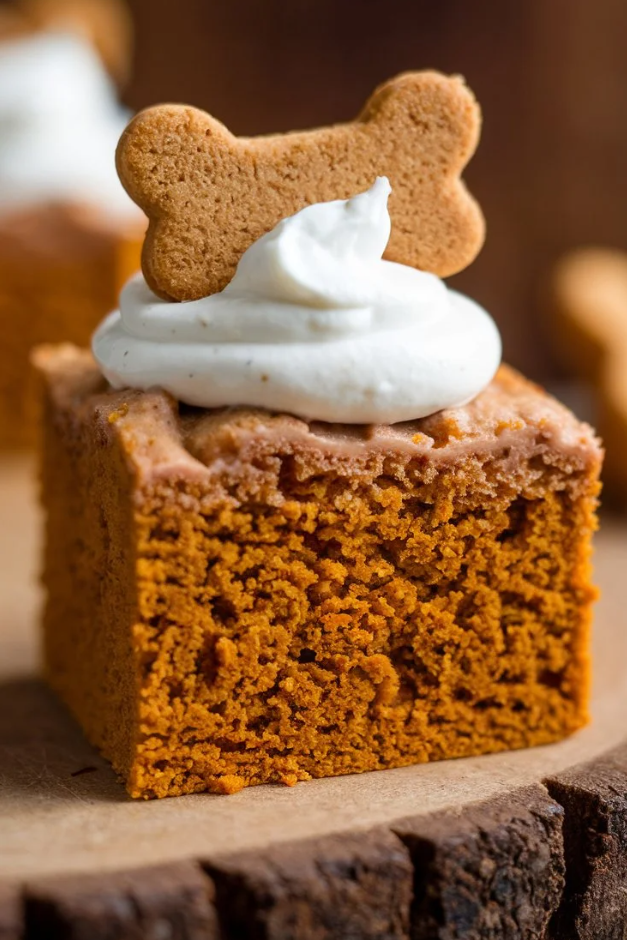
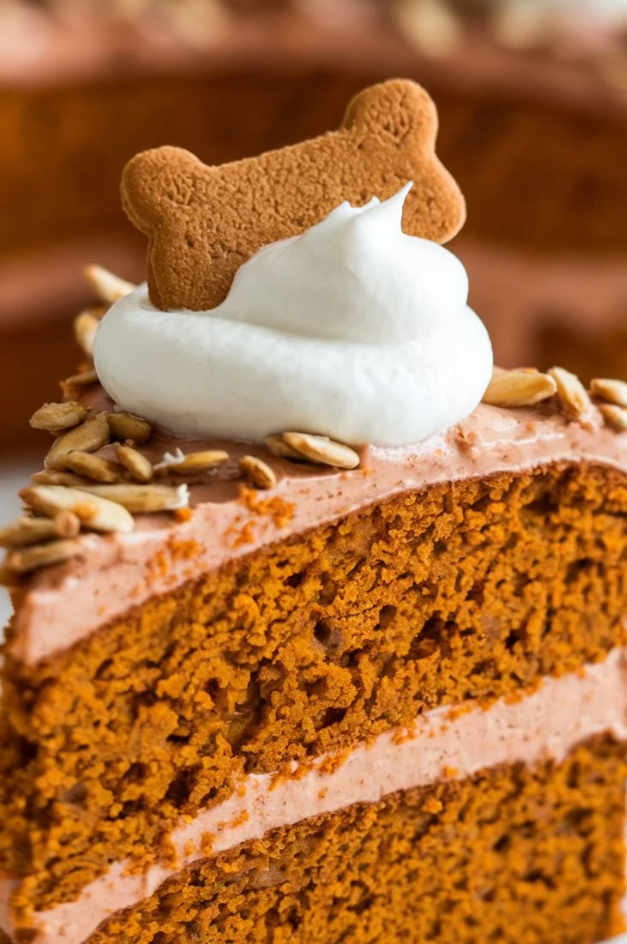
- A dollop of plain Greek yogurt or a drizzle of xylitol-free peanut butter can make it look extra special. You can even add a few dog biscuits on top if you want to get creative.
Instructions: Let’s Get Baking!
- Preheat your oven to 350°F (175°C) and grease your pan. Muffin tins work well if you want individual pup cakes.
- In a large bowl, combine the flour, pumpkin puree, applesauce, eggs, peanut butter, baking soda, and cinnamon. You should mix gently—overmixing can make the cake tough.
- Pour the batter into your prepared pan.
- Bake for 20–25 minutes, or until a toothpick inserted in the center comes out clean. You need to let the cakes cool completely before adding any frosting.
“Frosting” Fun: Making it Fancy
Once the cakes are cooled, add a dollop of plain Greek yogurt or a drizzle of safe peanut butter. You should feel free to get creative—add some dog biscuits or small treats on top. Your dog will appreciate the extra effort, and honestly, it makes serving them that much more fun.
Tips and Tricks for Pup Cake Success
- Always use xylitol-free peanut butter – This is the single most important tip. You need to take this seriously.
- Don’t overmix the batter – Mix only until everything is combined. Overmixing can result in dense, tough cakes.
- Let the cakes cool completely before frosting – Otherwise, the topping will melt and create a mess.
- Store in the refrigerator – Cakes will stay fresh longer this way.
- Feed in moderation – Even though these cakes are healthy-ish, they are still treats. You should give your pup a reasonable portion to avoid any tummy troubles.
Q: Can I use canned pumpkin pie filling?
A: No. You need plain pumpkin puree only. Pie filling has sugar and spices that can upset your dog’s stomach.
Q: My dog is allergic to wheat.
A: Substitute with oat or coconut flour. You should always use dog-safe alternatives to avoid allergic reactions.
Q: No applesauce—what can I use instead?
A: Mashed banana or plain yogurt works well to add moisture. Avoid sugary or artificially sweetened substitutes.
Q: My dog doesn’t like pumpkin.
A: Try adding a bit more peanut butter. Most dogs can’t resist it, but you must ensure it’s xylitol-free.
Q: How long will these cakes last?
A: Store in an airtight container in the fridge for up to a week, but realistically, they’ll be eaten sooner.
Q: Can I freeze them?
A: Yes. Wrap each cake individually in plastic wrap and store in a freezer bag. They can last a few months.
Q: My dog ate the whole cake!
A: Too much at once can cause a tummy ache. Moderation is key—you should pace the treats.
Q: Can humans eat this cake?
A: It’s designed for dogs, so it won’t be particularly flavorful for people. You need to know it’s made for canine tastes, not human ones.
Q: Can I share the recipe with friends?
A: Absolutely! You should make sure they know the importance of using xylitol-free peanut butter.
Final Thoughts of Pumpkin Pup Cake for Dogs
Baking a pumpkin pup cake is one of the simplest ways to show your dog how much you care. You need to understand that their excitement and happiness when tasting it is priceless. Taking a little extra time to make this treat will make you feel like the best dog parent ever. Even if they don’t share a lick with you, you should know it’s the thought and effort that counts—and trust me, your dog will remember it.
