Why Make Your Own Dog Treats?
If you’ve ever stared at a shelf full of dog treats and felt completely baffled, you know the struggle. So many options, ingredients you can’t pronounce, and prices that make your wallet cry. The thing is, when you make treats at home, you know exactly what’s going into them. No fillers, no preservatives, no weird chemicals. It’s real food that you can feel good about giving your furry friend.
It’s also way cheaper. A single bag from the store can cost more than a full meal for yourself, and let’s be honest, most of those treats aren’t that healthy anyway. And yes, your dog will probably show you more enthusiasm than usual when they see you mixing the dough in the kitchen. It’s simple, satisfying, and you don’t need a degree in pet nutrition—just a few ingredients, a bowl, and a hungry pup ready to taste test.
Making treats yourself also gives you full control over flavors and textures. You can make them soft and chewy or crunchy, depending on what your dog prefers. You can even adjust portion sizes so you aren’t overfeeding. And honestly, if you survived making sourdough during lockdown, this is a breeze in comparison.
The Only 4 Ingredients You Need
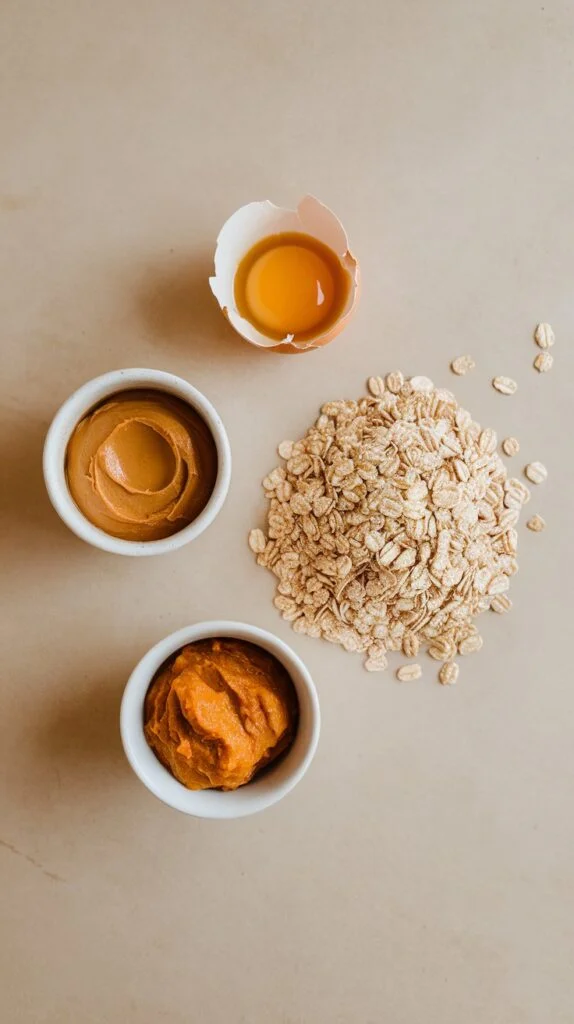
Believe it or not, you don’t need a kitchen full of fancy ingredients to make treats your dog will love. There are just four essentials that cover taste, nutrition, and texture.
1. Peanut Butter
Think of peanut butter as the superstar of this recipe. Dogs can’t get enough of it. Make sure you choose natural peanut butter—yes, the kind where oil floats on top and you have to stir it like a caveman. Most importantly, check the label carefully: no xylitol. Even a tiny bit of xylitol can be toxic to dogs. Trust me, double-checking this is worth it.
2. Pumpkin Puree
Pumpkin is another hero ingredient. Not the sweet pie mix—you want plain pumpkin puree, 100% pumpkin. It’s excellent for digestion and adds moisture to the dough so the treats aren’t dry. Your dog will benefit from the fiber, and it keeps things moving properly—definitely a win for both of you.
3. Oats
Oats bring in fiber and a little texture. You can leave them whole for some crunch, or grind them slightly for a smoother consistency. Either way, your dog will enjoy the chewiness, and you’ll get the added bonus of knowing they’re getting a healthy ingredient.
4. Egg
The egg is simple but essential. One large egg binds everything together while adding protein. It gives the dough structure, so your treats hold their shape instead of falling apart. Think of it as the glue that makes this whole operation work.
How to Make Them (Without Ruining Your Kitchen)
Making these treats is actually really straightforward, even if you aren’t the most confident baker.
Step 1: Preheat Your Oven
Set your oven to 350°F (180°C). This might seem basic, but preheating ensures the treats bake evenly and don’t turn into a gooey mess.
Step 2: Mix Everything Together
In a large bowl, combine:
- 1/2 cup peanut butter
- 1/2 cup pumpkin puree
- 1 1/4 cups oats
- 1 large egg
Stir until it forms a thick, dough-like consistency. It should feel similar to Play-Doh. If it’s too sticky, add a bit more oats. If it’s too dry, a small splash of water will help. Don’t worry about making it perfect—the smell alone will excite your dog enough to wait patiently while you work.
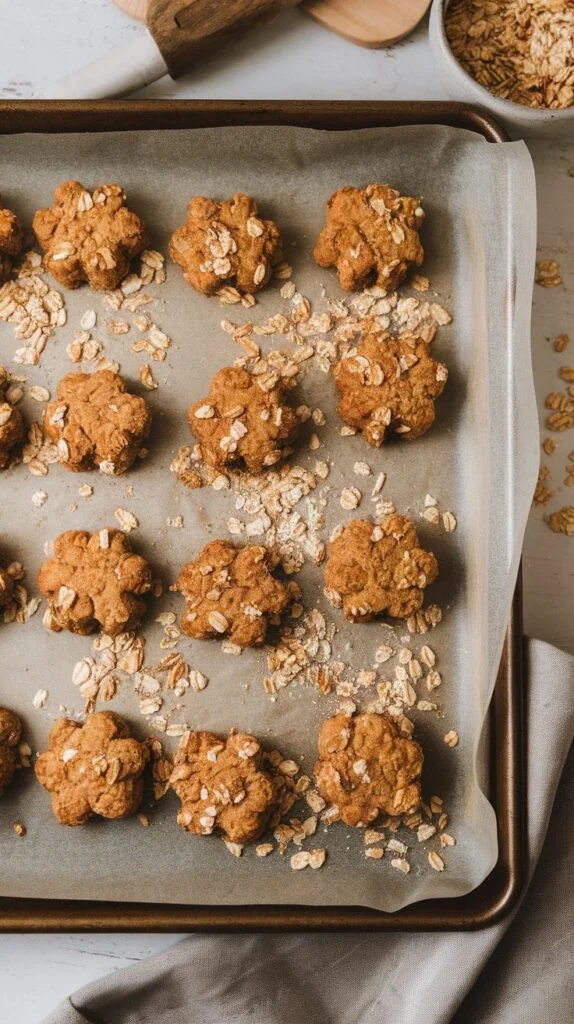
Step 3: Shape the Treats
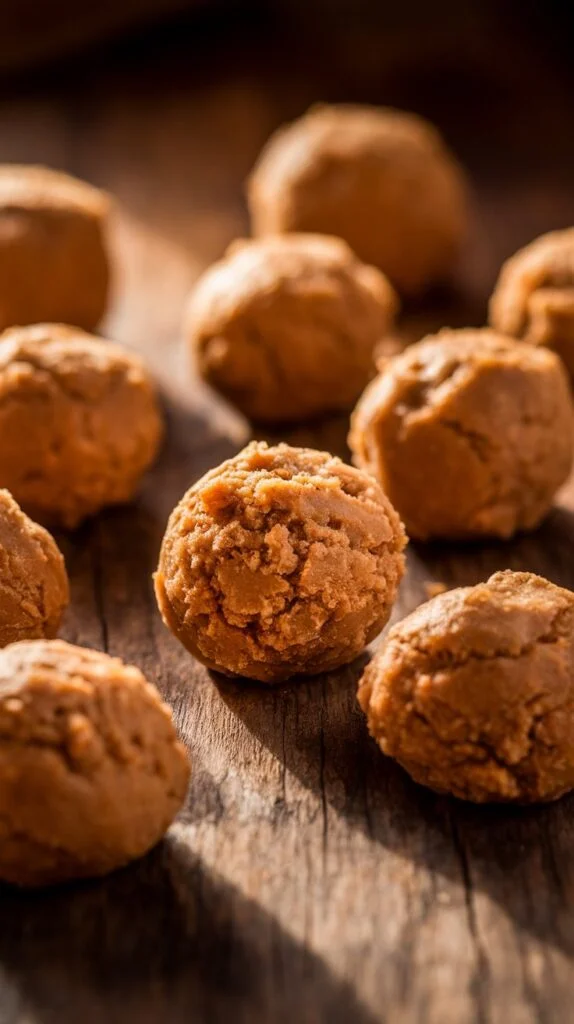
This part is fun and lets you get creative. Roll the dough into balls about an inch in diameter, flatten them into cookie shapes with a fork, or use cute cookie cutters if you’re feeling fancy. Your dog won’t judge—you’re basically a hero no matter the shape.
Step 4: Bake
Place your treats on a baking sheet lined with parchment paper. Bake for 15–20 minutes until they’re set and lightly golden. Let them cool completely before serving, unless your dog likes to burn their tongue, which we definitely don’t recommend.
Storage Tips
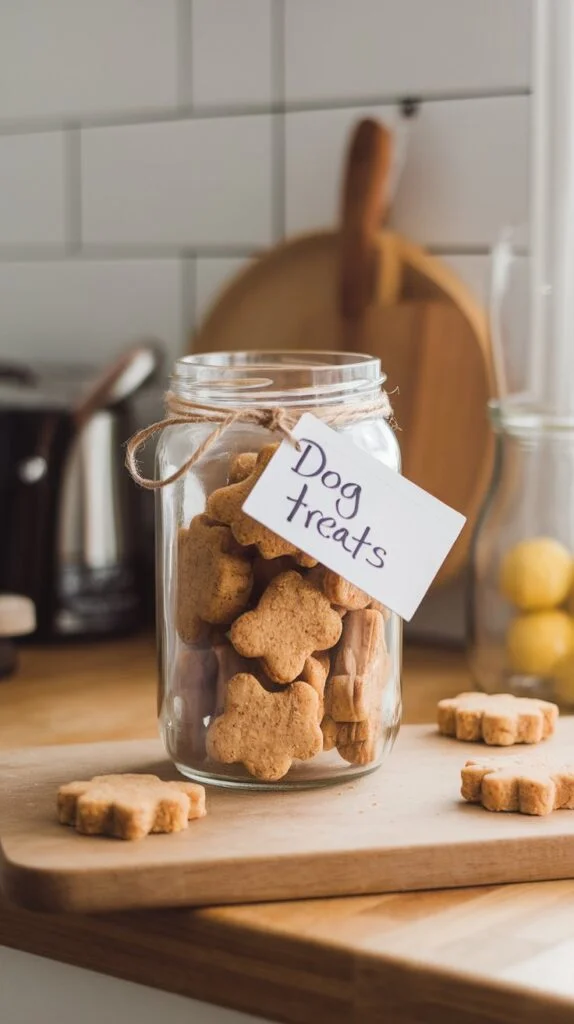
Once baked, you’ll want to store these treats properly so they last:
- Room Temperature: In an airtight container, they stay fresh for about a week.
- Refrigerator: Treats will last up to two weeks, which is great if you like to plan ahead.
- Freezer: You can freeze treats for up to three months. Just thaw before giving them to your dog—unless your pup enjoys frozen surprises.
Proper storage keeps them fresh, tasty, and safe, so you and your dog can enjoy them without worry.
Add-Ins & Tweaks (Optional, but Fun)
Once you’ve got the basics down, you can experiment a little. A sprinkle of cinnamon can be great for joints and adds a comforting aroma. Shredded carrots or apples add extra fiber and vitamins. A bit of flaxseed can give a nutritional boost. Keep in mind, though, that dogs aren’t food critics—they’re happy with simple, wholesome flavors.
Can I Eat These?
Humans can technically eat them. They aren’t sweet or salty, so they won’t replace a cookie, but they are perfectly safe. Think of them as an oat-based snack with a hint of peanut butter and pumpkin—edible, but mostly for your dog.
Pro Tips From Experience
A few lessons learned from making these multiple times:
- Always check for xylitol in the peanut butter. Safety first.
- Let treats cool completely before storing. Any trapped moisture can lead to mold.
- Label frozen batches—“Dog Treats” or “Pup Snacks” makes life easier.
- Be ready: once your dog discovers homemade treats, they’ll expect them regularly.
My Dog’s Review
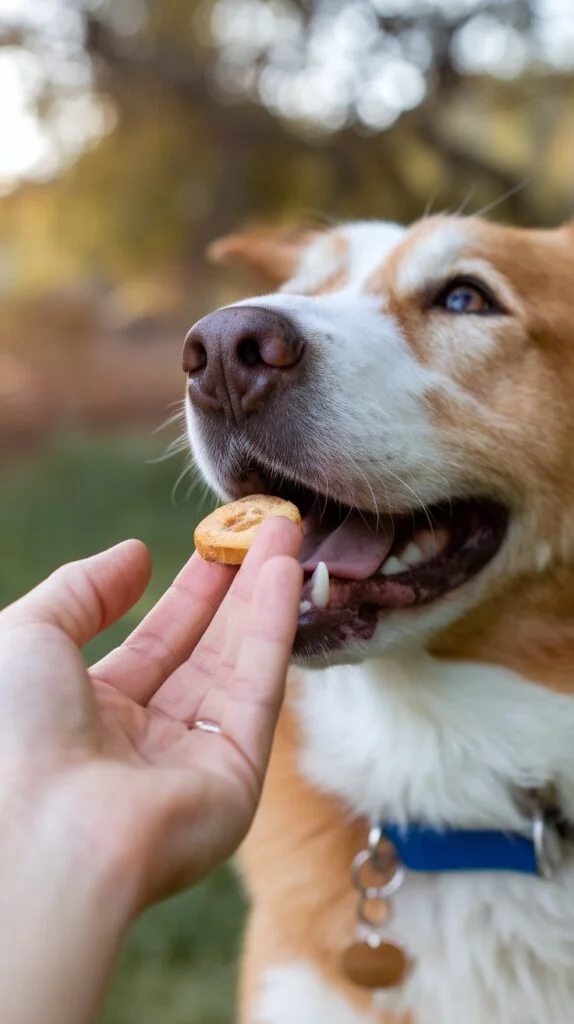
The real test is the dog. When these treats come out of the oven, my dog immediately positions herself in front of the kitchen, drooling and impatient. Once given a treat, she inhales it in seconds, then sits, staring expectantly until offered another. It’s safe to say, homemade treats are a hit.
Final Thoughts of Why Make Your Own Dog Treats
Four simple ingredients—peanut butter, pumpkin puree, oats, and an egg—can turn anyone into a dog treat chef in under 20 minutes. Mix, shape, bake, and store correctly, and you’ll have a stash of healthy, delicious treats your dog will adore. No fancy equipment or complicated recipes needed. Just a little time, a hungry pup, and maybe a podcast to keep you company while you bake.