DIY Insulated Dog House Ideas
When the temperature drops, a plain wooden box won’t cut it — your dog needs real insulation to stay warm and safe. Dogs lose body heat quickly in freezing weather, and breeds with short coats or low body fat are especially vulnerable to the cold. The good news is you don’t need to buy an expensive pre-insulated house; with basic tools and affordable materials from any hardware store, you can build serious warmth into a DIY dog house yourself. These twelve DIY insulated dog house ideas range from quick weekend upgrades to full double-wall builds, so there’s a project here for every skill level and budget.
1. Foam Board Sandwich Walls
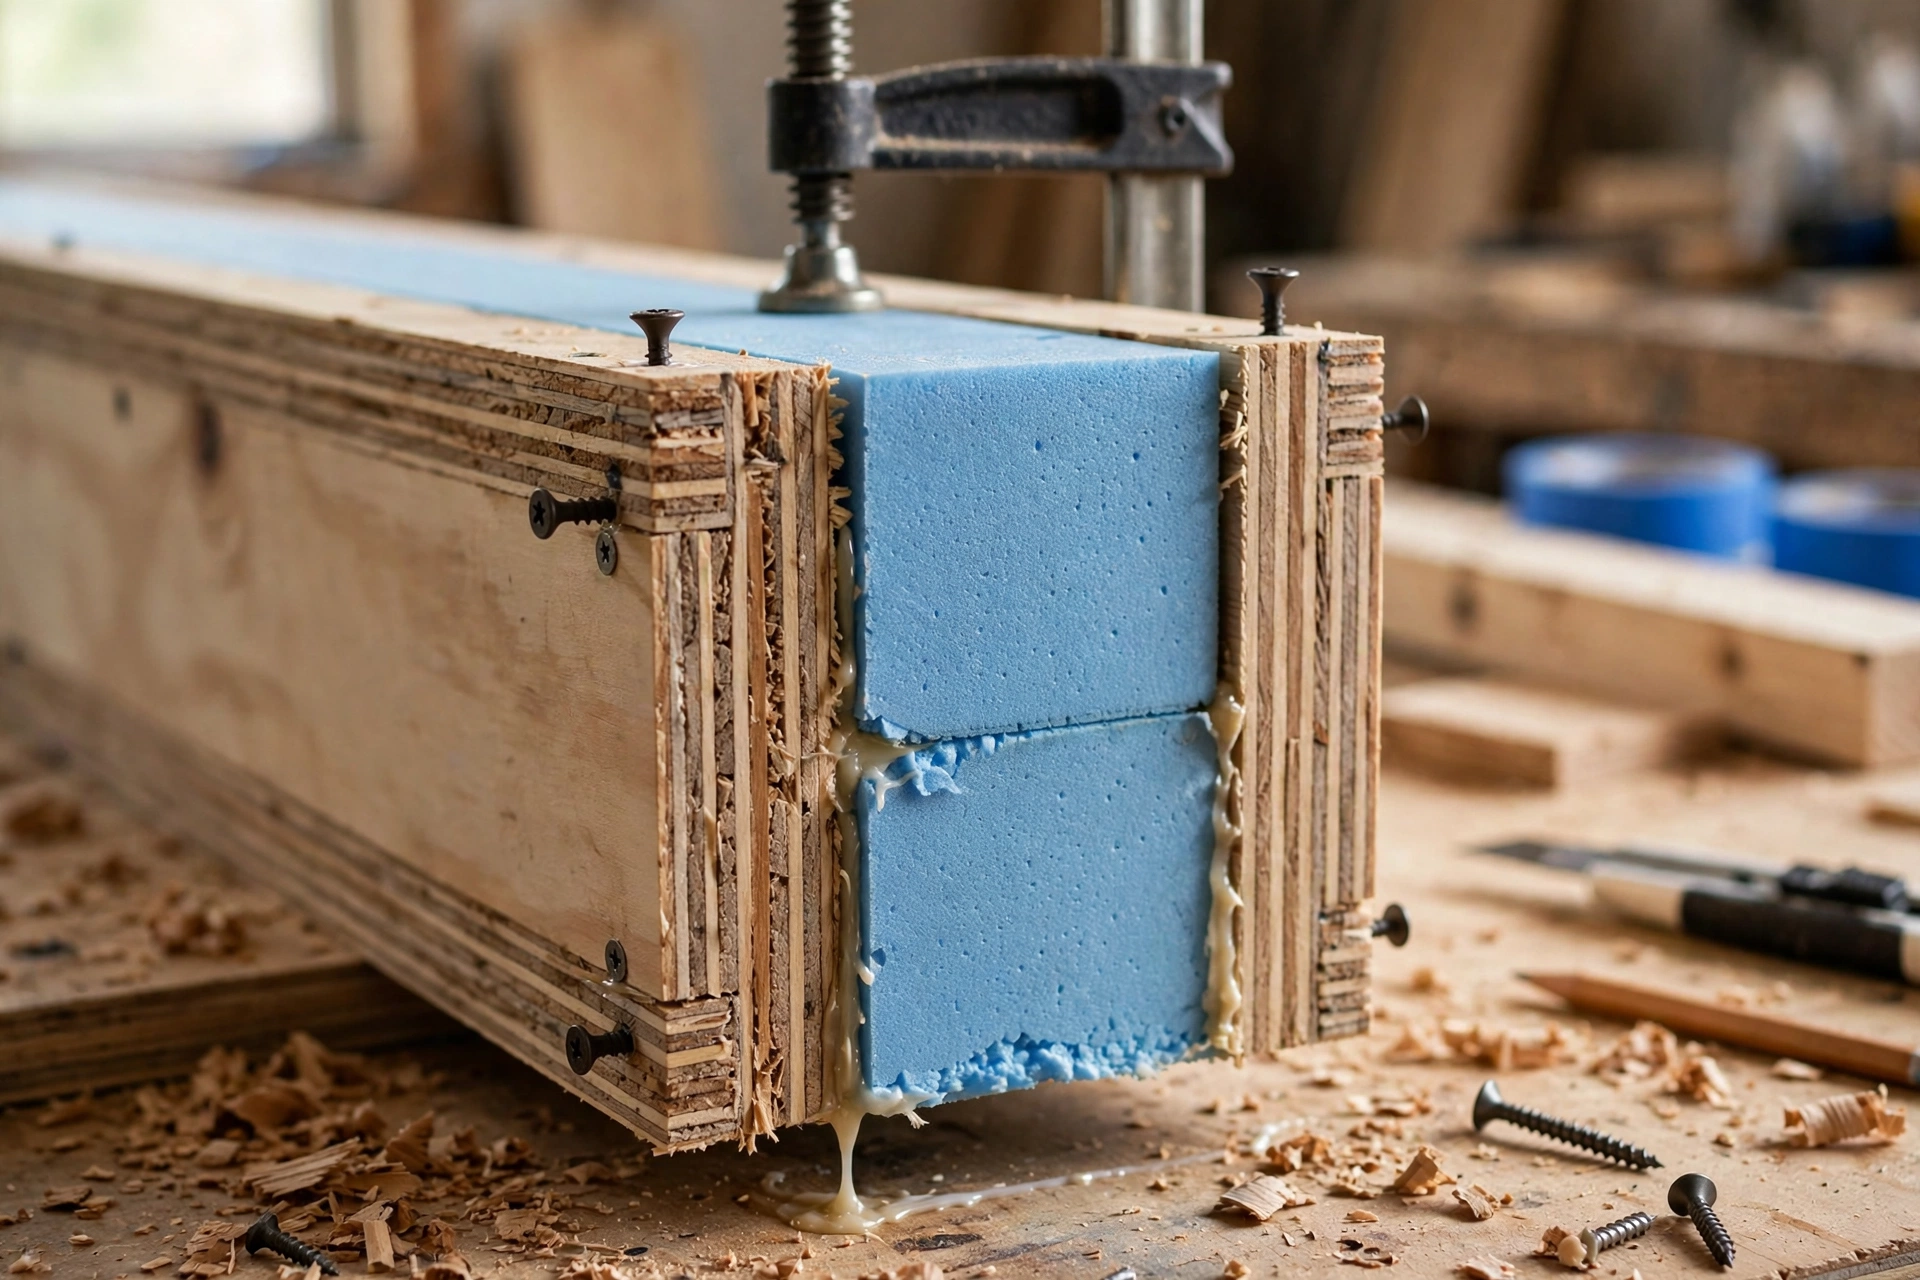
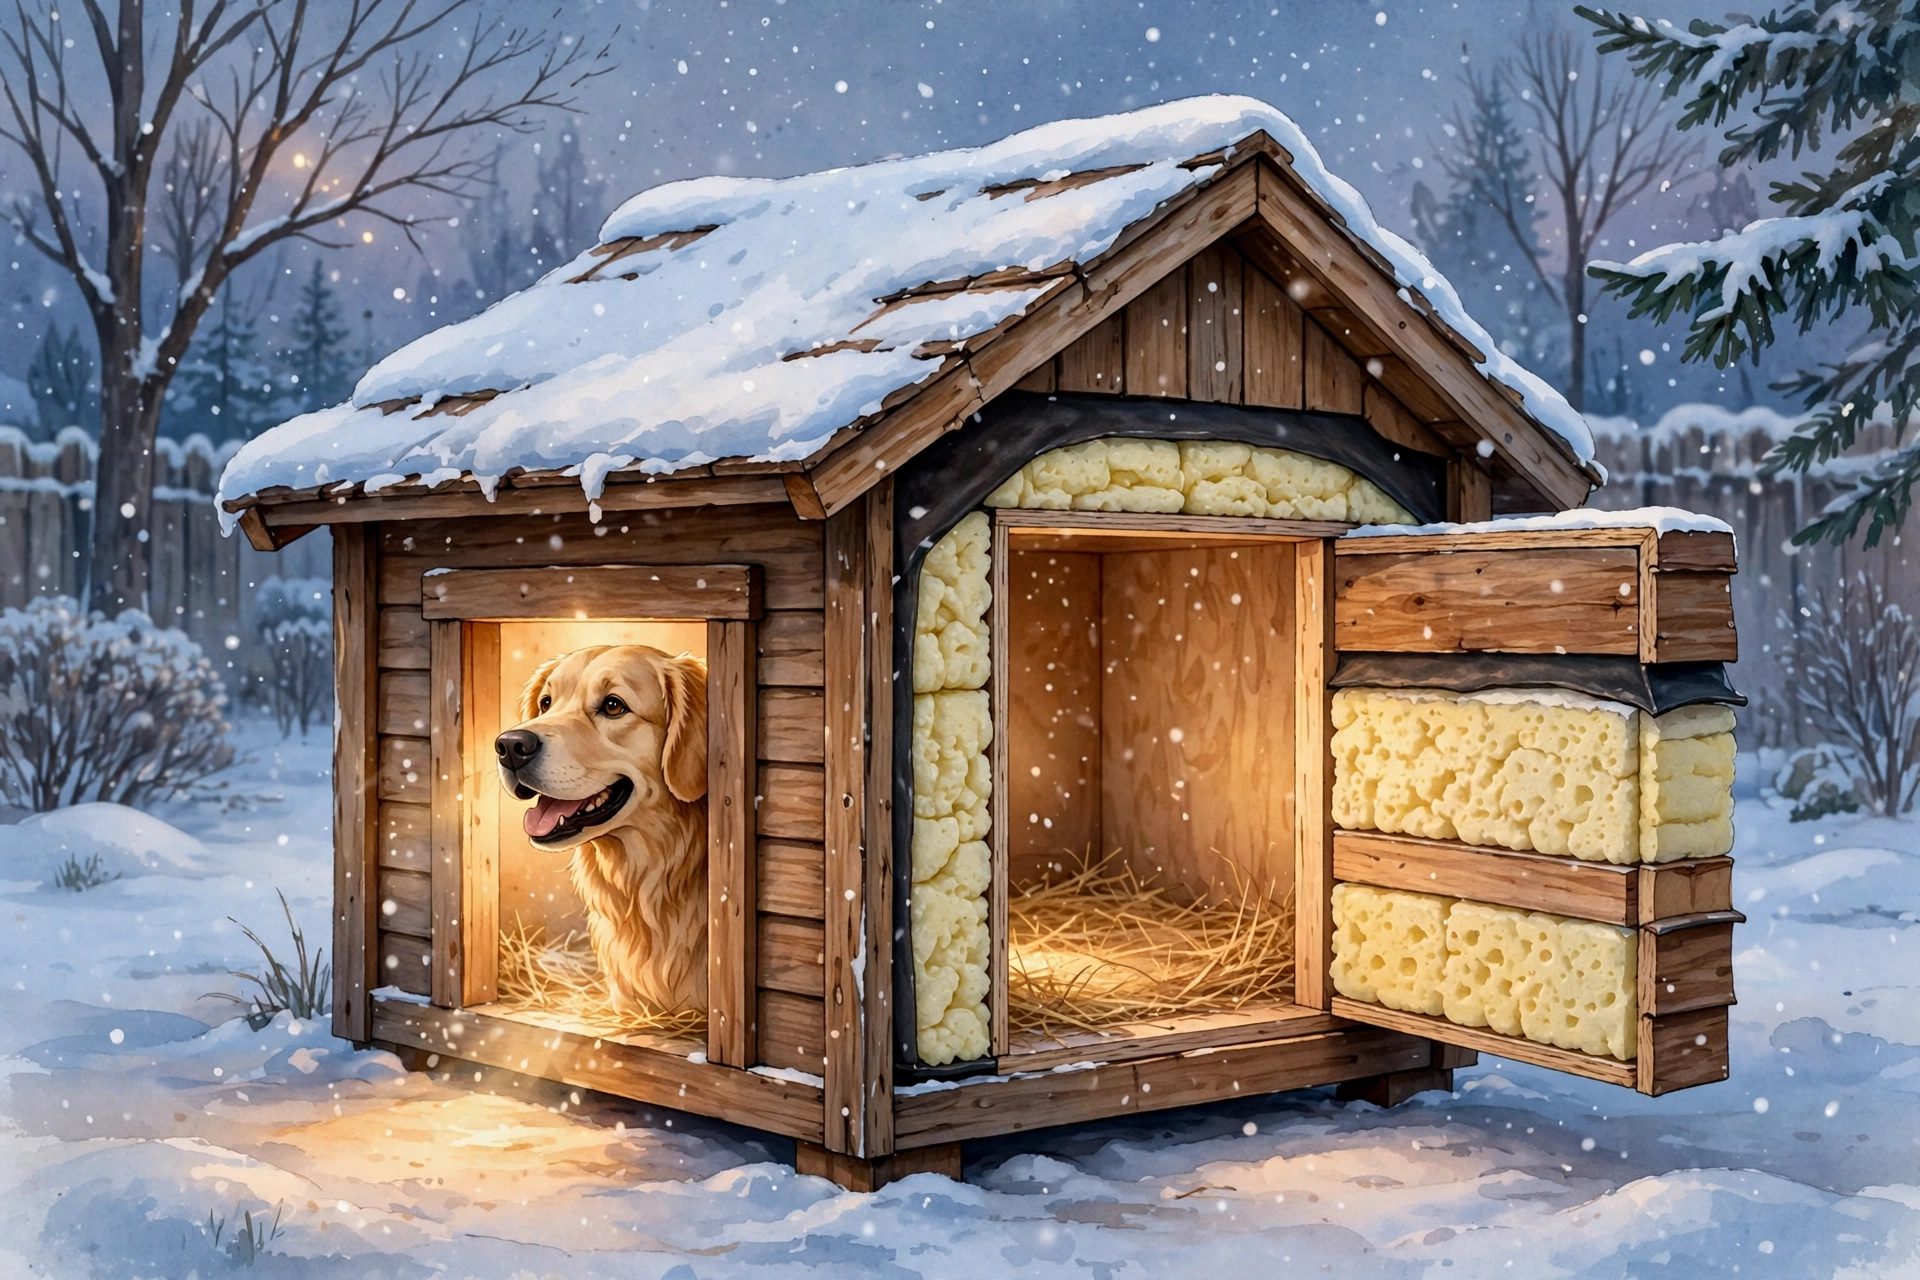
Cut rigid foam insulation board to fit between two layers of plywood, creating a “sandwich” wall that traps heat inside. This is one of the most effective DIY insulation methods because the foam has a high R-value per inch and the plywood protects it from chewing. Use 1-inch or 2-inch extruded polystyrene for the best results — it’s moisture-resistant and won’t crumble over time. Seal the edges with caulk so no cold air sneaks through the seams.
Want a Better-Trained, Happier Dog?
Get practical guidance for obedience, behavior, and everyday dog training with a collection of helpful training guides designed for dog owners.
This post may contain affiliate links. If you purchase through our link, we may earn a commission at no additional cost to you.
2. Straw Bale Liner
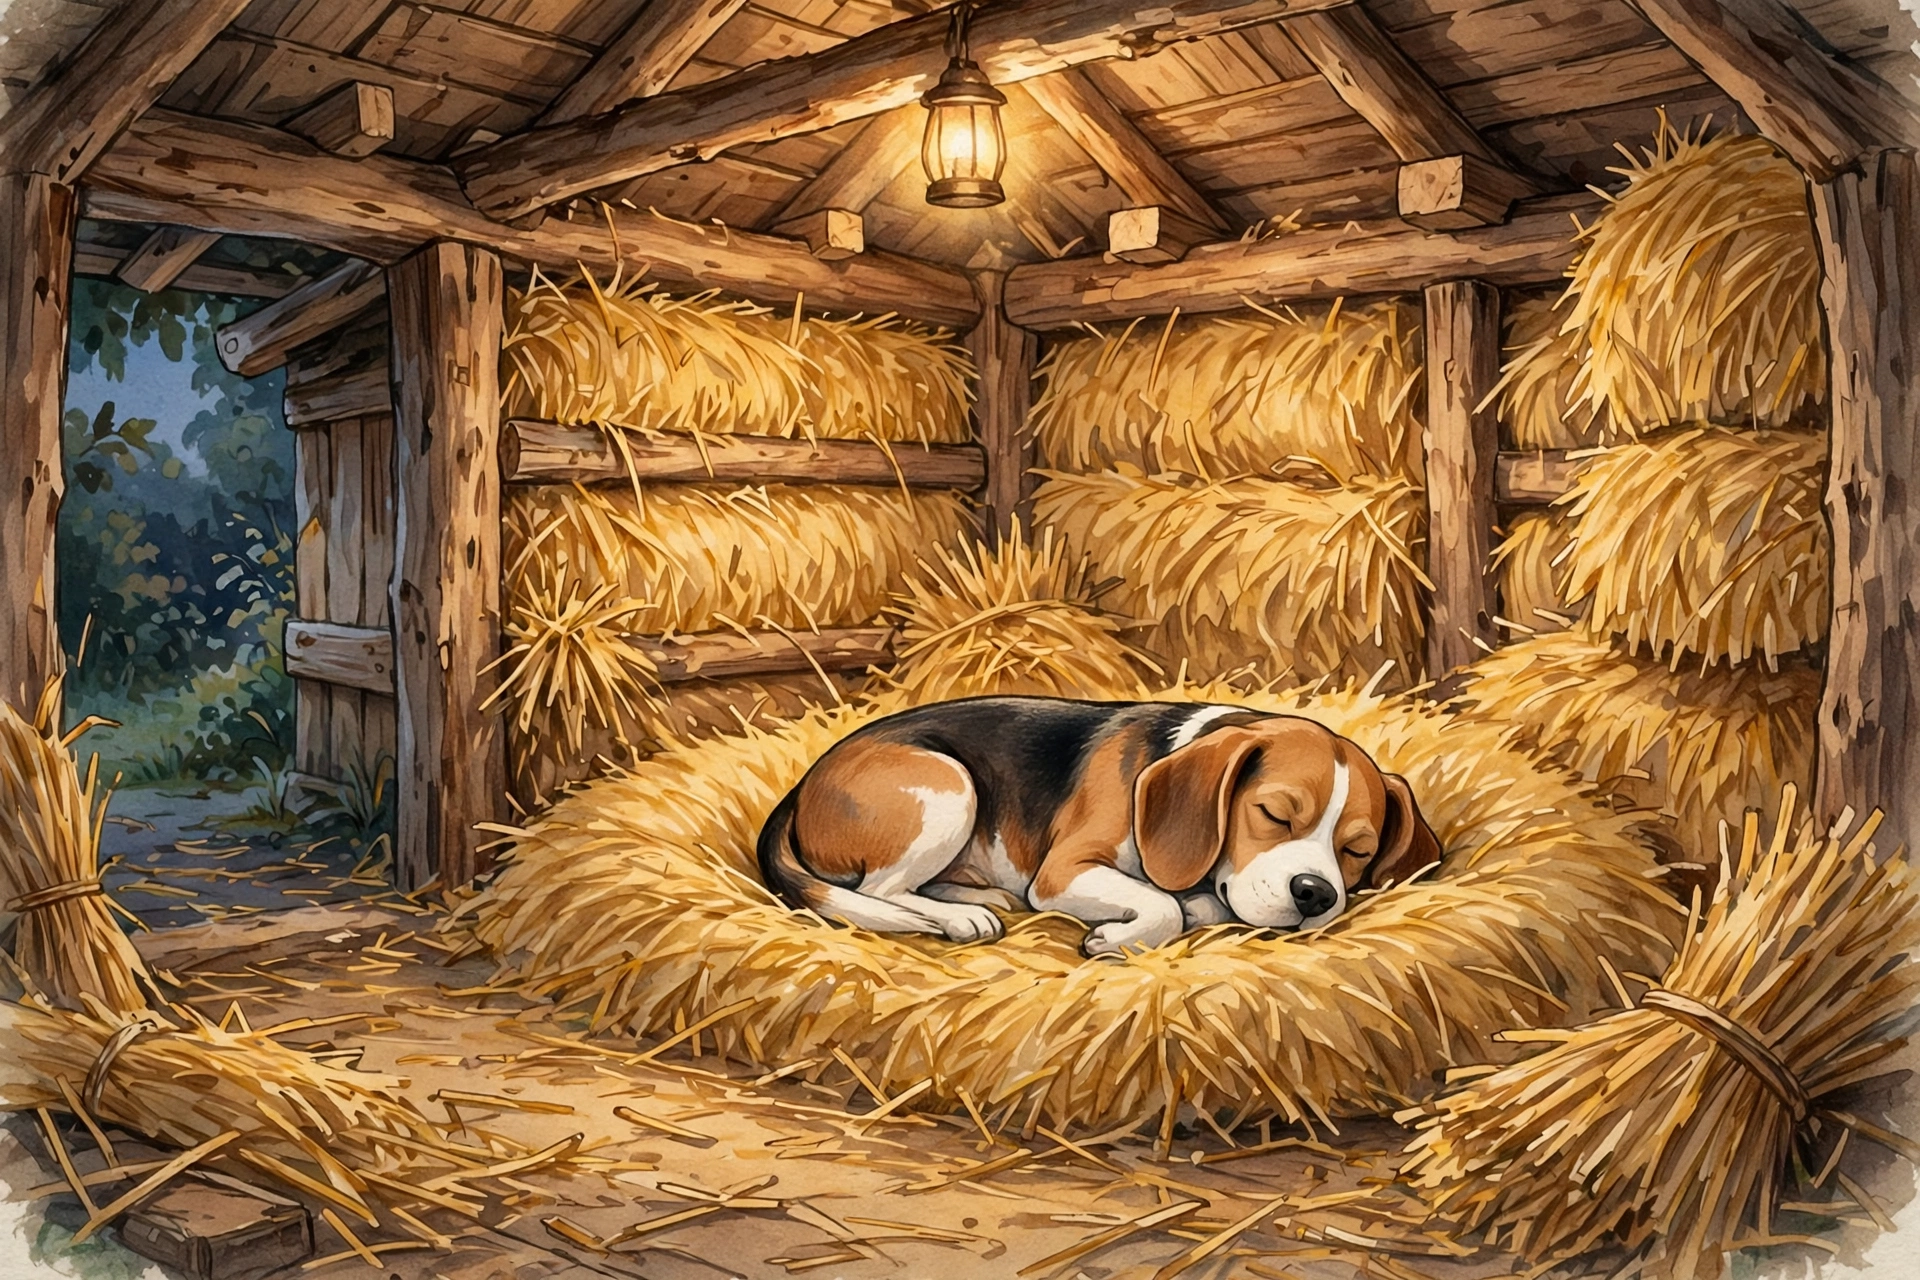
Line the interior walls with tightly packed straw (not hay) held in place by a thin inner plywood panel. Straw is cheap, renewable, and surprisingly effective — farmers have used it for animal shelters for generations. Just replace it each season, since old straw can harbor moisture and mold.
3. Double-Wall Plywood Build
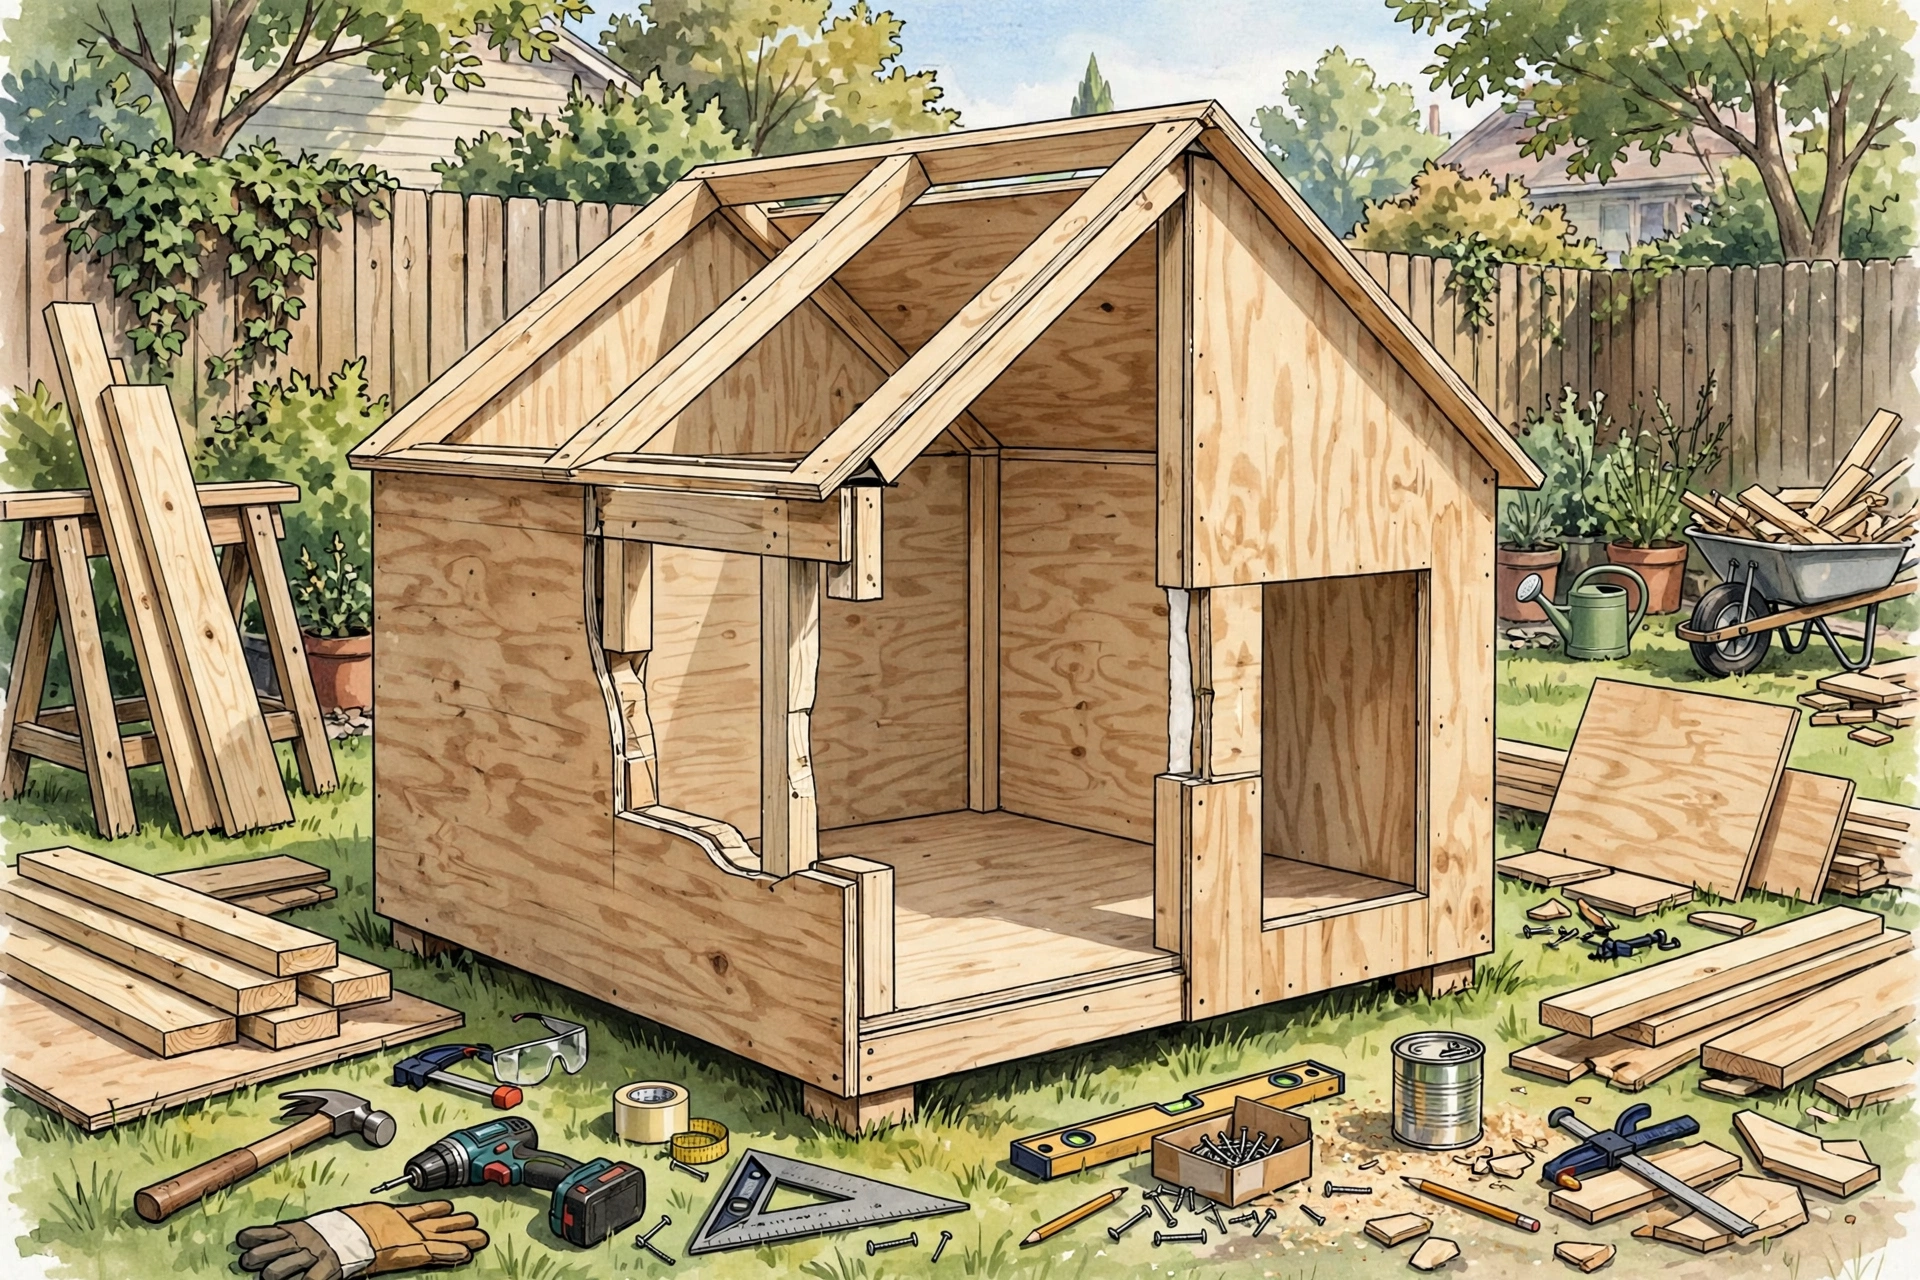
Build the house with an inner and outer plywood shell separated by a 2-inch air gap, then fill the gap with your insulation of choice. The air gap alone slows heat loss dramatically, and it gives you a clean cavity to stuff with foam, straw, or recycled material. For more inspiration on shell construction, browse our DIY dog house ideas.
4. Reflective Bubble Insulation Wrap
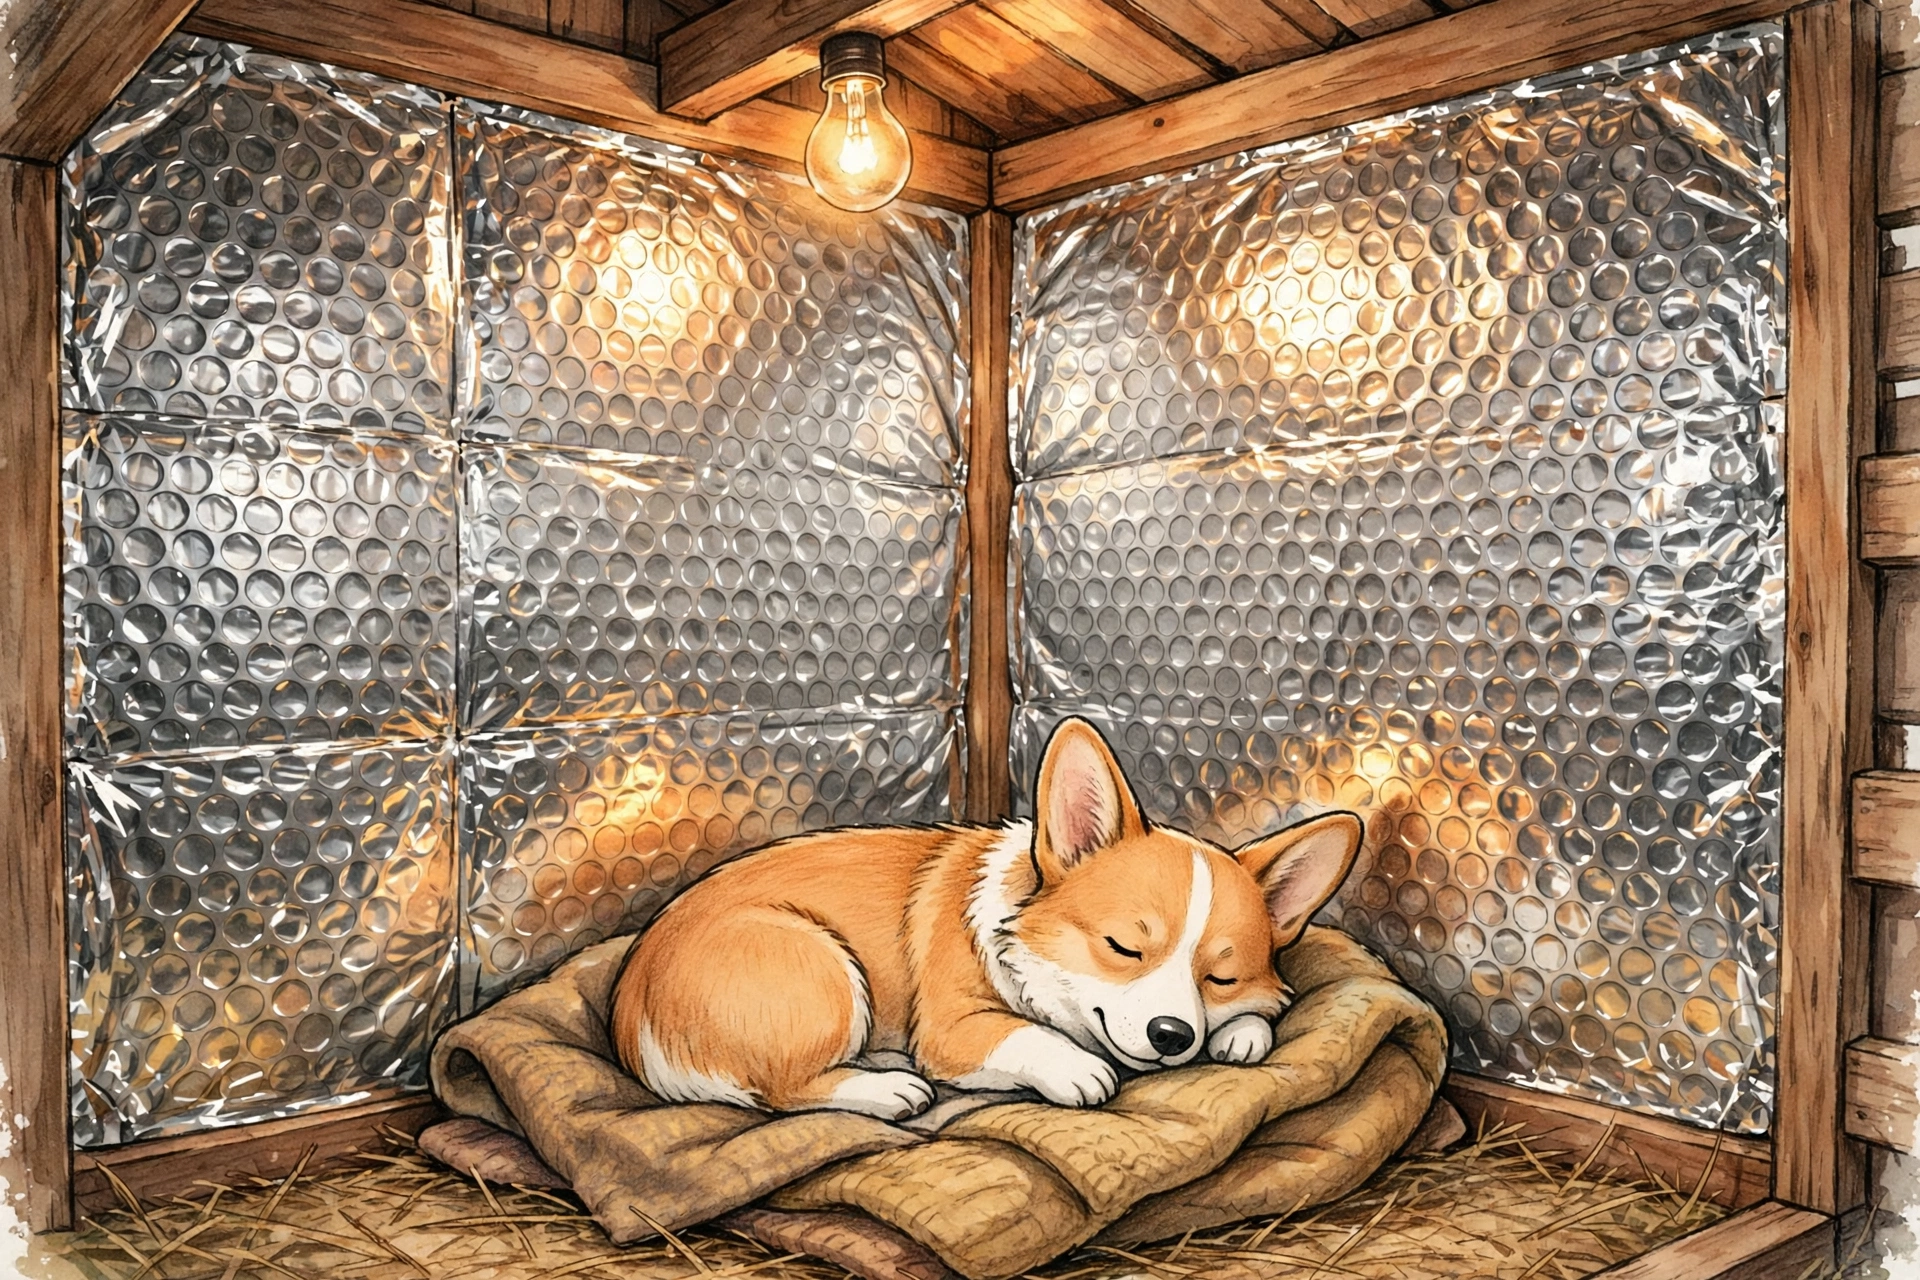
Staple reflective foil bubble insulation to the interior walls and ceiling — the shiny surface bounces your dog’s body heat back into the living space. It’s lightweight, water-resistant, and easy to cut with scissors, making it perfect for retrofitting an existing house. Cover it with a thin plywood liner so curious teeth can’t reach the foil.
5. Rigid Foam Floor Panels
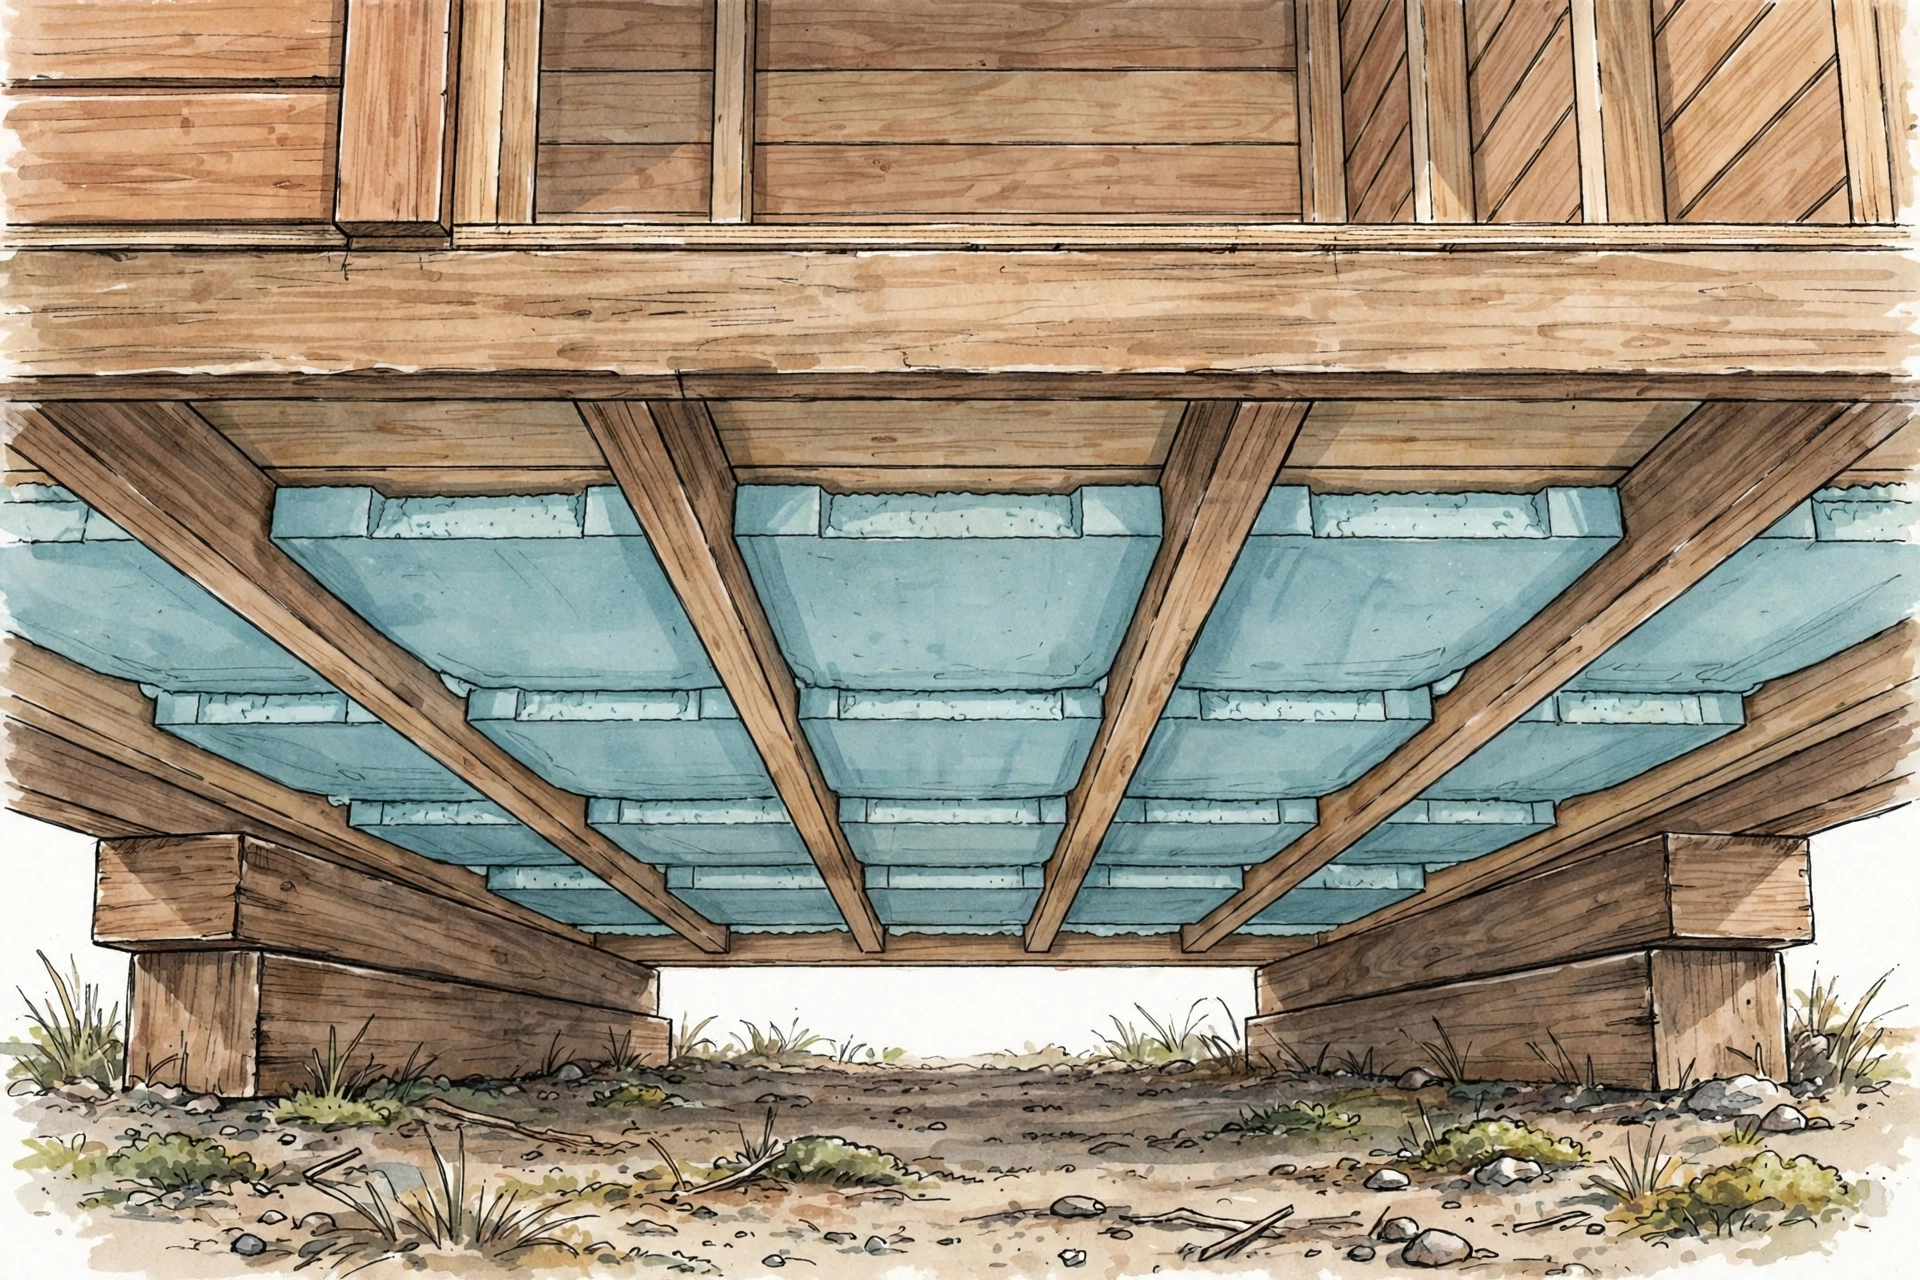
Cold seeps up from the ground faster than from anywhere else, so start your insulation at the floor. Lay rigid foam panels under the floorboards and raise the whole house on pressure-treated skids or bricks. A warm floor makes more difference than insulated walls, especially for short-coated breeds. For extra comfort, top the insulated floor with a washable foam mat or a piece of old carpet.
6. Insulated Curtain Door Flap
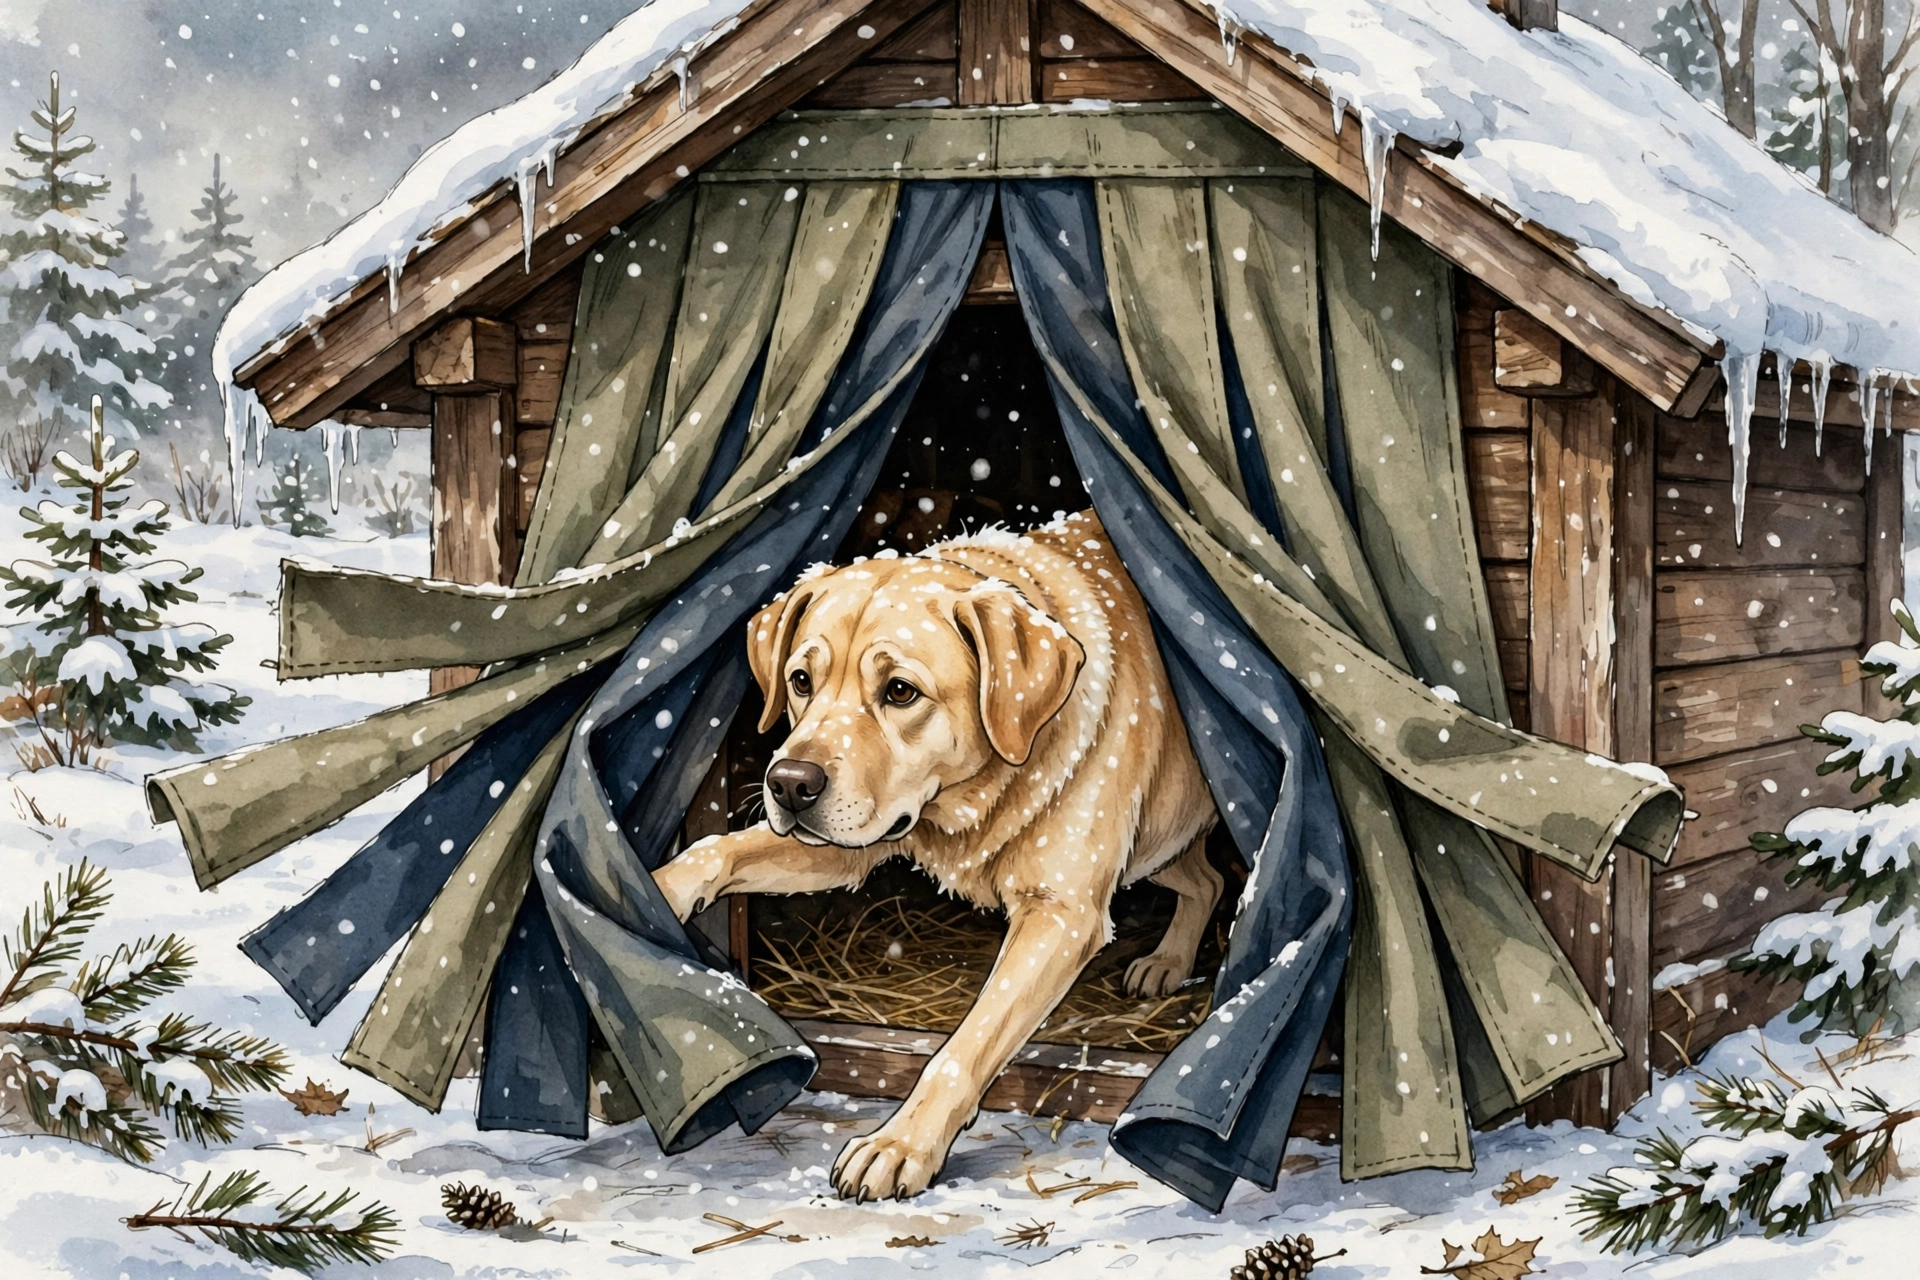
The doorway is the biggest heat leak in any dog house. Hang a double-layer door flap made from heavy carpet, rubber mat, or layered moving blankets cut into strips. Dogs push through easily, but the overlapping strips trap warm air inside — a trick borrowed from commercial insulated dog house ideas.
7. Old Blanket Quilted Lining
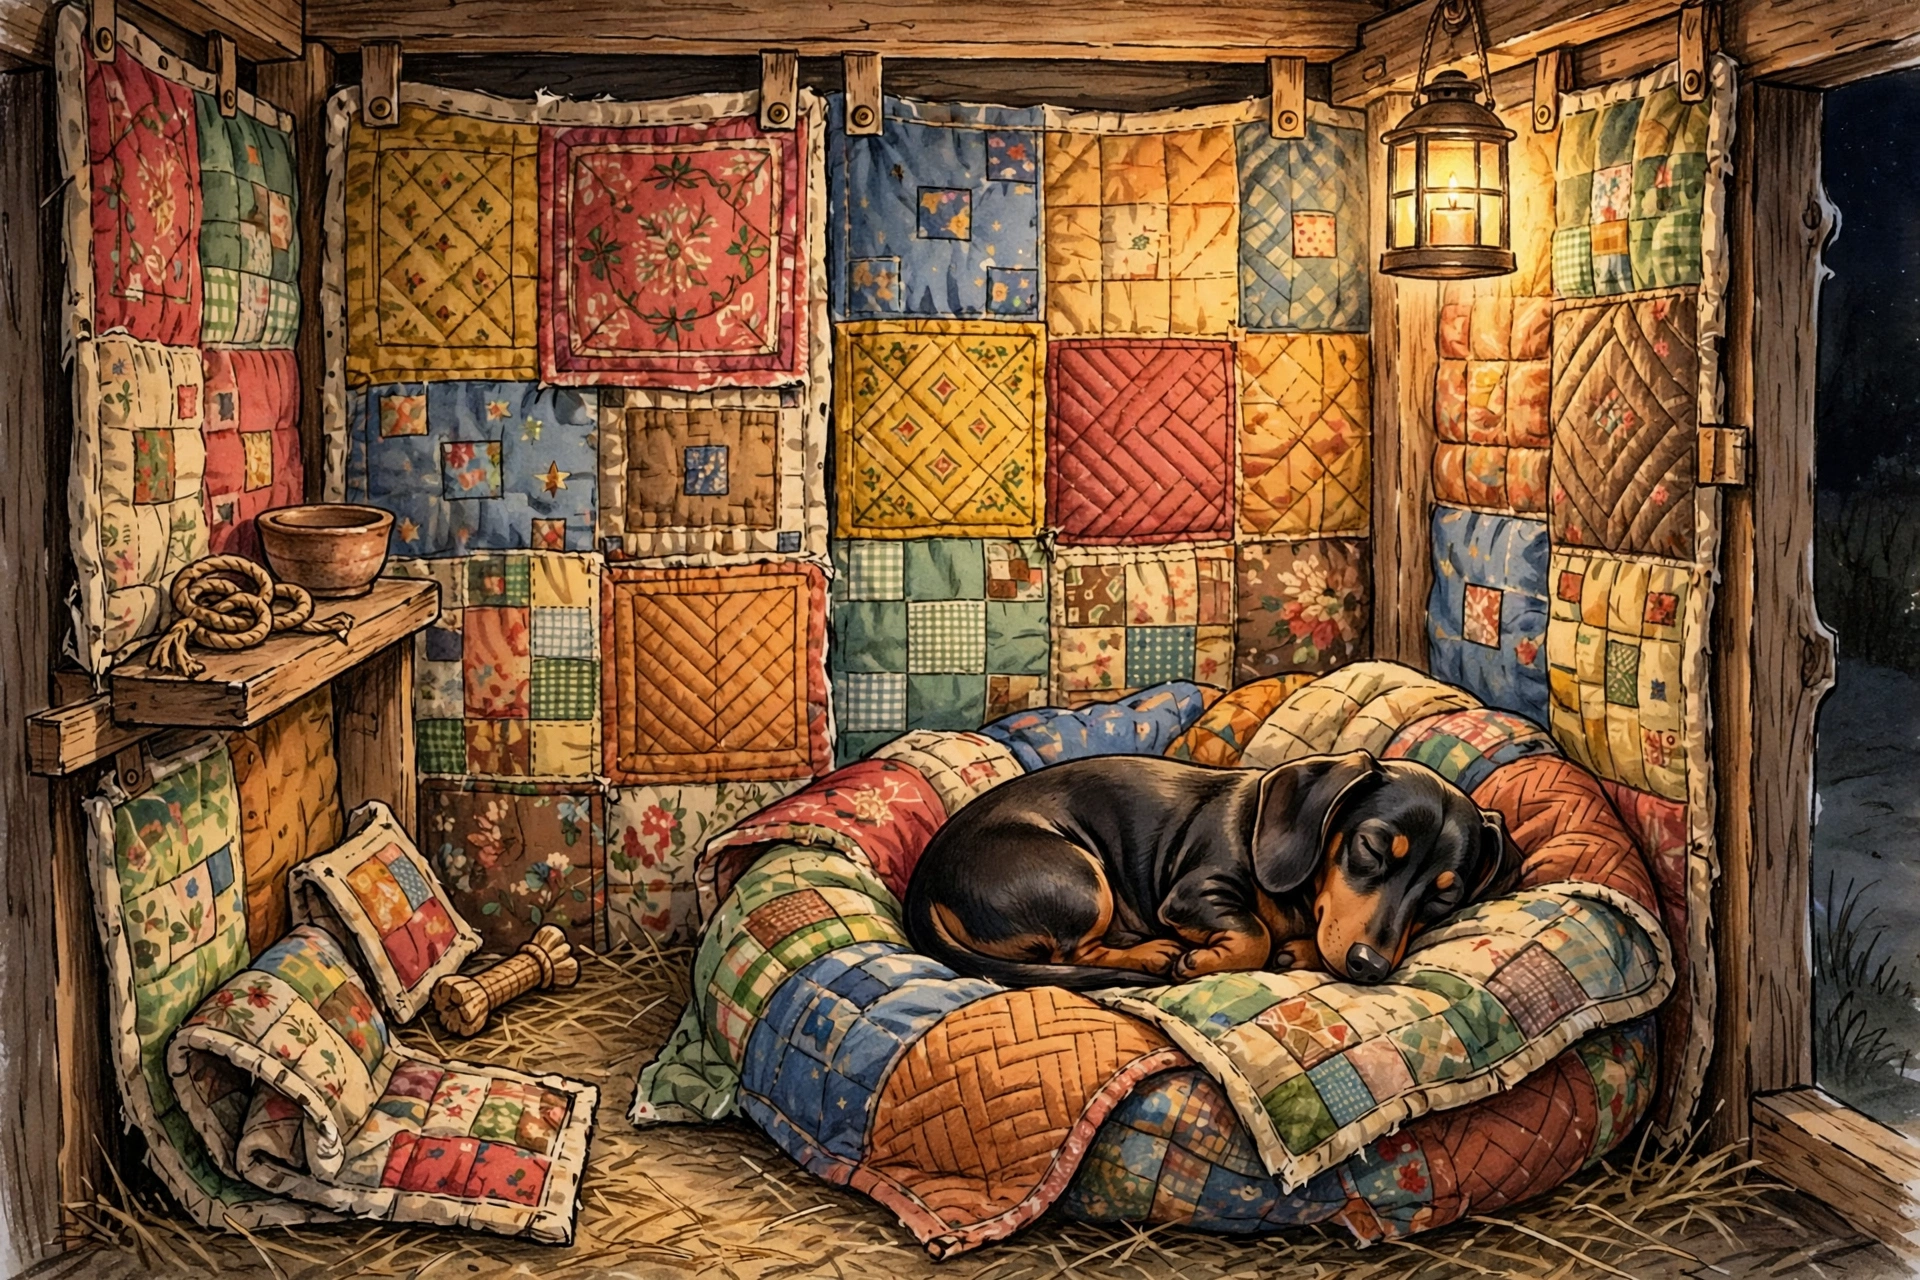
Sew or staple old blankets and quilts into removable wall panels that you can wash each season. This is the ultimate budget option — nearly free if you raid the linen closet — and removable panels mean easy cleaning. Use it as a supplement to rigid insulation rather than the only layer in truly cold climates.
8. Polystyrene Ceiling Tiles Under the Roof
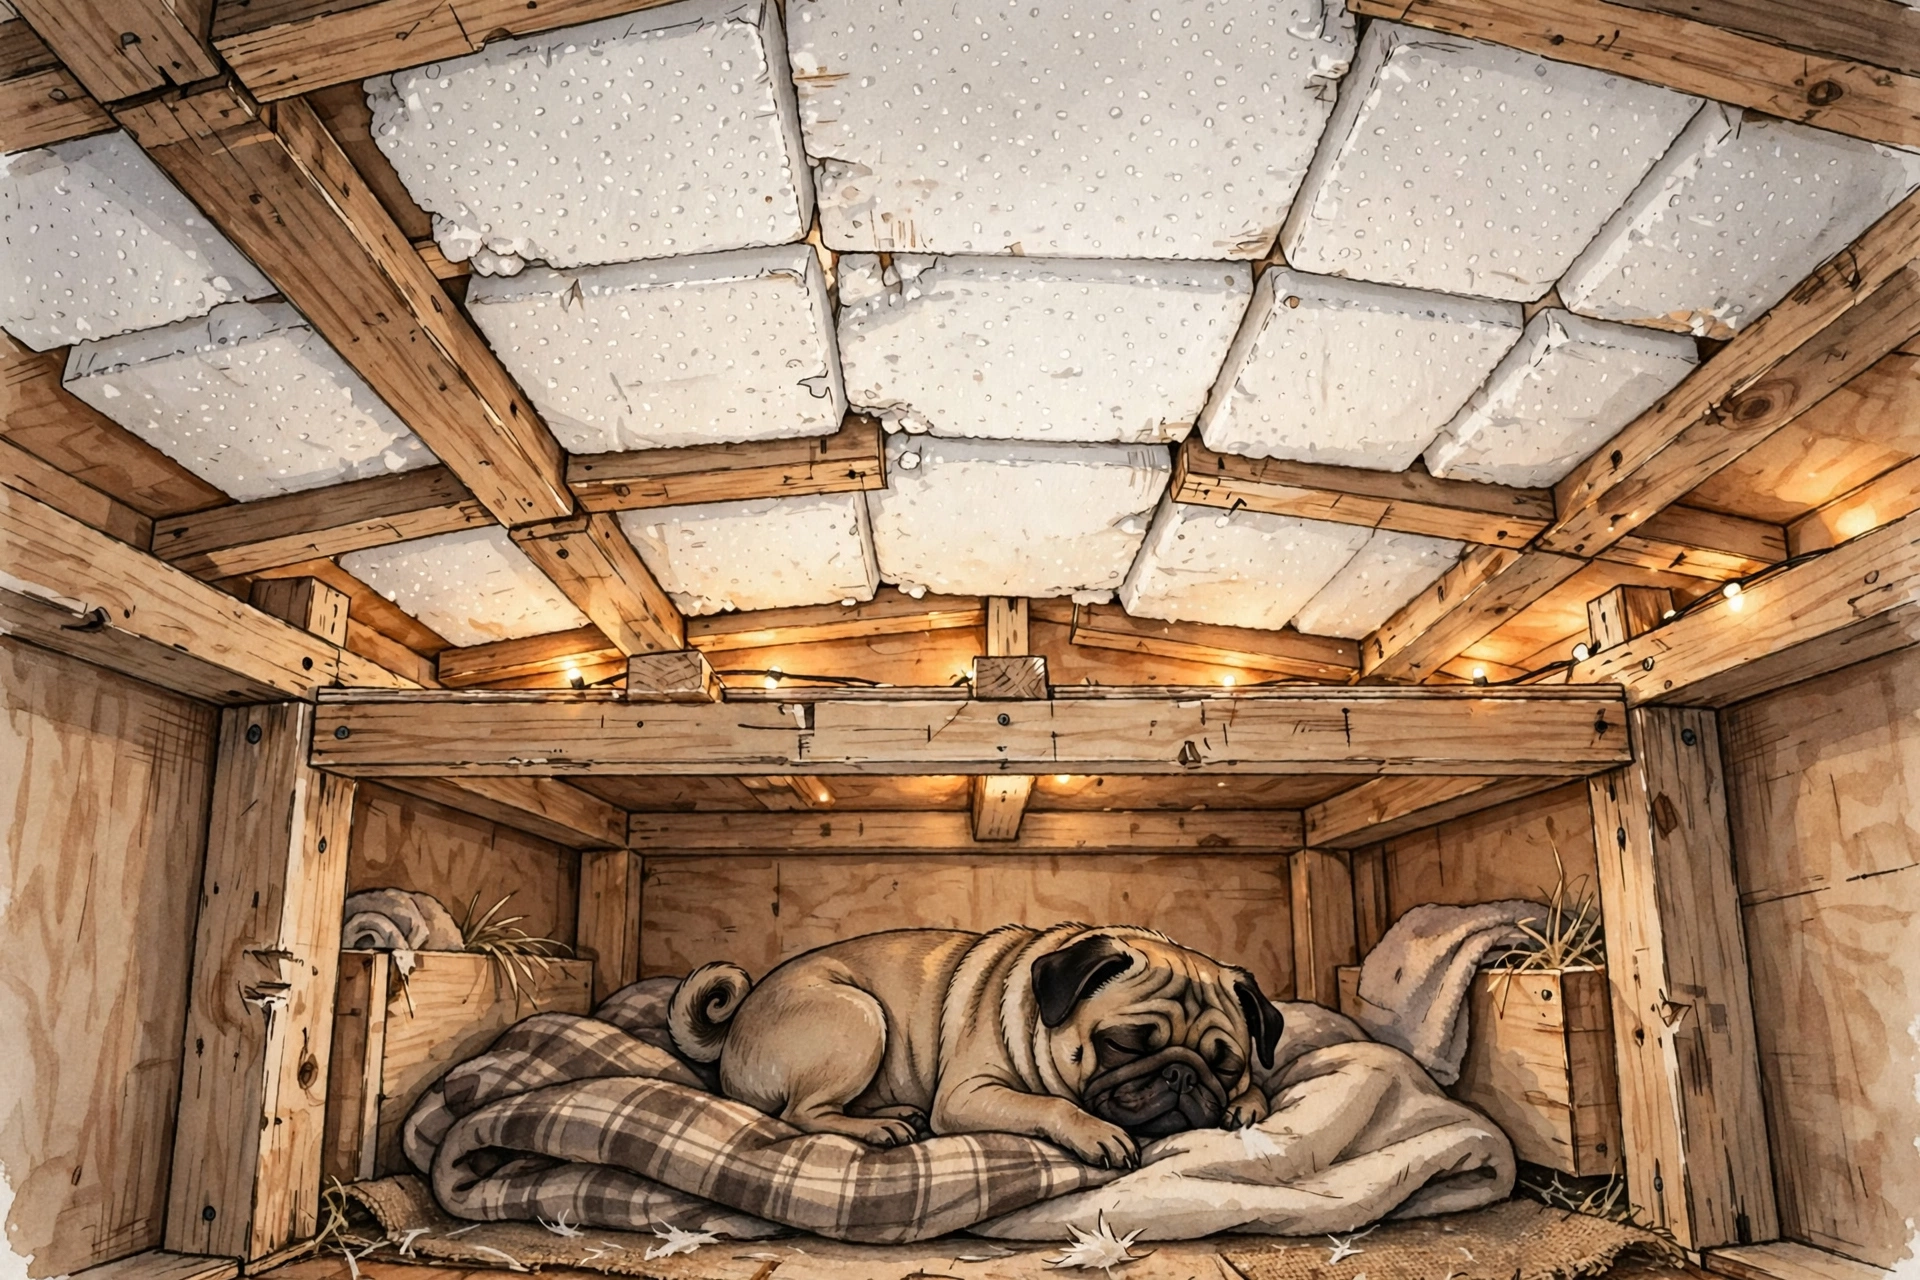
Heat rises, so the roof deserves special attention. Glue polystyrene ceiling tiles or foam sheets to the underside of the roof, then cover with thin plywood for protection. This single upgrade can raise the interior temperature several degrees on a freezing night.
9. Insulated Raised Floor Base
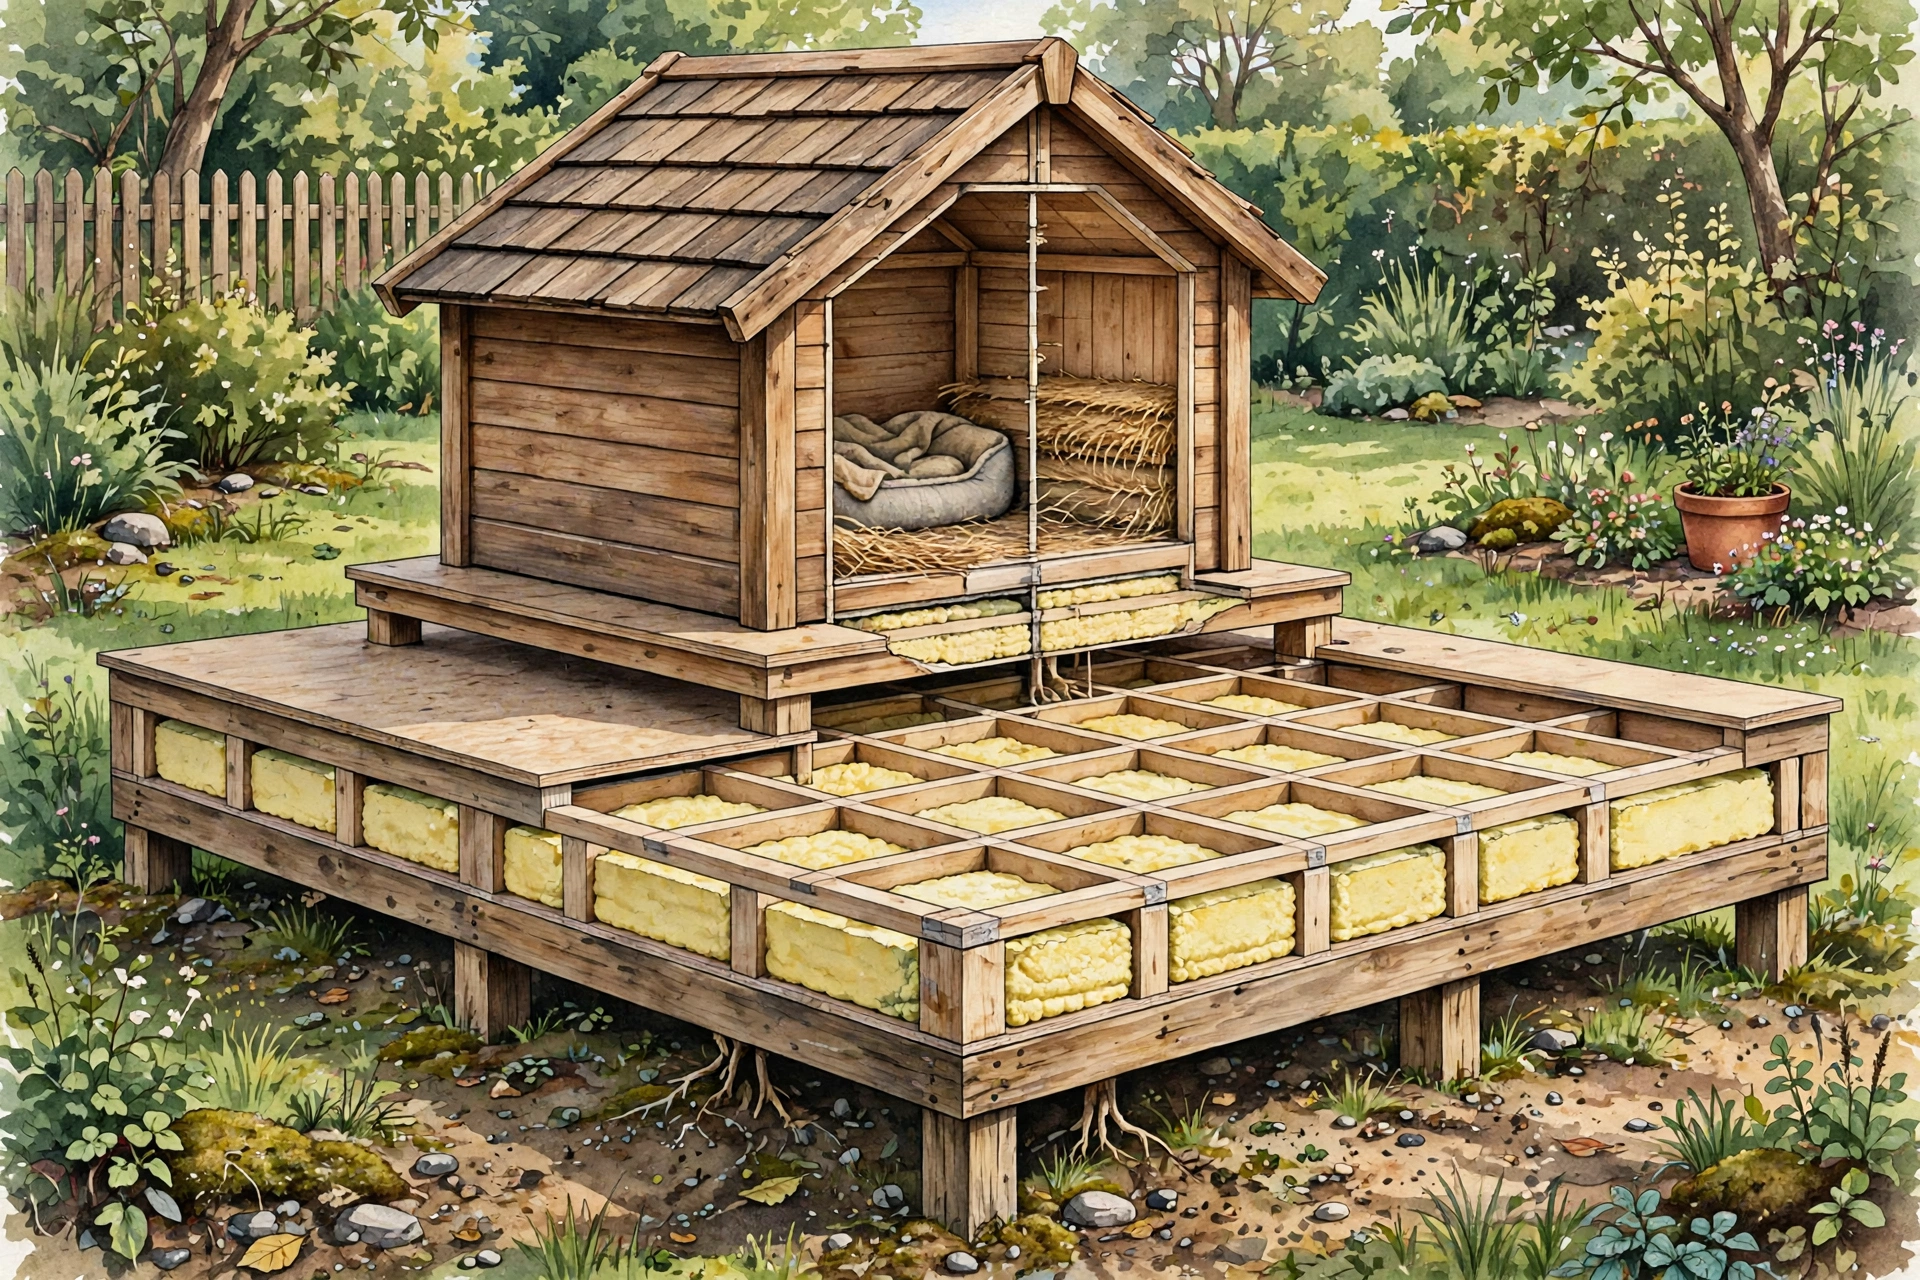
Build a raised platform base filled with insulation — think of it as a warm foundation. Frame a shallow box with 2x4s, fill it with rigid foam or packed straw, then top it with plywood flooring. Raising the house off the cold ground while insulating underneath tackles the two biggest sources of heat loss at once.
10. Spray Foam Sealed Cracks and Draft Stops

Even the best insulation fails if cold air whistles through the cracks. Go over your build with expanding spray foam sealant at every joint, corner, and nail hole, then trim the excess once cured. Finish by adding draft-stop strips around the door frame — this finishing step belongs in every cold-climate build, as our winter dog house ideas explain.
11. Double Roof With Air Gap
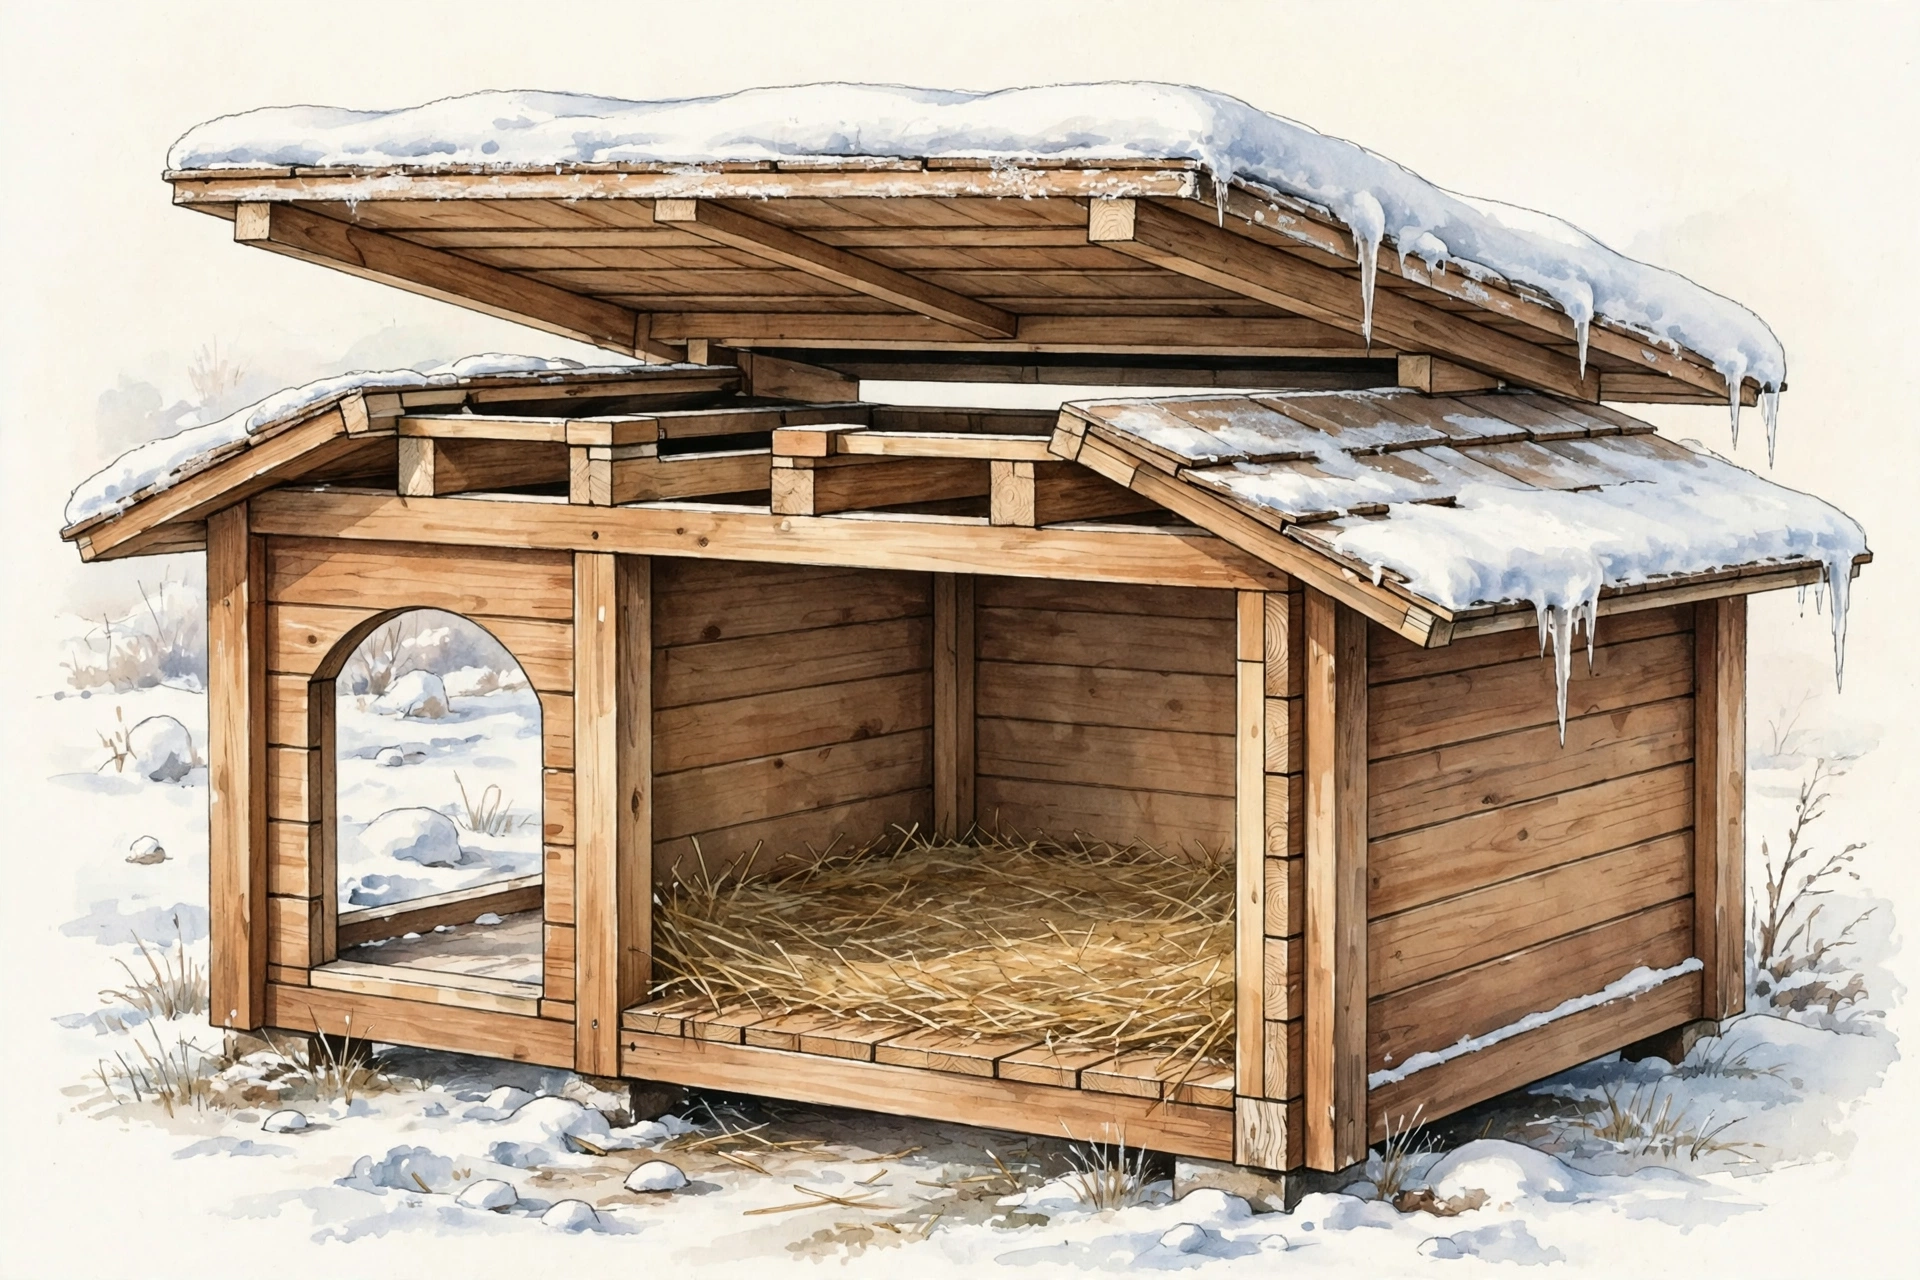
Build a second roof layer suspended an inch or two above the first, creating a ventilated air gap that works like a thermos. In winter it traps a buffer of still air; in summer you can open the gap at the eaves to vent hot air out. It’s a clever passive design that costs little more than extra shingles.
12. Recycled Denim Insulation Panels
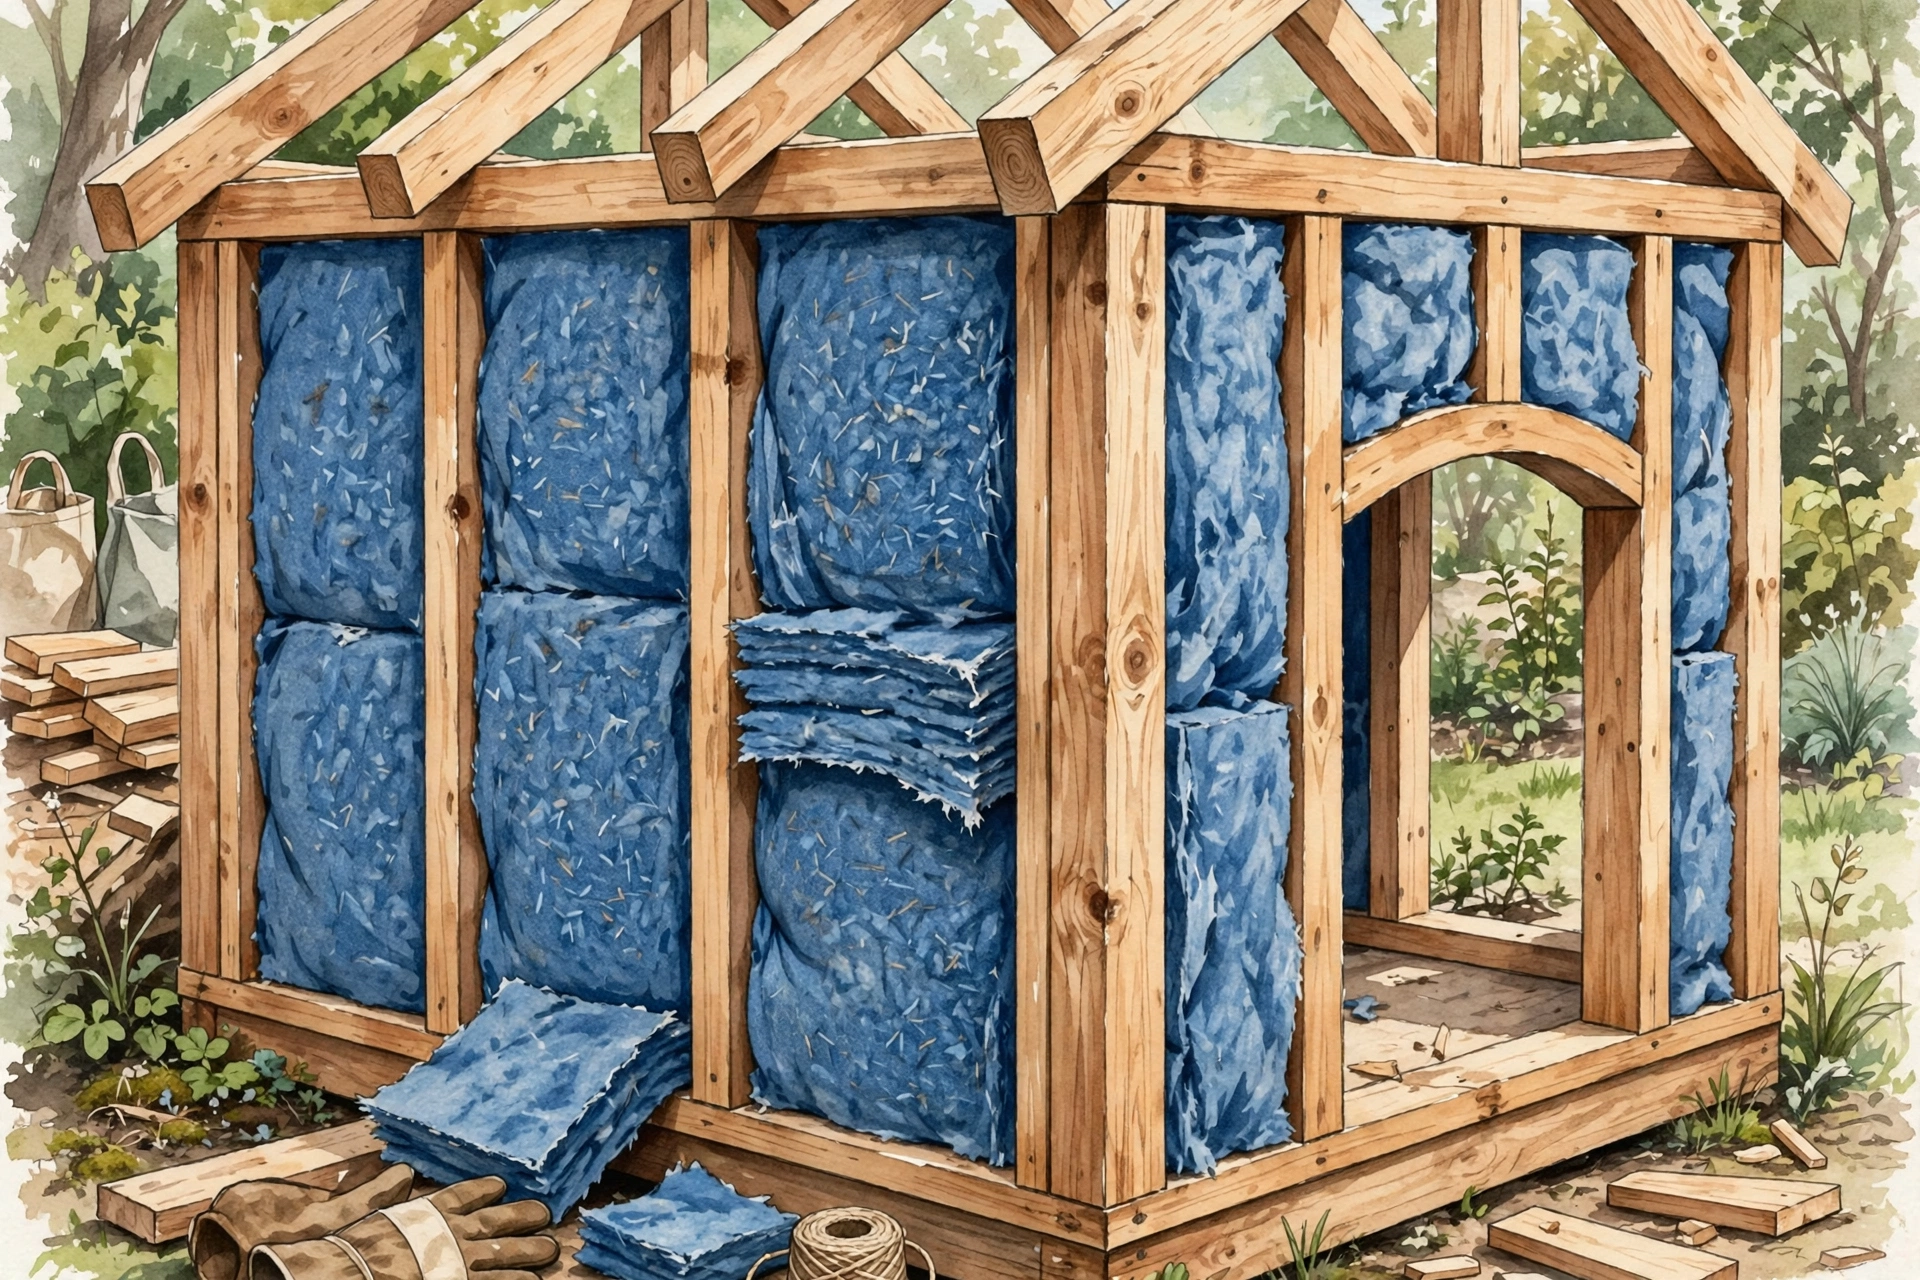
Cut panels of recycled denim insulation (sold as eco-friendly home insulation) to fit your wall cavities — it’s soft, non-toxic, and safe even if a curious nose pokes at it. Unlike fiberglass, denim won’t irritate skin or lungs during installation, making it the friendliest insulation to DIY with. Pair it with a gentle heat source from our heated dog house ideas for the coziest setup of all.
Final Thoughts
Insulating a dog house yourself is one of the most rewarding weekend projects you can take on — the materials are cheap, the techniques are simple, and your dog feels the difference immediately. Start with the floor and the door, since those leak the most heat, then work your way up to the walls and roof. A well-insulated house can stay 10 to 20 degrees warmer inside than the air outside, which is often the difference between a comfortable night and a dangerous one. If you’re new to building, begin with our easy DIY dog house ideas and add insulation as step two. Your dog will thank you with the deepest winter naps you’ve ever seen.