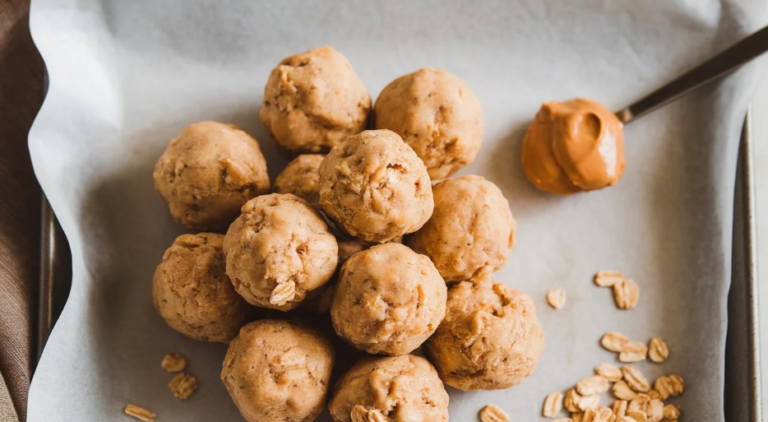
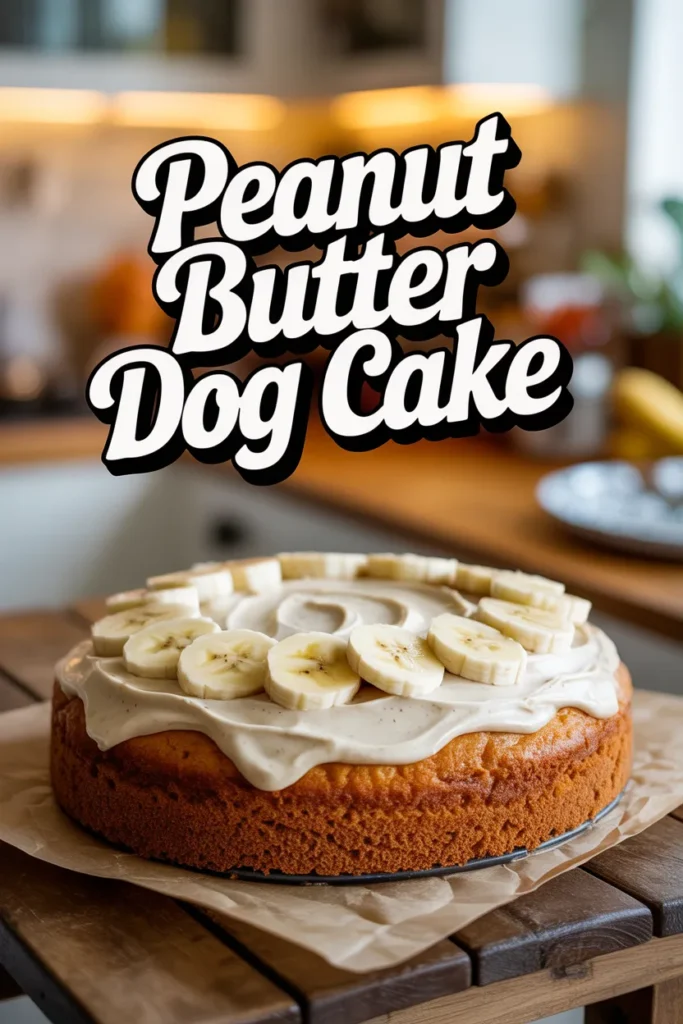
Homemade Peanut Butter Dog Cake
I’ve seen that same hopeful look in my dog’s eyes every time I bake something. So instead of saying no again, I made a cake just for him. This peanut butter banana dog cake is simple, safe, and made with everyday ingredients I trust.
Save For Later
In this guide, I’ll walk through the exact recipe I use, plus topping ideas, nutrition benefits, feeding tips, and storage advice. It’s perfect for birthdays, adoption days, or just a fun homemade treat. I also share a few practical tips I’ve learned along the way to make sure it turns out right every time.
Key Takeaways
- I use simple, dog-safe ingredients like banana, peanut butter, and egg
- This cake is quick to make (under 30 minutes baking time)
- Always choose xylitol-free peanut butter for safety
- Best served in small portions as a treat, not a meal
- Can be stored 3 days in fridge or 1 month in freezer
Homemade Peanut Butter Dog Cake Recipe
From my experience, homemade treats give me full control over what my dog eats. This recipe is one I rely on because it’s easy, affordable, and my dog genuinely enjoys it every time.
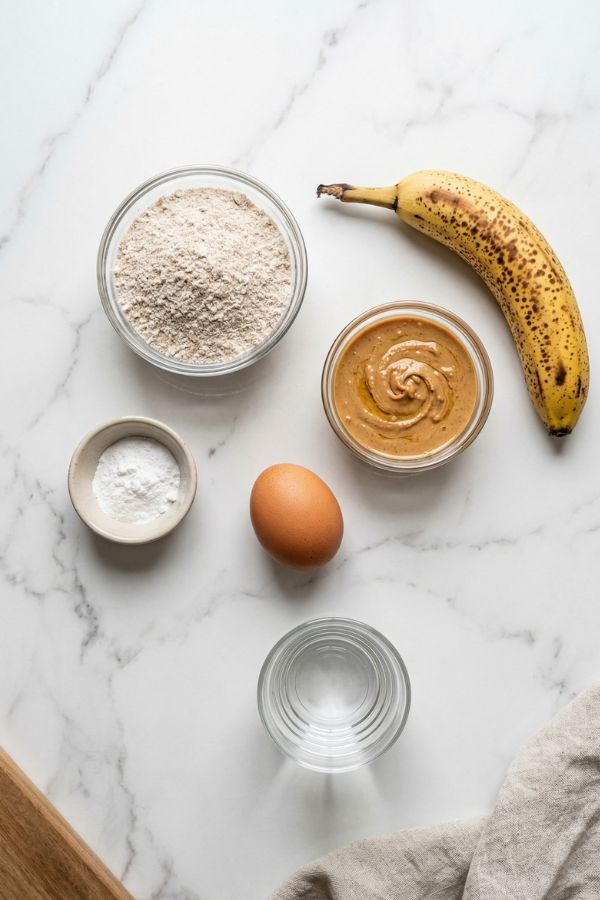
Ingredients
- 1 cup whole wheat flour
I prefer this over white flour because it has more fiber and supports digestion. - 1 teaspoon baking powder
This helps the cake rise and keeps the texture soft. - 1 ripe banana (mashed)
Bananas add natural sweetness and potassium. One medium banana has about 400+ mg potassium, which supports muscle function. - ⅓ cup peanut butter (xylitol-free)
Always double-check the label. Xylitol is toxic to dogs even in small amounts. - 1 egg
Eggs provide protein and help bind everything together. - ¼ cup water
This keeps the batter smooth and easy to mix.
Optional Add-Ins
- 1 tablespoon honey
I use this occasionally for a bit of sweetness. - 1 tablespoon applesauce
Helps improve moisture and texture. - 1 teaspoon cinnamon
Use in very small amounts. It adds flavor and may support inflammation control.
Equipment Needed
- Mixing bowl
- Measuring cups and spoons
- Spatula or spoon
- 6-inch cake pan or muffin tin
- Non-stick spray or parchment paper
Step-by-Step Instructions
1. Preheat the Oven
I start by preheating my oven to 350°F (175°C). I also grease the pan well so nothing sticks.
2. Combine Dry Ingredients
In one bowl, I mix the flour and baking powder. I make sure it’s evenly combined so the cake rises properly.
3. Add Wet Ingredients
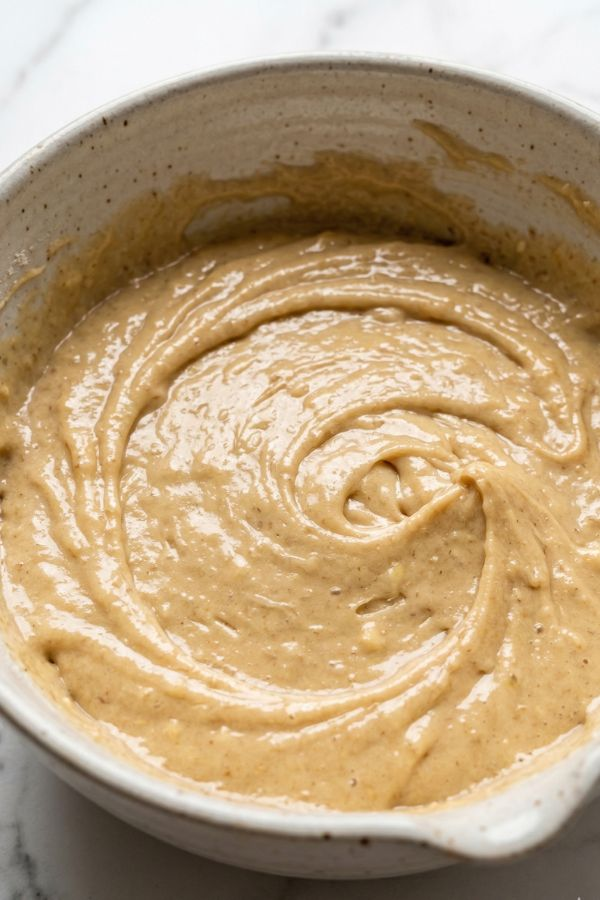
In another bowl, I mash the banana until smooth. Then I mix in peanut butter, egg, and water until everything blends well.
If I’m using extras like applesauce or honey, I add them here.
4. Combine Wet and Dry Ingredients
I slowly mix the wet ingredients into the dry ones. The batter should be thick but still pourable.
Pro Tip: If it feels too thick, I add water 1 tablespoon at a time. This prevents a dry cake.
5. Pour into Pan and Smooth
I pour the batter into the pan and smooth the top. This helps it bake evenly.
6. Bake the Cake
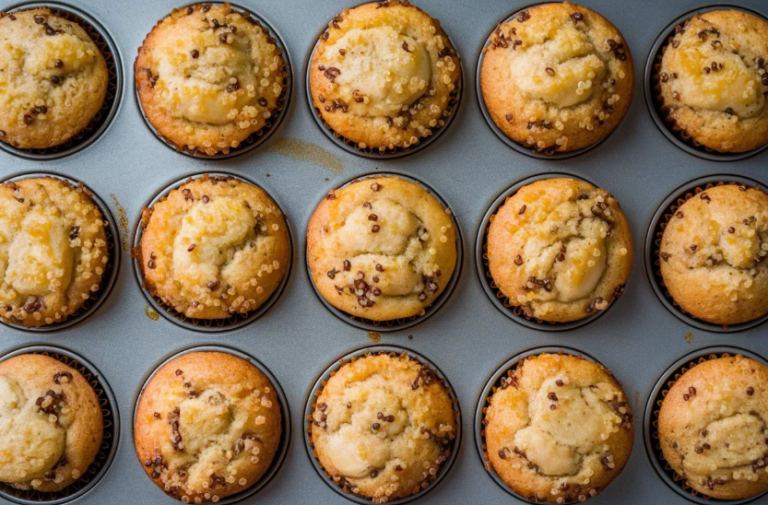
I bake it for 20–25 minutes. For smaller portions like cupcakes, I start checking around 15 minutes.
A toothpick test works best—if it comes out clean, it’s done.
7. Cool Completely
I always let the cake cool fully before serving. This step matters because hot food can upset a dog’s stomach.
Topping Ideas
I like to keep toppings simple and safe. Here are a few I personally use:
- Peanut Butter Drizzle
Slightly warmed peanut butter makes an easy topping. - Greek Yogurt Frosting
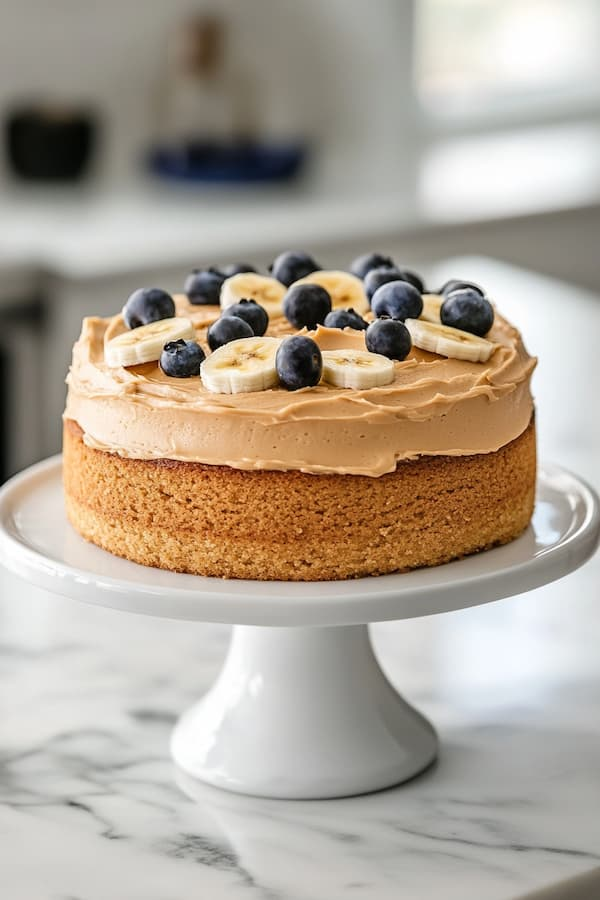
Plain, unsweetened yogurt works well. It also adds probiotics. - Fruit Garnish
Banana slices, blueberries, or apple pieces add freshness. - Shredded Carrots
Adds crunch and color with extra vitamins. - Crumbled Dog Treats
Great for texture and making the cake look special.
Topping the Cake
Once cooled, I spread a thin layer of yogurt or drizzle peanut butter. Then I add fruits or carrots on top.
I keep toppings light because too much can upset digestion.
Benefits of the Ingredients
From what I’ve learned, each ingredient adds real value:
- Whole Wheat Flour → Supports digestion with fiber
- Banana → Provides quick energy and potassium
- Peanut Butter → Contains healthy fats and protein
- Egg → Helps muscle repair and growth
- Cinnamon (optional) → May support inflammation control
Feeding Guidelines
I treat this cake as an occasional snack, not a meal.
- Small dogs: a few bites
- Medium dogs: 1 small slice
- Large dogs: 1–2 slices
Pro Tip: Treats should make up no more than 10% of a dog’s daily calories to avoid weight gain.
Storage Tips
Refrigerator
I store leftovers in an airtight container for up to 3 days.
Freezer
I freeze individual slices for up to 1 month. It makes portion control easier.
Before serving, I always thaw it completely.
All content on this site is written and reviewed by our experienced team to ensure it is accurate, reliable, and helpful for our readers. Our Our Process page explains how we carefully research and create high-quality content, while our Team page introduces the professionals behind our work. We also provide clear guidelines for content or image concerns on our Image Removal page, so you can trust that we prioritize transparency, quality, and reader safety.