How I Made the BEST Dog Cookies With Just 3 Ingredients
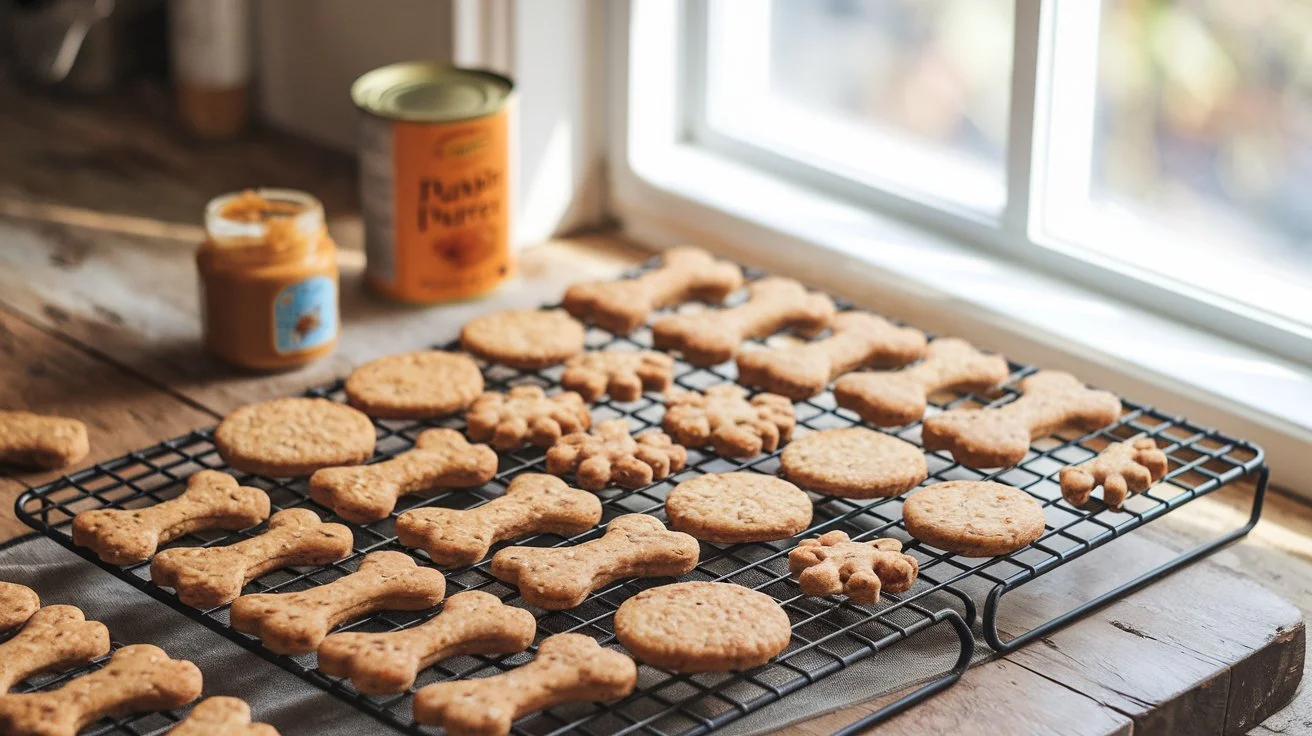
Nothing beats the look on my dog’s face when I pull a fresh batch of homemade treats out of the oven. That’s exactly why I keep coming back to these 3-ingredient dog cookies. They’re quick to make, budget-friendly, and perfect for those days when I want to give my pup something homemade without spending hours in the kitchen.
The first time I tried this recipe, I couldn’t believe how easy it was. With just three everyday ingredients, I had a tray of crunchy cookies my dog couldn’t wait to taste. If you’ve been searching for a simple homemade dog treat recipe that’s healthy, beginner-friendly, and made with ingredients you can trust, this one is definitely worth making.
Save For Later
Key Takeaways
- Make homemade dog cookies with only three simple ingredients.
- Skip artificial additives found in many store-bought treats.
- Great for beginner bakers and busy dog owners.
- Easy to customize with dog-safe ingredients.
- Store extras for quick snacks throughout the week.
- Perfect for training rewards or everyday treats.
Pro Tip
I always roll the dough to an even thickness so every cookie bakes at the same rate. If the dough feels sticky, I dust my work surface with a little oat flour instead of adding too much extra flour. I bake the cookies a few minutes longer when I want a crunchier texture that lasts longer in storage. Once they’re completely cool, I keep them in an airtight container. If I make a large batch, I freeze half to keep every cookie fresh. My dog gets excited every single time I open the treat jar.
Other Posts
- Blueberry Oat Dog Cookies
- Pumpkin and Oat Dog Cookies (Easy Recipe)
- Peanut Butter Banana Cookies for Dogs
Why You Should Make Homemade Dog Cookies
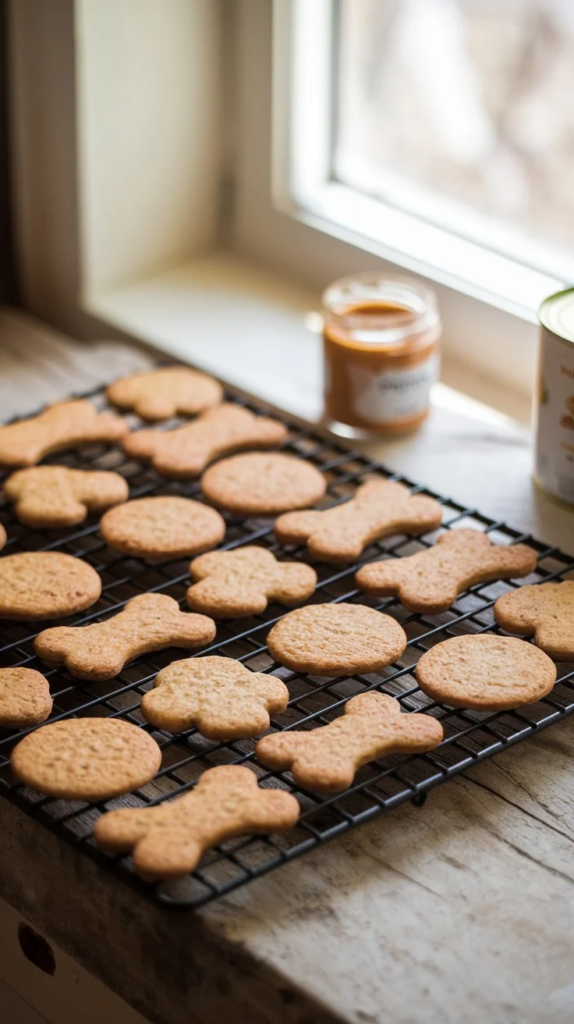
Sure, you could grab a bag from the store, but making them yourself comes with so many benefits.
You know exactly what your dog is eating. Store-bought treats often contain preservatives, sugars, and fillers that are not ideal for dogs. Making cookies at home lets you keep everything natural and safe.
It’s cost-effective. Fancy treats at the pet store can add up fast. Whipping up a batch at home is affordable, especially if you make them in larger quantities.
Your dog will love you even more. And yes, that’s possible. There’s nothing quite like watching your pup’s tail wag uncontrollably as they enjoy a treat you made just for them.
It’s fun and rewarding. Baking for your dog is satisfying in a way that’s hard to explain. Even if you’re not a seasoned baker, this recipe is simple, mess-friendly, and actually enjoyable.
The 3 Magical Ingredients
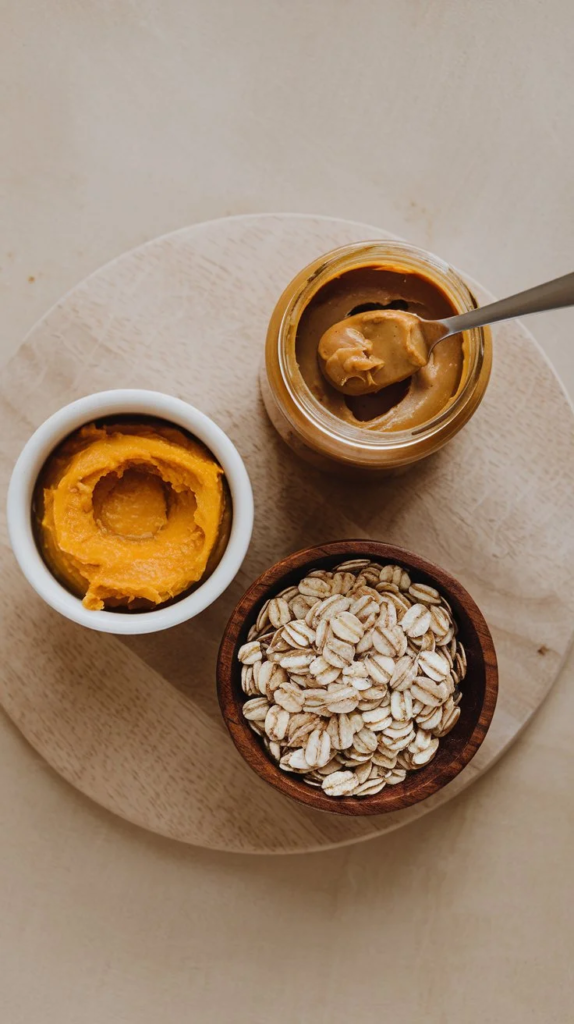
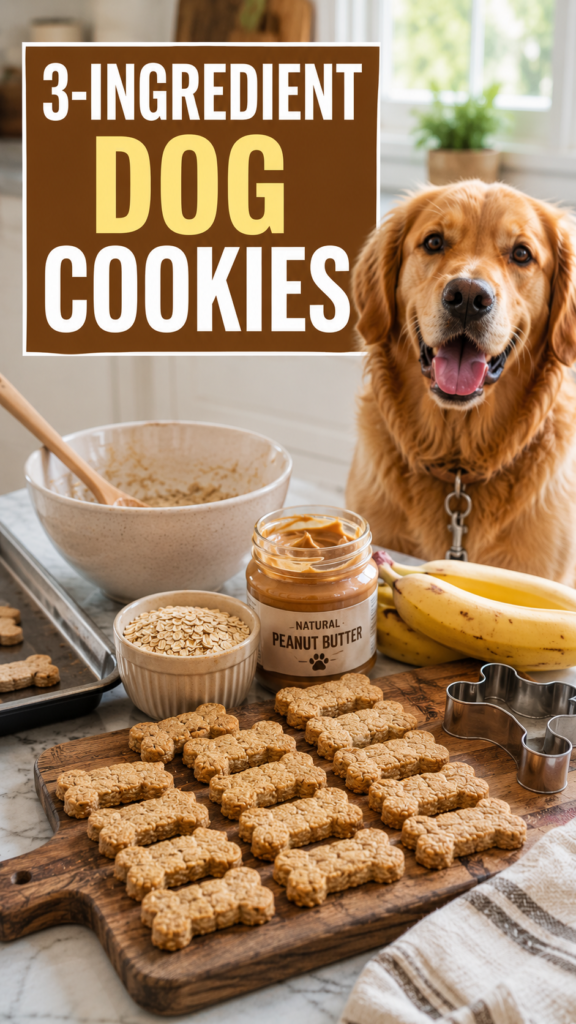
The best part? You only need three ingredients, and each of them is healthy and dog-approved:
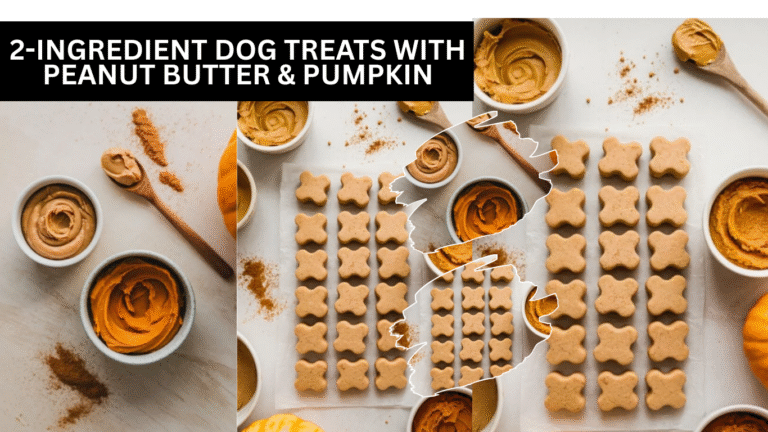
1. Peanut Butter (1 cup)
Use natural peanut butter and make absolutely sure it doesn’t contain xylitol, which is toxic to dogs. Peanut butter adds richness and flavor that dogs can’t resist.
2. Pumpkin Puree (1 cup)
Not the sweetened pie filling, but pure pumpkin. It’s gentle on the stomach, great for digestion, and dogs usually love the taste.
3. Oats (2 cups)
Rolled oats or quick oats work just fine. They provide fiber, help with texture, and make the cookies chewy—perfect for keeping your dog happily occupied.
No eggs, no flour, no complicated nonsense—just simple, wholesome ingredients.
Step-by-Step Guide to Making Dog Cookies
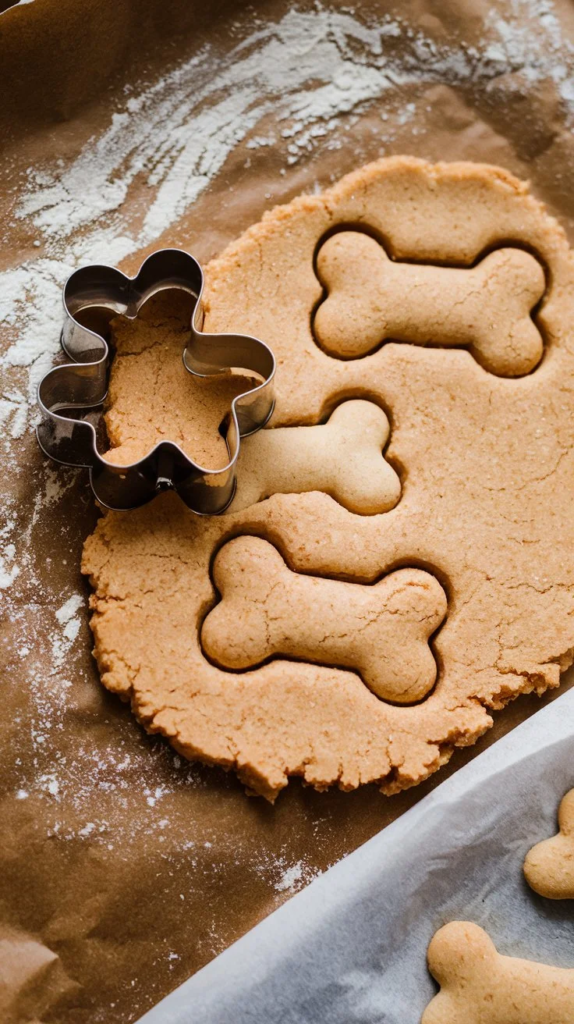
Step 1: Preheat Your Oven
Set your oven to 350°F (175°C). This ensures your cookies bake evenly. While it’s heating up, feel free to sneak a little taste of the peanut butter. No judgment here.
Step 2: Mix the Ingredients
In a large bowl, combine the peanut butter and pumpkin puree. Stir them together until smooth and well blended. Then slowly add in the oats. You can mix with a spoon, but honestly, using your hands is fun and gives you a better feel for the dough. Once it sticks together, you’re ready for the next step.
Step 3: Shape the Cookies
Grab small portions of dough and roll them into balls, then flatten them into cookie shapes. If you want to get creative, use cookie cutters—bone shapes, paw prints, anything your heart desires.
Step 4: Bake Until Perfect
Place your cookies on a lined baking sheet and bake for 20–25 minutes. The goal is to have cookies that are firm but not hard, perfect for chewing without being too crunchy.
Step 5: Cool Before Serving
Allow the cookies to cool for about 10 minutes. Then let your dog enjoy! And if curiosity strikes, give one a try yourself. They taste like simple peanut butter and oats—bland for humans, but your dog will adore them.
The Verdict: Did My Dog Love Them?
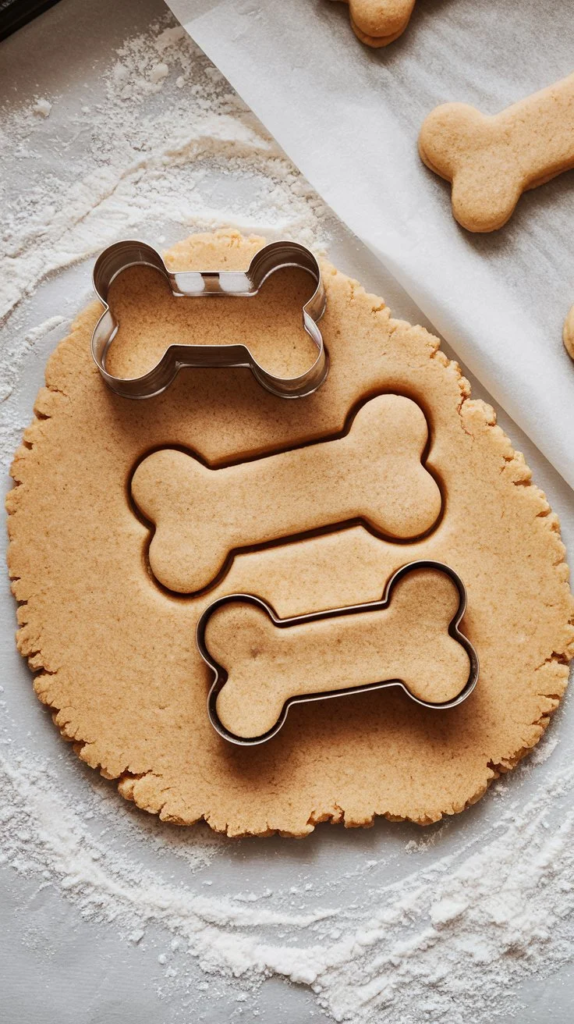
Absolutely. The moment the cookies came out of the oven, my pup was circling like a little furry vulture. The first bite? Gone in seconds. Tail wagging, happy eyes, and slobber everywhere—total success.
Why Dogs Love These Cookies:
- Peanut butter: Irresistible flavor.
- Pumpkin: Soothing on the tummy and naturally tasty.
- Oats: Chewy texture that keeps them engaged longer.
Customization: Make Them Your Own
If you want to get a little creative, you can safely add ingredients for variety:
- Cinnamon: Adds flavor and smells amazing to both dogs and humans.
- Shredded carrots: Extra vitamins and a bit of crunch.
- Brown rice flour instead of oats: Makes cookies a bit firmer.
Always check that any add-ins are dog-safe—no chocolate, raisins, or anything toxic.
How to Store Homemade Dog Cookies
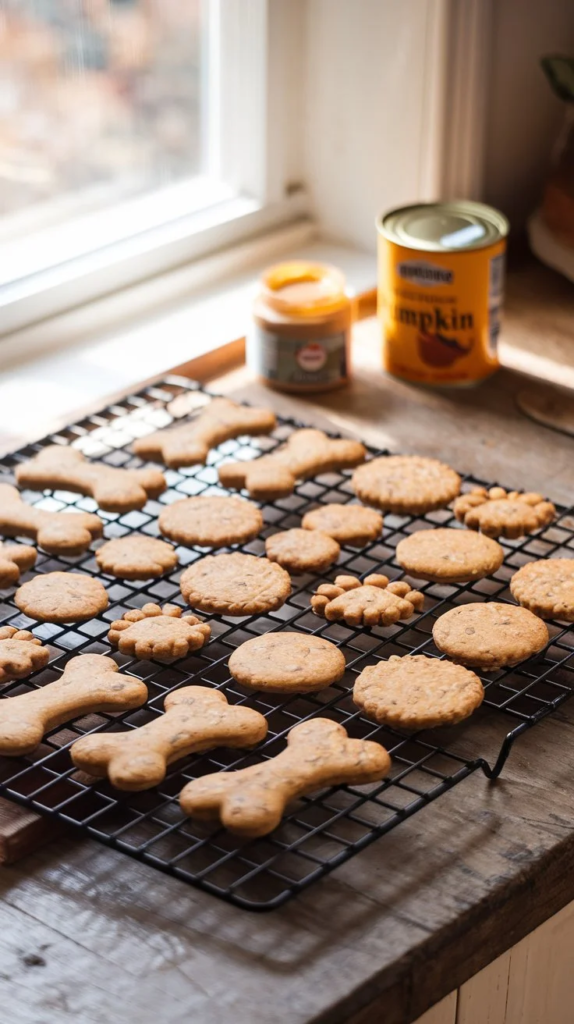
These cookies keep well, so you can make a big batch without worry:
- Room temperature: Up to 5 days in an airtight container.
- Fridge: About 2 weeks.
- Freezer: Several months, though your dog will probably eat them before that.
Final Thoughts of How I Made the BEST Dog Cookies
Making these 3-ingredient dog cookies is simple, fun, and rewarding. Seeing your dog’s excitement and knowing exactly what’s in their treat makes it completely worth it. You don’t need to be a professional baker—if you can stir and shape dough, you’re already a pro for your pup.
Next time your dog gives you those big, pleading eyes, you’ll be ready with a homemade treat that’s healthy, tasty, and filled with love.
Quick FAQ
Can I use any peanut butter?
No. Always avoid brands containing xylitol—it’s dangerous for dogs.
What if my dog doesn’t like pumpkin?
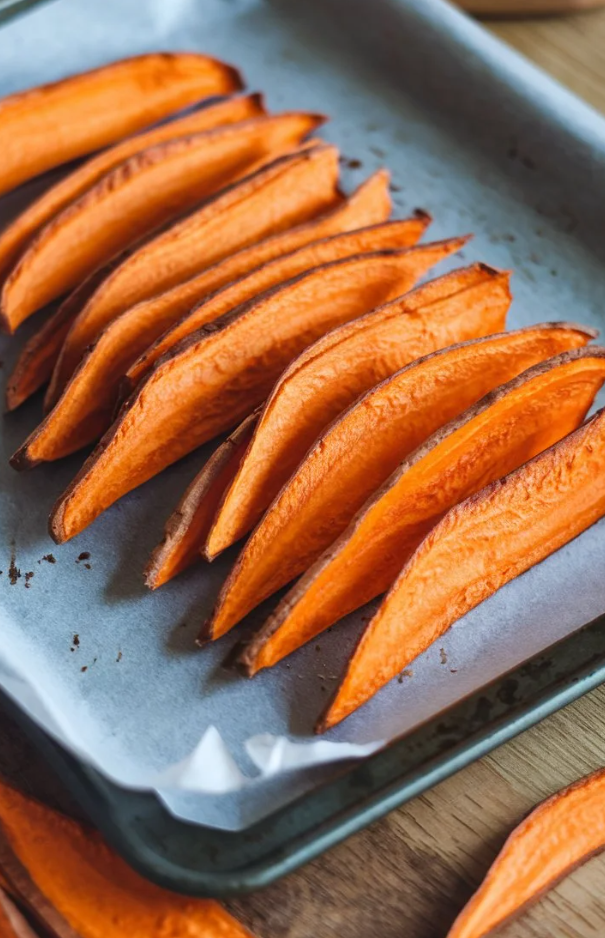
You can use mashed sweet potato instead—it’s equally safe and tasty.
Are these cookies soft or crunchy?
They’re naturally soft, but baking a few minutes longer makes them crunchier.
Can humans eat them too?
Yes, but they’re plain peanut butter and oats, not dessert-level tasty.
Your dog will thank you with wagging tails, happy dances, and maybe even a little extra love while you bake. These cookies are easy, safe, and utterly delicious for dogs—and that’s a win-win.
All content on this site is written and reviewed by our experienced team to ensure it is accurate, reliable, and helpful for our readers. Our Our Process page explains how we carefully research and create high-quality content, while our Team page introduces the professionals behind our work. We also provide clear guidelines for content or image concerns on our Image Removal page, so you can trust that we prioritize transparency, quality, and reader safety.