How to Clean a Garbage Disposal
Remove odours, scour away built-up grime, and keep your disposal running smoothly — using only ice, salt, baking soda, vinegar, and citrus. No harsh chemicals, and no hands inside the unit, ever.
Quick Facts
- Deep clean time: 15 min
- Quick flush: Weekly
- Full deep clean: Monthly
- Water: Cold water only
Why It Starts to Smell
A garbage disposal does not have sharp blades that chop food. It has a spinning plate and impellers that push food against a grind ring. Small bits of food, grease, and slime collect on the splash guard, the grind ring, and the walls above the water line. That build-up — not the pipes below — is where most disposal smells come from. Cleaning those surfaces fixes the odour and helps the unit grind properly.
Want a Better-Trained, Happier Dog?
Get practical guidance for obedience, behavior, and everyday dog training with a collection of helpful training guides designed for dog owners.
This post may contain affiliate links. If you purchase through our link, we may earn a commission at no additional cost to you.
What You Will Need
- 2 cups ice cubes
- 1 cup coarse salt or rock salt
- 1/2 cup baking soda
- 1 cup white vinegar
- A few drops of dish soap
- 1 lemon or orange, cut into wedges
- Long-handled disposal brush or old toothbrush
- Tongs or needle-nose pliers
- Torch (flashlight)
- Rubber gloves
Safety First — Before You Start
- NEVER put your hand or fingers inside the disposal, even when it is off.
- Turn the power OFF at the wall switch, and unplug the unit or switch it off at the breaker before scrubbing or removing anything.
- Use tongs or pliers — never fingers — to lift out any stuck object.
- Always run COLD water when using the disposal. Hot water melts grease, which then re-solidifies further down the pipe.
- Never use bleach or chemical drain cleaner in a disposal — it can damage seals, splash back, and harm a septic system.
Step-by-Step Deep Clean
Step 1 — Clear and Flush
- Remove the sink stopper and any strainer. Shine a torch into the drain and lift out any visible non-food items or stuck pieces with tongs.
- Turn on a steady stream of cold water, switch the disposal on, and let it run for 30 seconds to flush loose debris through.
- Switch the disposal off. Keep the power off for the scrubbing steps below.
Step 2 — Ice and Salt Scrub
- Tip 2 cups of ice cubes into the disposal, followed by 1 cup of coarse salt.
- Turn on the cold water, then switch the disposal on.
- Run it until the ice is fully crushed and the grinding sound returns to normal — about 30 to 60 seconds. The ice scours the grind ring and plate, and the salt helps scrub and loosen stuck-on residue.
- Switch off and rinse with cold water for another 30 seconds.
Step 3 — Baking Soda and Vinegar Deodorise
- With the disposal OFF, pour 1/2 cup of baking soda into the drain.
- Slowly add 1 cup of white vinegar. It will fizz — that fizz helps lift light residue and neutralise odours.
- Cover the drain opening with the sink stopper to keep the fizz working inside, and leave it for 10 to 15 minutes.
- Remove the stopper and flush with cold water while running the disposal for 30 seconds.
Note: Use baking soda and vinegar only for deodorising and light build-up. It does not clear a blocked pipe. Never mix vinegar with bleach or any other cleaner.
Step 4 — Scrub the Splash Guard and Flange
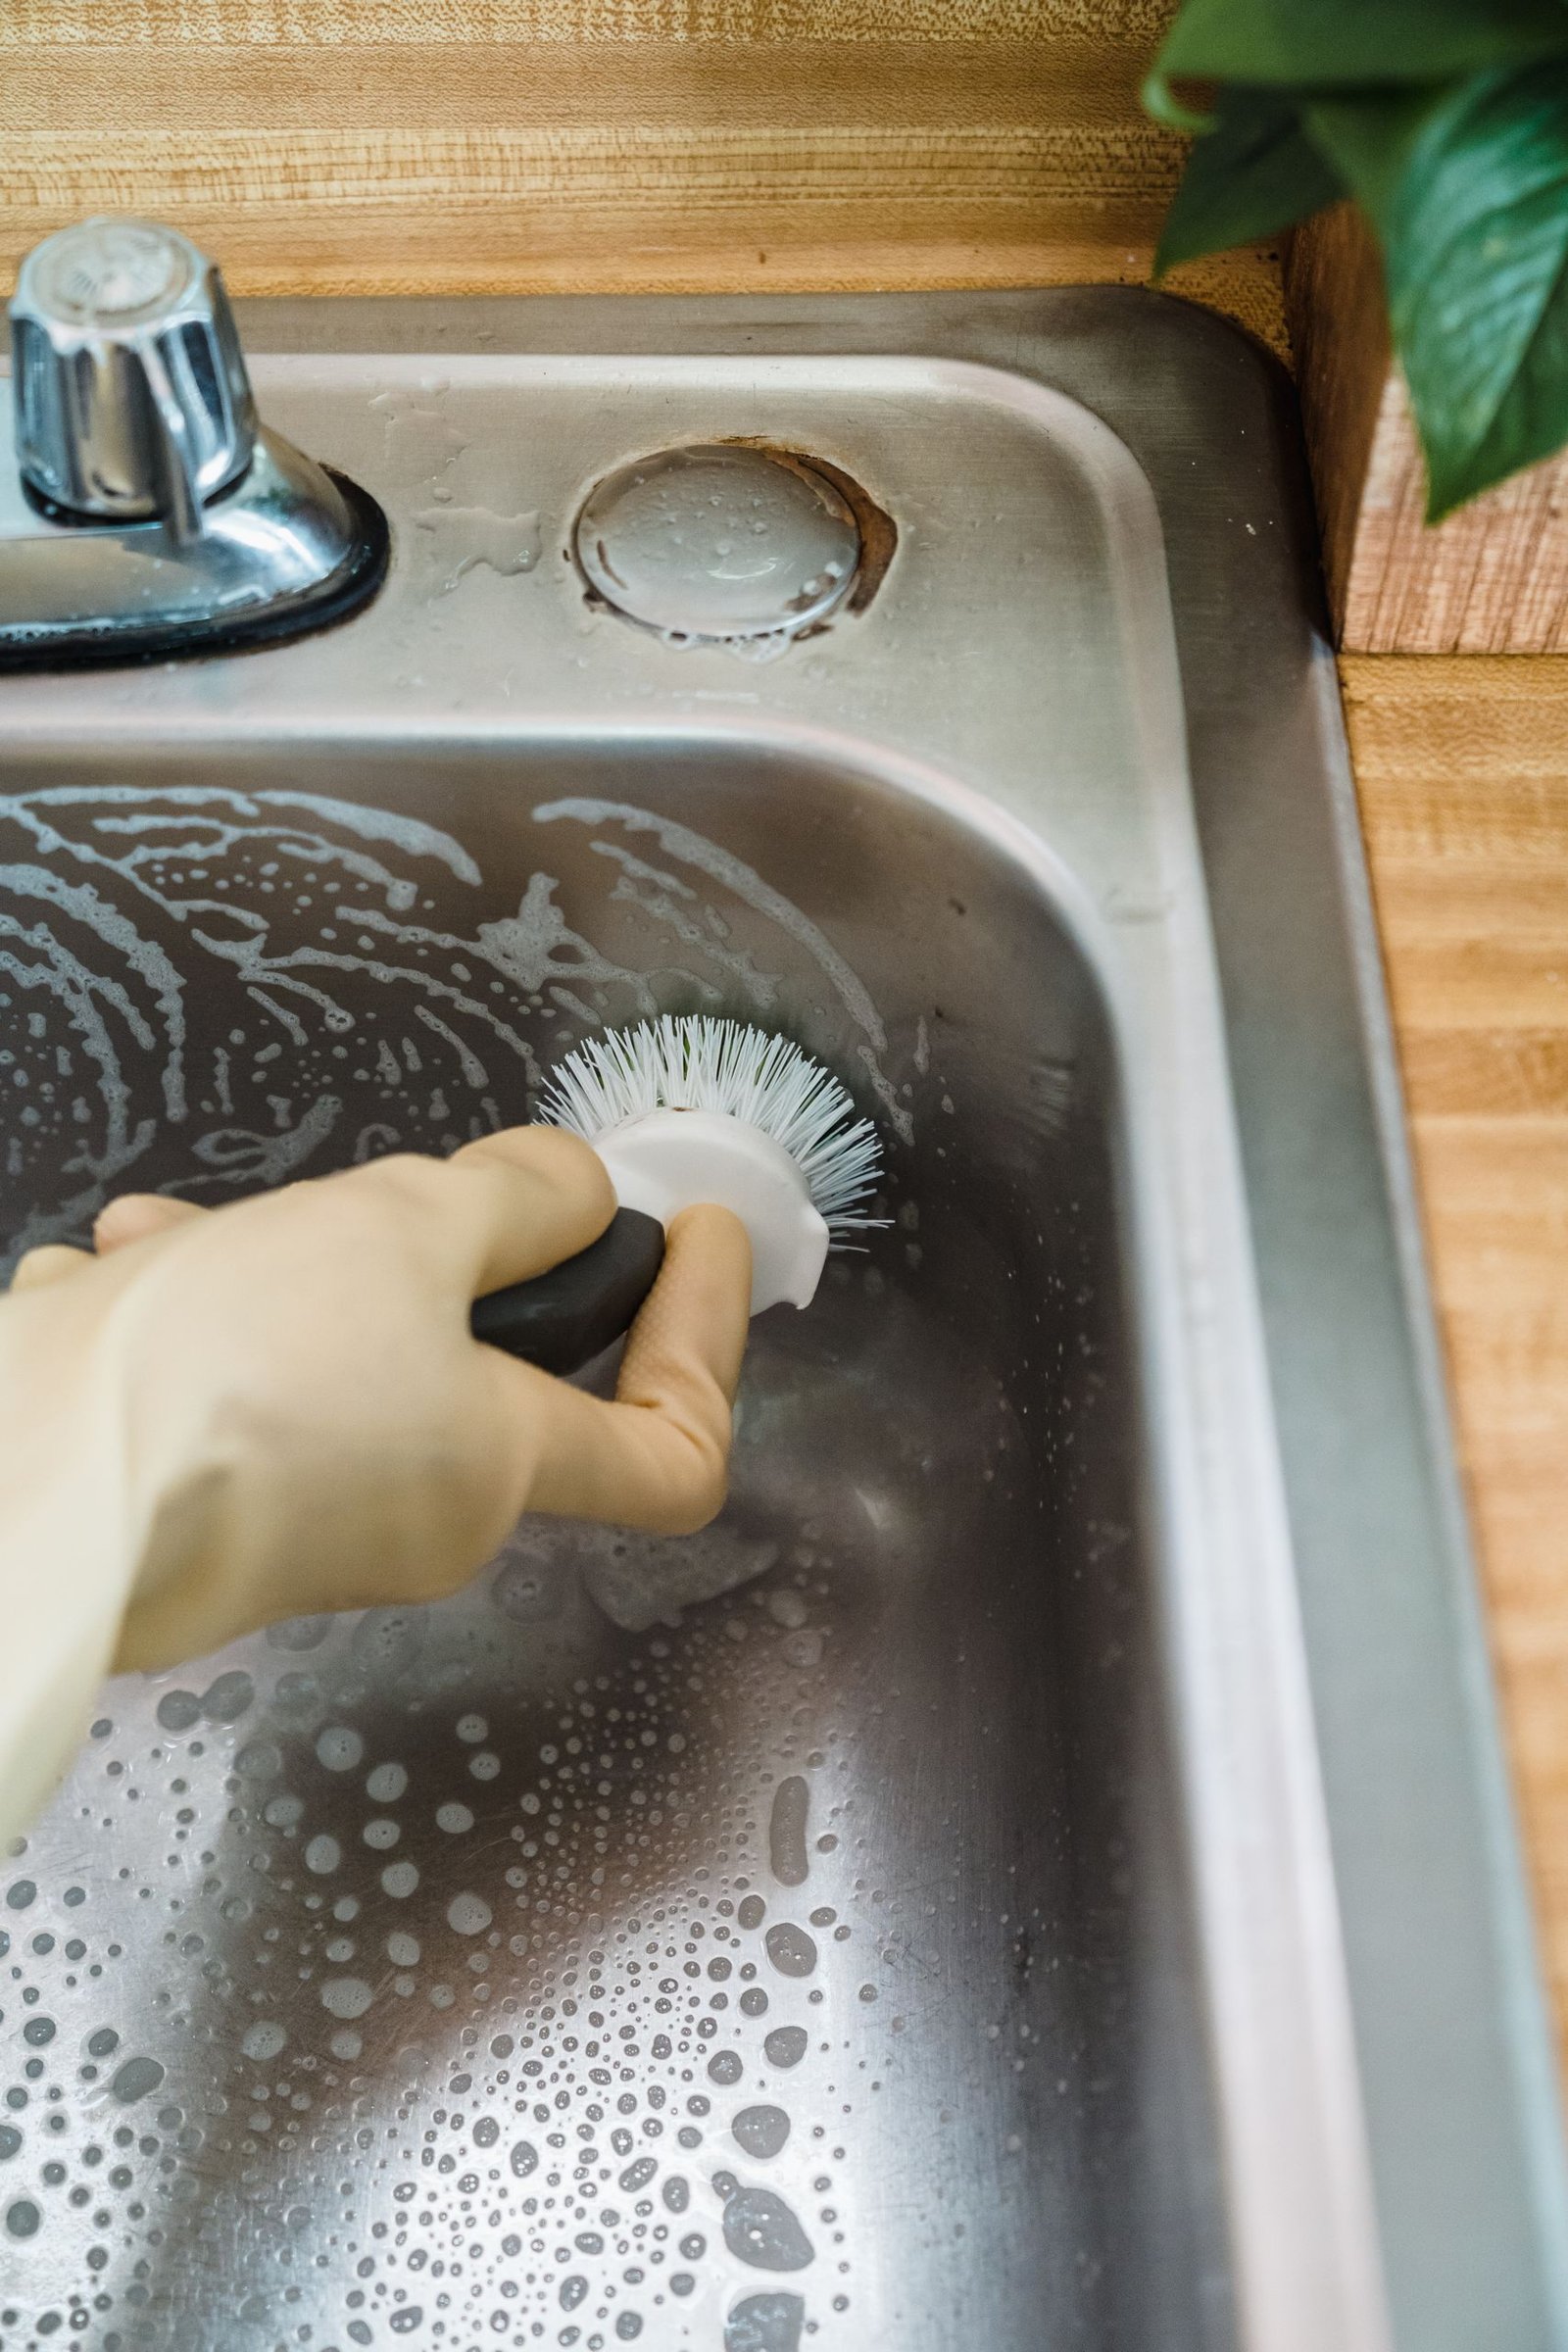
- Confirm the power is OFF at the switch and the unit is unplugged or off at the breaker.
- Dip a long-handled disposal brush or old toothbrush in water with a drop of dish soap and a little baking soda.
- Scrub the top and underside of each rubber flap of the splash guard — this hidden underside holds the most odour-causing slime.
- Scrub around the metal sink flange and the top rim of the drain opening.
- Rinse by running cold water and the disposal briefly once scrubbing is finished and the brush is out.
Step 5 — Citrus Freshen
- Cut a lemon or orange into small wedges, small enough for your unit to grind easily.
- Turn on cold water, switch the disposal on, and feed in one wedge at a time.
- Let the water run for 30 seconds after the last wedge to flush everything through. The citrus oils leave a fresh, clean scent.
If Something Goes Wrong
Still smells after cleaning — Slime left under the splash guard, or build-up in the sink overflow or dishwasher hose: Repeat Step 4 and scrub every flap underside. Clean the sink overflow opening. If the smell stays, run the dishwasher on its hottest cycle.
Humming but not grinding — Something is jammed, or the flywheel is stuck: Power OFF. Never reach in. Use the hex wrench in the centre socket underneath the unit and move it back and forth, or turn the plate with a wooden spoon handle from above. Remove the object with tongs, then press Reset.
Stopped and silent — Overload switch has tripped: Turn the wall switch OFF, let the unit cool for a few minutes, press the red Reset button on the underside, then try again with cold water running.
Leaking underneath — Loose flange, worn seal, or a cracked unit: Stop using it, dry the area, and tighten the sink flange bolts if loose. A leak from the bottom seal usually means the unit needs repair or replacement — call a plumber.
Slow draining — Grease or food build-up in the trap beyond the disposal: Do not use chemical drain cleaner. Place a bucket under the trap, loosen and clean the trap by hand, or call a plumber if you are not confident.
Quick 2-Minute Refresh — For Busy Days
- Run cold water and grind a handful of ice cubes for 30 seconds.
- Sprinkle 2 tablespoons of baking soda into the drain and leave for 5 minutes.
- Flush with cold water while running the disposal for 30 seconds.
- Wipe the flange and the top of the splash guard with a soapy cloth — power off first.
- Grind 2-3 citrus wedges for a fresh finish.
Remember: Cold water every time, small amounts of food, and a 30-second flush after grinding. Those three habits prevent most disposal smells and clogs.
Never Put These Down a Disposal
- Cooking oil, grease, or fat — it coats pipes and traps odours
- Coffee grounds — they form a dense sludge in the trap
- Pasta, rice, bread, and potato peelings — they swell or turn to paste
- Bones, fruit stones, and shells — too hard for the unit
- Fibrous foods — celery, onion skins, corn husks, artichokes — they tangle the plate
- Eggshells in large amounts — the membrane can wrap the impellers
- Non-food items, glass, metal, plastic, or cigarette ends
- Hot water while grinding fatty food, and any bleach or drain chemicals
Keep It Fresh — Maintenance Checklist
Every Use: Run cold water before, during, and 30 seconds after grinding; feed food in small amounts — do not overfill; let the unit run until grinding is complete and only the motor and water sound remain.
Weekly: Grind a tray of ice cubes with cold water; wipe the sink flange and visible splash guard; run citrus wedges for freshness if needed.
Monthly: Do the full deep clean, including the splash guard scrub; check under the sink for drips or damp patches; clean the dishwasher drain hose connection if smells return.
Good habit: Scrape plates into the bin or compost first. A disposal is for small food scraps rinsed off dishes — not a bin for a whole meal. Less food in means fewer clogs and fewer smells.
Download Your Free Printable Checklist
Get the free printable checklist for this guide — perfect for keeping in the kitchen so you can follow the deep clean step by step.
PDF • Print-friendly
Looking for more free printables? See all free printables on our Cleaning Resources page.