How To Make Simple Turkey Dog Treats
If you’ve ever caught your dog giving you that look every time you open the fridge, you know exactly why you’re here. Maybe you just love spoiling your furry best friend a little more than you spoil yourself—and honestly, who can blame you? Dogs are little bundles of loyalty, joy, and unconditional love. They don’t complain, they don’t argue about bills, and they genuinely think you’re the most amazing human alive.
Making homemade turkey dog treats is surprisingly easy, fun, and incredibly satisfying. Once your pup takes that first bite, the tail wag, happy dance, and puppy eyes will make you feel like you’ve won the lottery. And the best part? You’re in full control of what goes into their treats, so you know they’re eating something wholesome and healthy—no weird additives, no fillers, just pure love baked in.
What You’ll Need (AKA: Grocery List + Some Stuff You Already Have)
Before we get our hands messy and channel our inner doggy Martha Stewart, let’s talk ingredients. The good news? You don’t need anything fancy, exotic, or overpriced. Everything your dog needs to enjoy a healthy treat can be found at your local grocery store. Think of this as an adventure in the kitchen—but instead of cooking for humans, your sous-chef is a very judgmental, very excited pooch.
Basic Ingredients for Turkey Dog Treats
For a simple, healthy batch, here’s exactly what you’ll need:
- 1 pound of ground turkey – lean is best. Your dog will thank you, and honestly, so will your conscience.
- 1 egg – acts as the glue that holds everything together. Skip it, and you’ll be left with crumbly chaos.
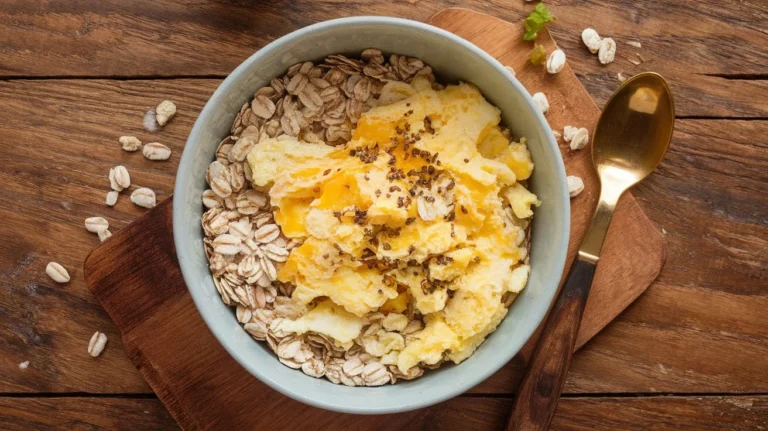
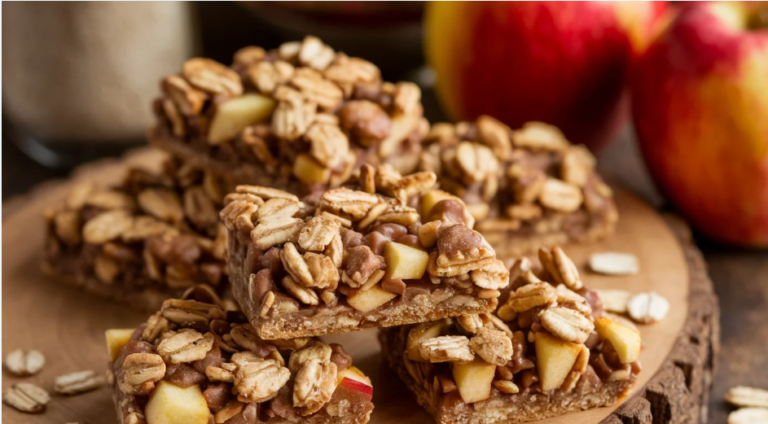
- 1/2 cup of oats – easy to digest and great for your dog’s tummy. Plus, they make you look like you know what you’re doing.
- 1/2 cup of pumpkin puree – not the sweet pie version, just plain pumpkin. It’s amazing for digestion and adds natural flavor.
- 1/4 cup of finely chopped spinach or parsley (optional) – a little green goes a long way for health benefits and color.
- 1/2 cup of whole wheat flour – or oat flour if you prefer gluten-free options. Flour helps give structure to the treats.
If your dog has allergies or food sensitivities, feel free to swap ingredients. You know your furry friend better than anyone.
Why Turkey?
Let’s be honest—turkey is the unsung hero of dog treats.
Turkey Is the Underappreciated MVP of Dog Treats
Turkey is lean, high in protein, and often easier to digest than beef or even chicken for many dogs. That means more energy, fewer stomach issues, and less post-snack chaos that ends with your dog slipping across the hardwood floor like a tiny furry ice skater.
It’s also perfect for pups with sensitive tummies or food allergies. If your dog has been itchy, gassy, or uncomfortable after meals, switching to turkey can be a game-changer. It’s nutritious, flavorful, and safe for most dogs—basically a win-win.
Let’s Cook (Or at Least Pretend to Be Fancy Chefs)
Ready to get started? Don’t worry if your kitchen looks like a small disaster zone afterward—your dog won’t care, and neither will we. The magic is in the process, and the reward is in those happy puppy eyes at the end.
Step-by-Step Instructions
Step 1: Preheat your oven to 350°F.
This is the simple part. You’re about to do some serious doggy magic.
Step 2: Mix the turkey, egg, pumpkin, and oats in a big bowl.
Yes, use your hands. Yes, it’s messy. And yes, your dog will be watching like you’ve never accomplished anything in your life before.
Step 3: Add the flour and optional greens, then mix until it forms a dough.
The consistency should be sticky but manageable. If it’s too wet, sprinkle a little extra flour until it’s easy to handle.
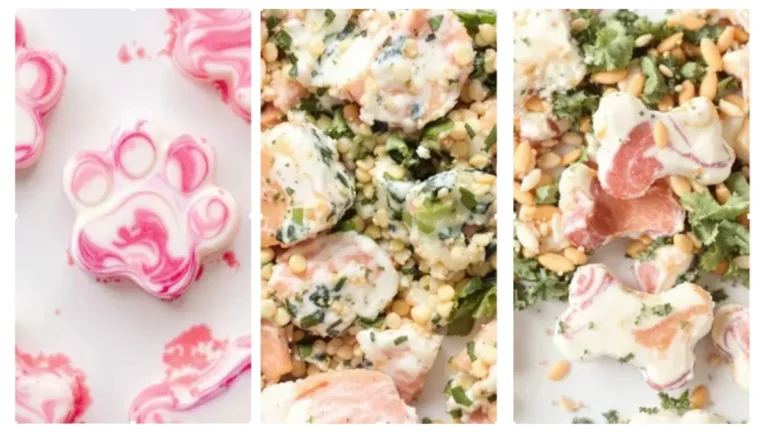
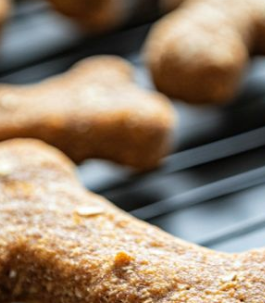
Step 4: Roll out the dough and cut into shapes.
Cookie cutters are great if you want bones, stars, or hearts. Or, for a more rustic approach, just tear chunks and flatten them by hand. Your dog won’t judge.
Step 5: Place the treats on a lined baking sheet and bake for 25–30 minutes.
Bake until golden brown and firm to the touch—not rock hard, just sturdy enough to hold together.
Step 6: Let them cool before serving.
Resist the temptation to sneak one. The smell is incredible, but these are for your pup.
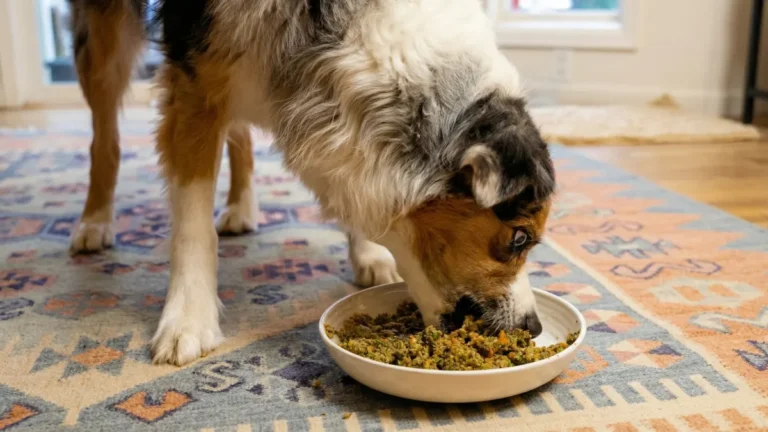
Taste Test Time (AKA: The Real Critic Arrives)
Now comes the best part: watching your dog dig in. Tail wagging, little barks of excitement, and happy sniffing will let you know you nailed it. If your dog isn’t immediately impressed, don’t panic. Sometimes a little shredded cheese or a dab of peanut butter on top will make them fall in love.
Storage: Don’t Let These Go Sad in a Ziploc
Homemade treats are great, but they won’t stay fresh forever if ignored.
- Fridge: Store in an airtight container for up to a week.
- Freezer: Make a big batch and freeze them. Defrost a few at a time, and they’ll last up to three months. Dogs don’t mind if they’re slightly frozen—they’ll still gobble them up like pros.
Variations (Because You Know You’ll Want to Tweak It)
Once you’re comfortable with the base recipe, you can get creative:
- Cheddar cheese – adds flavor (if your dog isn’t lactose-sensitive).
- Grated carrot or zucchini – sneaky veggies for extra nutrition.
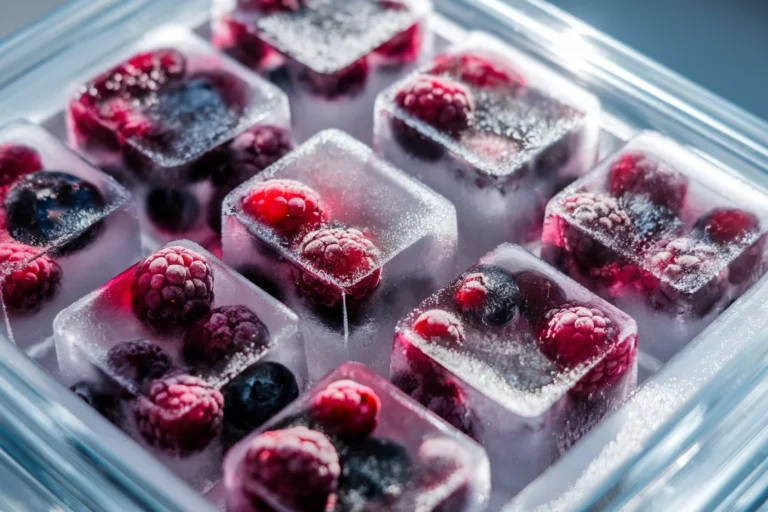
- Blueberries – packed with antioxidants and naturally sweet.
- Unsweetened applesauce – swap for pumpkin sometimes for a different flavor twist.
A simple rule: if you wouldn’t feed it to a toddler, don’t feed it to your dog.
What Not to Add
Some human foods are dangerous for dogs, so avoid:
- Onions or garlic
- Raisins or grapes
- Nutmeg
- Xylitol (found in some peanut butters)
- Salt and sugar
When in doubt, double-check or ask your vet before adding anything new.
Pro Tips From Someone Who’s Been There
Having made countless batches of these treats over the years, here’s what I’ve learned:
- Use parchment paper – cleanup is way easier.
- Keep treats small – perfect for training or giving more than one without guilt.
- Make it a weekend ritual – bake in batches and freeze to stay organized.
- Let your dog “help” – by which I mean they can sit, drool, and occasionally step on your foot while you bake.
Wanna Get Really Fancy?
Want to go full gourmet? Add dog-friendly frosting:
- Greek yogurt with a swirl of peanut butter
- Mashed sweet potato with coconut oil
- Pumpkin with a dash of cinnamon
Spread it on top for special occasions, snap a cute pic for Instagram, and enjoy the extra attention from your friends. Your dog won’t care about the likes—but they will love the treats.
Final Thoughts of How To Make Simple Turkey Dog Treats
Your dog already thinks you’re amazing. But making these turkey treats? That’s next-level devotion. It’s a way to show love, provide healthy snacks, and enjoy a bonding experience that feels rewarding for both of you.
So go ahead—get messy, experiment with flavors, and prepare for a kitchen full of wagging tails. At the end of the day, you’re not just a pet owner… you’re a dog treat rockstar.