
8 Ways to Organize a Dog Emergency Kit
Emergencies never wait for a convenient moment. A cut paw on a trail, a sudden storm, a late-night scare. The difference between panic and calm is having a dog emergency kit that is organized and ready to grab. These eight ideas will help you build a kit where every item has a place, so you can act fast instead of searching. One important note: ask your vet what first-aid supplies make sense for your dog, and remember this kit is for minor issues and getting to help, not a replacement for veterinary care.
This post contains affiliate links. As an Amazon Associate, I earn from qualifying purchases at no extra cost to you.
1. Start with a Waterproof Pouch or Bag
Everything in an emergency kit is useless if it gets soaked. Start with a waterproof or water-resistant pouch as the base of your kit. A bright-colored bag is easier to spot in a dark car or closet. Choose one with a sturdy zipper and a handle or carabiner so you can grab it one-handed. Keep it small enough to toss in the car but big enough for the essentials. This pouch is the home base. Every other item in your kit lives inside it, which means you only ever have to find one thing. Toss in a printed packing list of what belongs inside, so restocking after use takes seconds instead of guesswork.
Want a Better-Trained, Happier Dog?
Get practical guidance for obedience, behavior, and everyday dog training with a collection of helpful training guides designed for dog owners.
This post may contain affiliate links. If you purchase through our link, we may earn a commission at no additional cost to you.
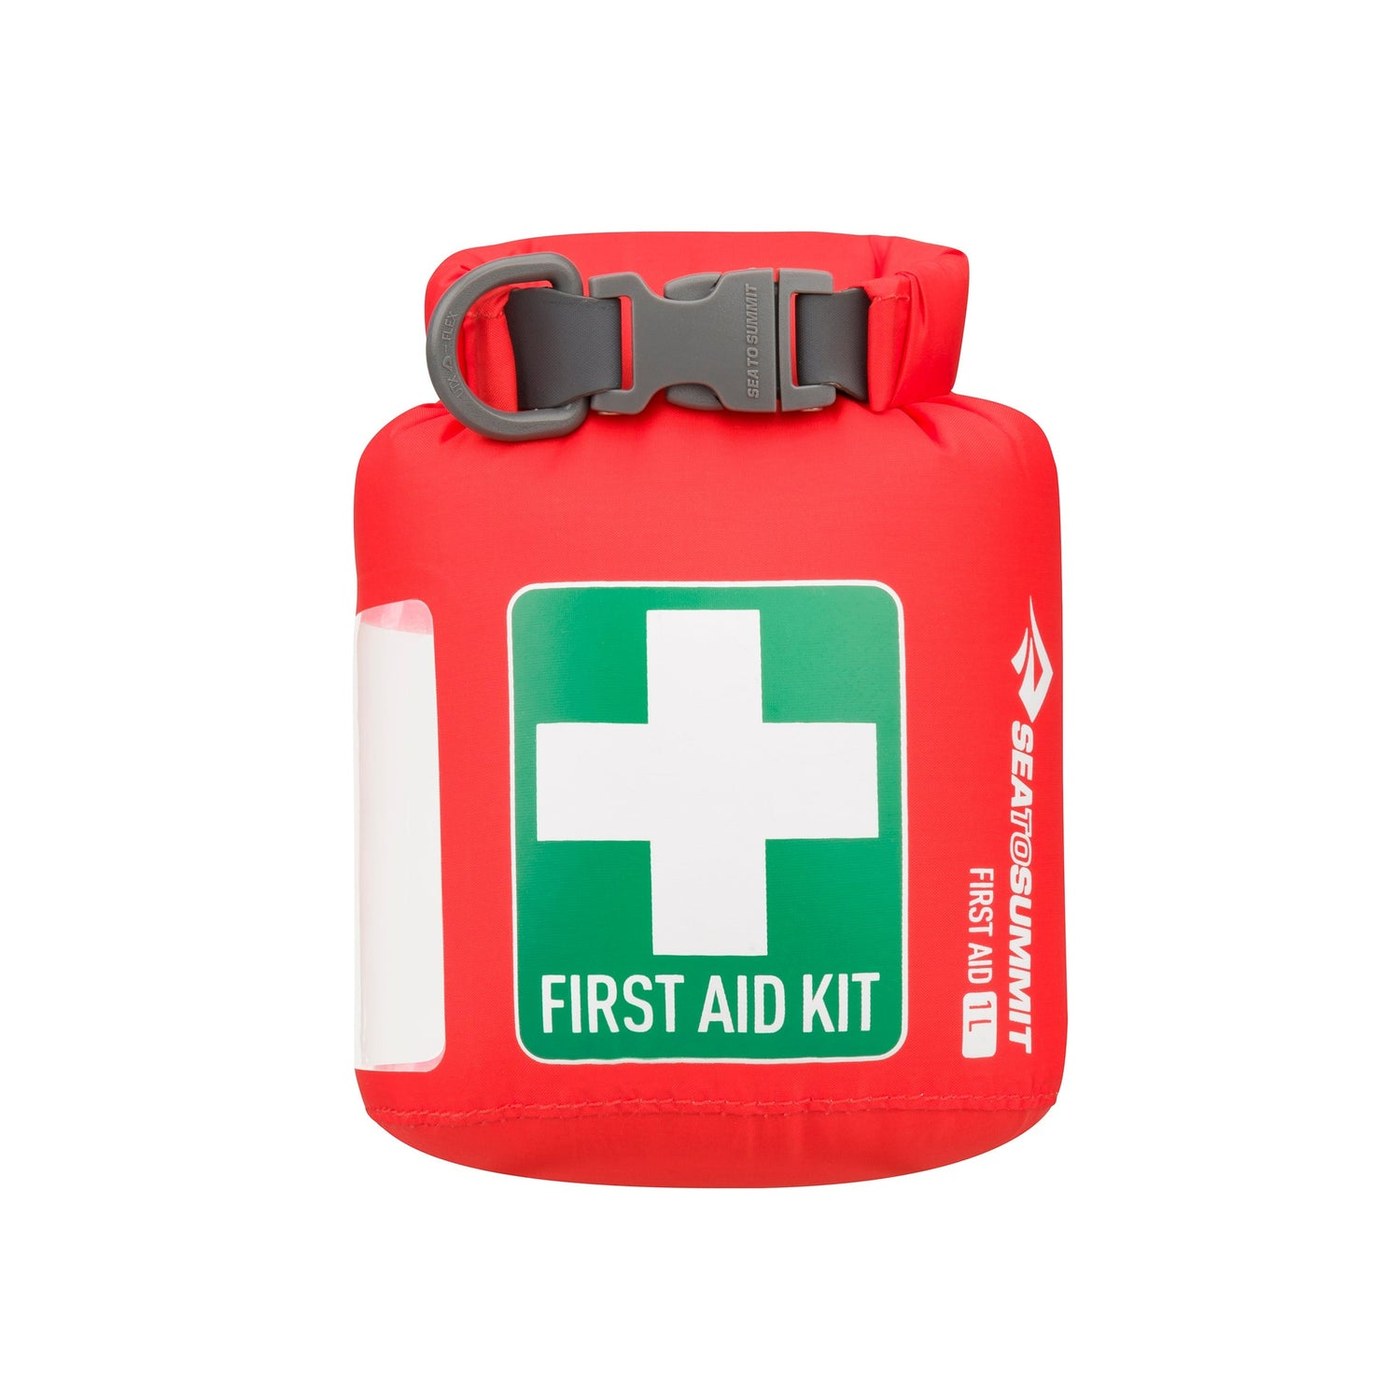
A bright waterproof pouch keeps supplies dry and easy to grab.
Pro Tip: Pick a color that stands out, like red or orange, so you can find the kit fast in a stressful moment.
2. Stock a Pet First-Aid Kit Inside
A ready-made pet first-aid kit gives you the core supplies in one organized case: bandages, gauze, antiseptic wipes, tweezers, and gloves. Look for a kit made for pets rather than a human one, since the contents and sizes fit dog-sized problems. Store it as a unit inside your waterproof pouch so nothing gets scattered. Check the expiration dates on wipes and ointments twice a year and replace what is used or expired. An organized kit you trust beats a bigger kit you cannot navigate. If you buy a kit with more than you need, that is fine. Familiarity with your own kit matters more than its size.

A pet-specific first-aid kit covers the basics in one case.
Pro Tip: After any use, restock the kit the same day so it is never half-empty when you need it next.
3. Add an Emergency Foil Blanket
A mylar emergency blanket weighs almost nothing, folds to the size of a wallet, and can keep a shocked or chilled dog warm. Tuck one or two into a side pocket of your kit where they will not get crushed. They also work as a ground cover if you need a clean surface to work on, or a rain shield in a pinch. Because they are so compact, there is no reason not to include them. Replace them if the packaging tears, since a torn blanket loses its punch. They are also useful for wrapping a frightened dog snugly, which can help them stay calmer while you wait for help.

A foil blanket adds warmth for almost zero weight or space.
Pro Tip: Practice unfolding one at home first. In an emergency you want muscle memory, not a wrestling match with foil.
4. Pack Wound-Care Basics Together
Keep wound-care items grouped in one zip bag inside the kit: saline wash, gauze pads, self-adhering wrap, and a styptic pencil for nail bleeds. Grouping them means you open one bag and have everything for the most common trail injuries. Label the bag “wound care” so anyone helping you can find it. Do not include anything your vet has not okayed, and never use hydrogen peroxide or ointments meant for people unless your vet specifically says so. When in doubt, stabilize and call the vet. Keep a pair of blunt-tipped scissors in the same bag for cutting wrap and tape without risking a nick.

One labeled bag holds everything for common minor injuries.
Pro Tip: Wrap a few gauze pads around the saline bottle inside the bag so glass and soft items do not rattle or break.
5. Include Copies of Vet Records
In an emergency you might end up at an unfamiliar vet or emergency clinic. Keep copies of your dog’s vaccination records, medication list, allergies, and your vet’s phone number in a sealed zip bag inside the kit. A one-page summary on top saves the most time: name, breed, weight, meds, allergies, vet number. Update it whenever anything changes. A small pet records book works too and keeps everything in one tidy place. Include your own phone number and an emergency contact as well, in case you and your dog get separated.

Records in a sealed bag save precious time at an unfamiliar clinic.
Pro Tip: Snap a photo of the summary page and keep it on your phone too, in case the kit is ever out of reach.
6. Add a Spare Slip Lead
Collars break and leashes get lost at the worst times. A slip lead takes up almost no space, needs no collar, and lets you secure your dog instantly. Coil one and tuck it in the outer pocket of your kit where you can reach it without opening everything. In an evacuation or a roadside emergency, getting your dog safely leashed is step one. Practice slipping it on at home so it feels natural when it counts. A slip lead also works as a temporary tether if you need both hands free for a moment.

A slip lead secures your dog fast with no collar needed.
Pro Tip: Attach a small ID tag to the slip lead with your phone number, so it doubles as backup identification.
7. Pack Three Days of Food and Meds
Emergencies can strand you away from home. Pack three days of your dog’s regular food in sealed bags, plus any daily medications in a labeled pill container. Sealed bags keep food fresh and portioned, and labeling avoids confusion if someone else feeds your dog. Rotate this food every couple of months so it never goes stale. Store the food bags in the main compartment of the kit, with meds in a separate labeled bag on top. If your dog eats prescription food, pack that instead of regular kibble, and note it clearly on the bag.
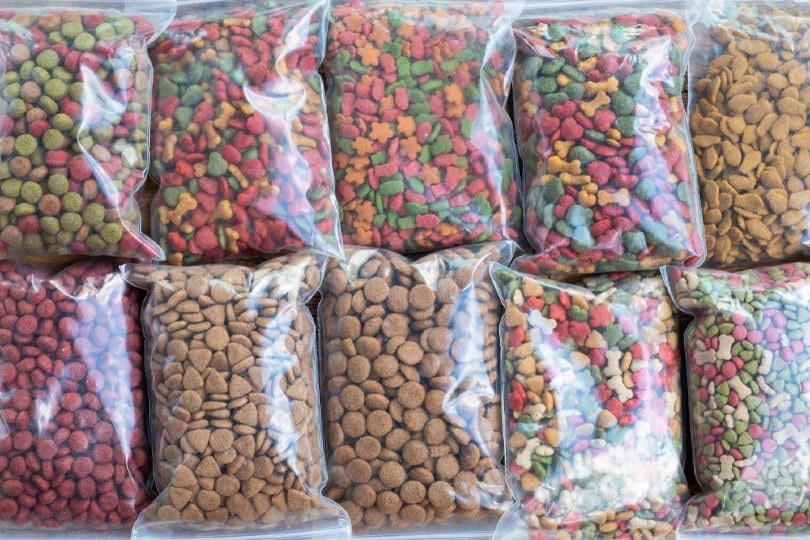
Three days of food and meds covers most emergency scenarios.
Pro Tip: Set a phone reminder every two months to rotate the emergency food with fresh kibble.
8. Finish with Light, Sound, and Contact Info
Round out the kit with a small flashlight or clip-on LED light, a whistle, and a card with your vet’s number and the nearest emergency vet clinic. The light helps you see injuries in the dark and makes you visible on a roadside. The whistle carries farther than shouting if you need help. Tape the contact card to the inside lid of the pouch so it is the first thing you see when you open the kit. These small additions cost little and weigh nothing. A small roll of medical tape in the lid pocket rounds out the kit for securing bandages in a pinch.

Light and a whistle help you see, and be seen, in the dark.
Pro Tip: Check the flashlight batteries when you rotate the food. Dead batteries help no one.
Quick Tips to Stay Organized
- Store the kit where you can grab it in seconds: by the front door or in the car trunk.
- Review the whole kit twice a year, ideally when the clocks change, and replace expired items.
- Keep a duplicate mini-kit in the car if your main kit lives at home.
- Show everyone in the household where the kit is and walk them through it once.
- After building the kit, organize the rest of your gear too. These ways to organize dog supplies in a small home use the same one-home-for-everything approach.
- For everyday order that makes emergencies calmer, see these dog supply organization ideas for small spaces.
Frequently Asked Questions
What should be in a dog emergency kit?
A waterproof pouch holding a pet first-aid kit, wound-care basics, an emergency blanket, three days of food and meds, a slip lead, copies of vet records, a flashlight, and emergency contact numbers.
Where should I keep my dog’s emergency kit?
Keep it somewhere you can grab in seconds, like by the front door or in your car. If you travel with your dog often, keep a second small kit in the vehicle.
How often should I check my dog emergency kit?
Check it twice a year. Replace expired wipes and ointments, rotate the food, test the flashlight, and update vet records and contact numbers.
Should I ask my vet about the kit?
Yes. Ask your vet which first-aid supplies make sense for your dog’s health and size. The kit helps with minor issues and getting to help, but it does not replace veterinary care.
Conclusion
An organized emergency kit turns panic into a plan. Build it once with these eight ideas, review it twice a year, and keep it where you can grab it fast. You will probably never need most of it, and that is exactly the point. Peace of mind is worth one afternoon of organizing.