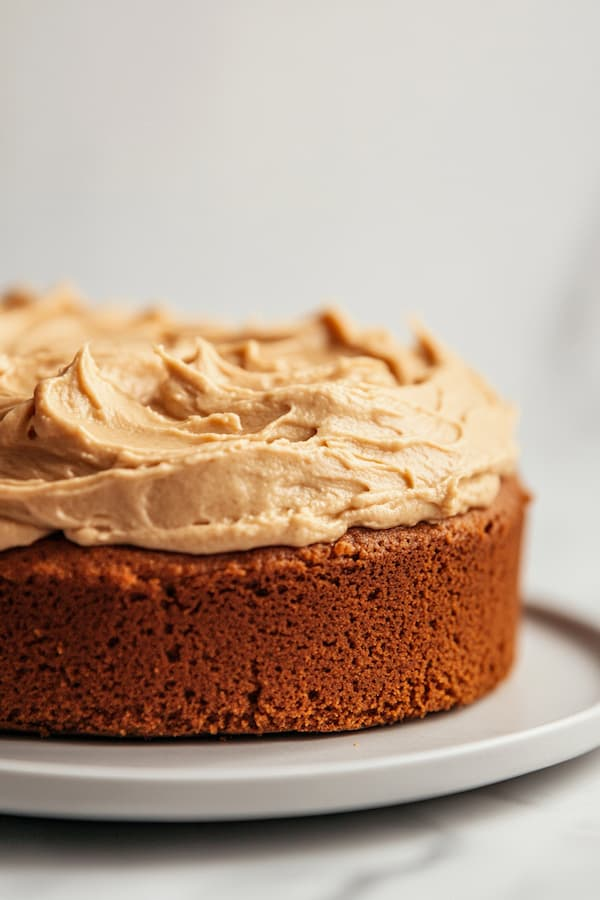
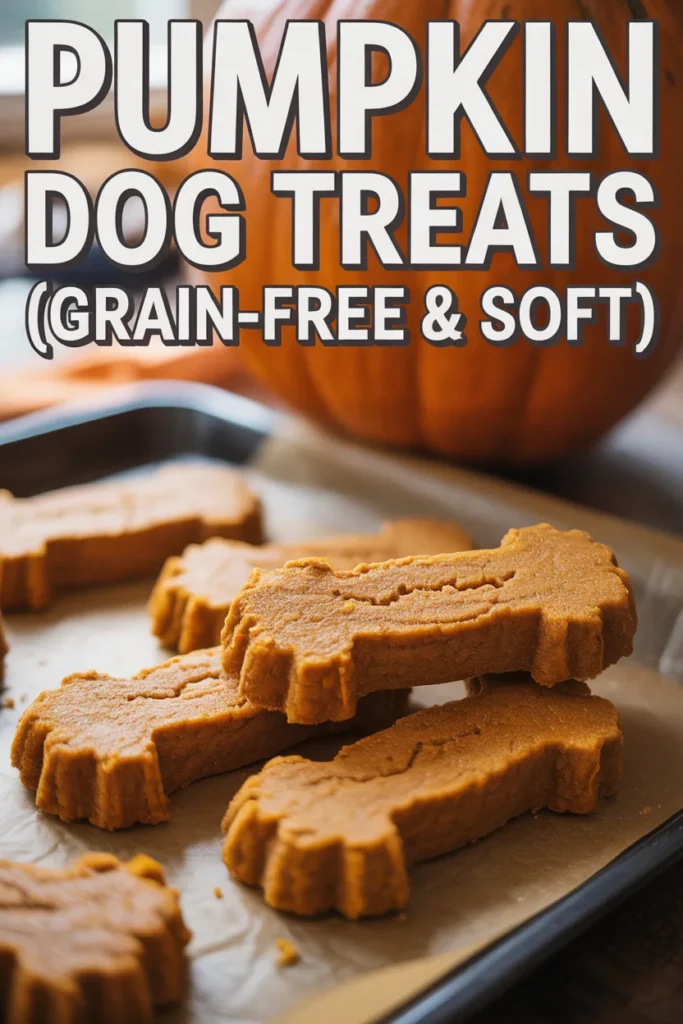
Pumpkin Dog Treats With Almond Flour: A Soft, Grain-Free Recipe Your Dog Will Love
The first time I made these treats, it wasn’t planned. I just had leftover pumpkin sitting in my fridge, and I didn’t want to waste it. My dog’s stomach had been a little off, so I had used a small amount earlier—but the rest needed a purpose.
Save For Later
So I kept it simple. I mixed a few ingredients I already had, baked a small batch, and within minutes my kitchen smelled warm and comforting. That one quick decision turned into a recipe I now use regularly.
Key Takeaways
- I use only 5 ingredients, all simple and dog-safe
- Total time stays under 30 minutes
- Soft texture makes it suitable for small and senior dogs
- Pumpkin supports digestion when used in moderation
- Freezer storage lasts up to 3 months without losing texture
- Portion control is important due to almond flour calories
At a Glance: What You’re Making
| Detail | Info |
|---|---|
| Prep time | 10 minutes |
| Bake time | 14–16 minutes |
| Total time | About 25 minutes |
| Yield | 20–25 small treats |
| Difficulty | Easy |
| Grain-free | Yes |
| Key ingredients | Pumpkin puree, almond flour, egg, cinnamon |
From what I’ve seen, this recipe works well for dogs of all sizes and holds its texture even after freezing.
Pumpkin Almond Flour Dog Treats Recipe
Let me walk you through exactly how I make these.
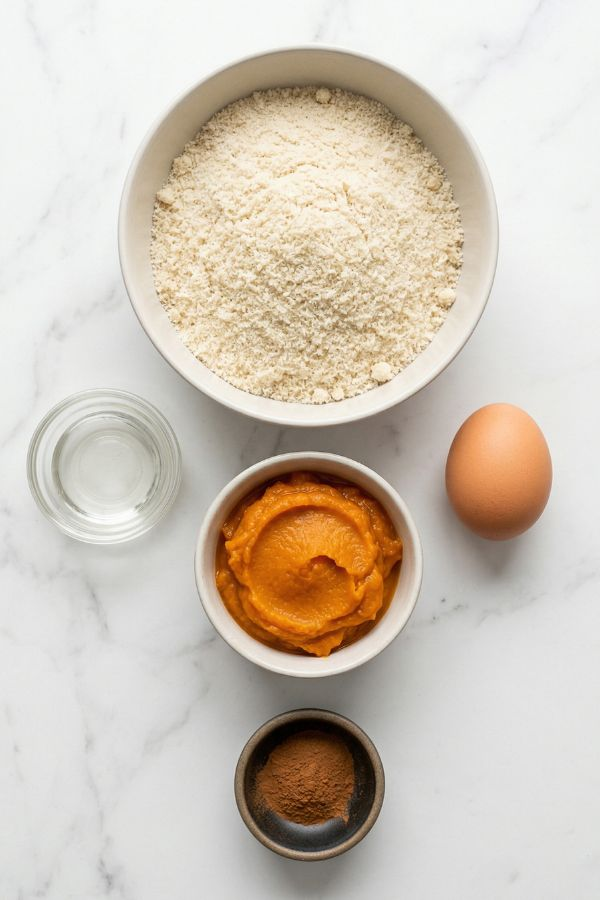
Ingredients
| Ingredient | Amount |
|---|---|
| Almond flour | 2 cups |
| Pumpkin puree | 1/2 cup |
| Egg | 1 large |
| Coconut oil | 1 tablespoon |
| Cinnamon | 1/2 teaspoon |
I always double-check the pumpkin label. It must be 100% plain pumpkin with no added sugar or spices.
Instructions
1. Preheat your oven to 325°F (165°C)
I always line my baking tray with parchment paper. Almond flour dough sticks easily, and skipping this step can ruin the batch.
2. Mix the wet ingredients
I combine pumpkin puree, egg, and melted coconut oil in a bowl and mix until smooth. The texture should be thick and consistent.
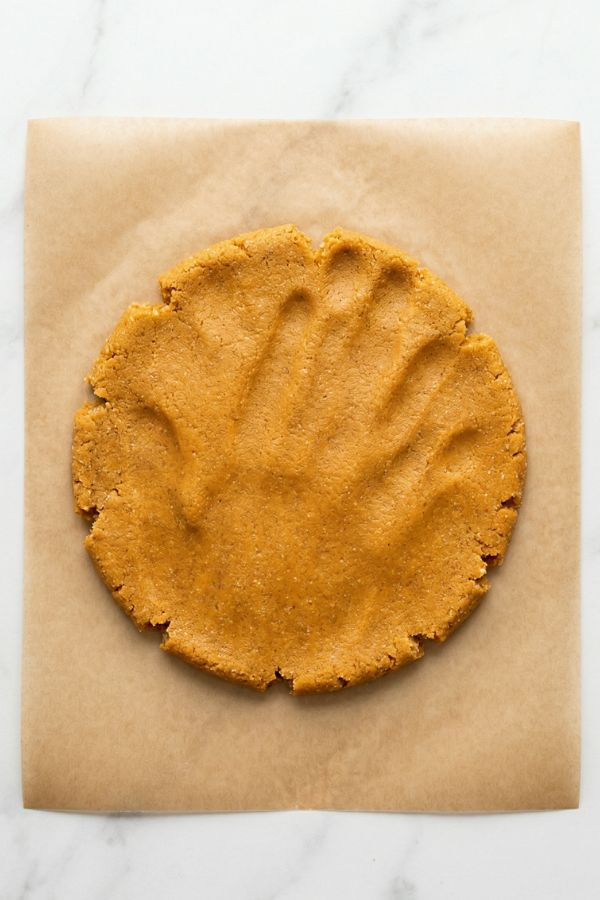
3. Add the almond flour and cinnamon
I slowly mix in the dry ingredients until a soft dough forms. It usually takes about a minute.
The dough should hold shape when pressed. If it feels too sticky, I add a bit more flour. If it crumbles, I add a small amount of oil.
4. Roll out the dough
I place the dough between two sheets of parchment paper and roll it out to about 1/4 inch thick.
This method saves time and prevents sticking completely.
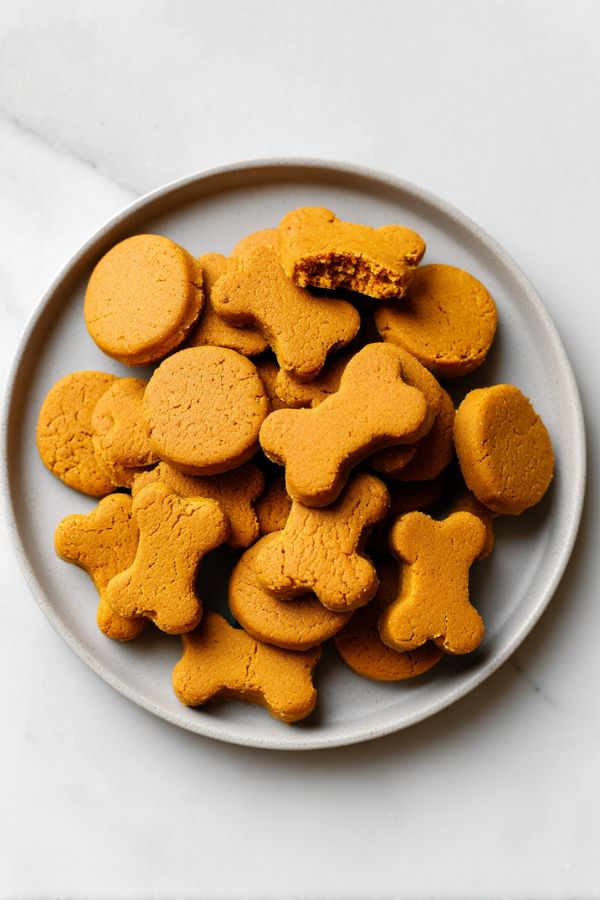
5. Cut into shapes
I remove the top layer and cut small shapes using a cookie cutter. Then I gather scraps, roll again, and repeat.
On average, I get around 20 to 25 treats per batch.
6. Bake for 14 to 16 minutes
I bake until the edges turn light golden and the surface looks dry. I usually start checking at 13 minutes because almond flour can burn quickly.
The centers may feel soft at first, but they firm up after cooling.
7. Cool completely before serving
I let them rest for 5 minutes on the tray, then transfer to a rack. After about 20 minutes, they become firm and easy to handle.
Pro tip: I always break one treat open. If the inside looks undercooked, I bake the batch for 2 more minutes.
Storage
From my experience, storage plays a big role in keeping these fresh.
- Room temperature: Up to 5 days in an airtight container
- Refrigerator: Up to 2 weeks (texture becomes firmer)
- Freezer: Up to 3 months
I usually freeze half the batch immediately. It saves time later and prevents waste.
Serving Guidelines
| Dog Weight | Treats Per Day |
|---|---|
| Under 10 lbs | 1–2 treats |
| 10–25 lbs | 2–3 treats |
| 25–50 lbs | 3–4 treats |
| Over 50 lbs | 4–5 treats |
I keep treats under 10% of daily calorie intake. Almond flour contains around 160 calories per 1/4 cup, so it adds up quickly.
In my routine, I give two treats per day—one after activity and one later in the evening.
A Quick Note on Pumpkin Safety
I always stick to plain pumpkin puree. It’s widely recommended for digestive support and contains fiber that can help regulate bowel movement.
Important warning: Never use pumpkin pie filling. It often contains nutmeg and other ingredients that are unsafe for dogs.
Also, I avoid overfeeding pumpkin. Too much fiber can cause gas or discomfort. A general guide is about 1 teaspoon per 10 pounds of body weight when used alone.
That Leftover Pumpkin Turned Into Something Useful
What started as a simple way to avoid wasting food became one of my most-used recipes.
Every time I make these, my dog waits near the oven without moving. He knows exactly what’s coming. That consistency is what makes this recipe worth keeping.
Now, I always keep pumpkin in my pantry—not for emergencies, but because this recipe works every single time.
Final Note
I always like to mention this based on my own learning—while homemade treats are great, they shouldn’t replace a balanced diet. For long-term feeding plans, I recommend checking with a qualified vet.
All content on this site is written and reviewed by our experienced team to ensure it is accurate, reliable, and helpful for our readers. Our Our Process page explains how we carefully research and create high-quality content, while our Team page introduces the professionals behind our work. We also provide clear guidelines for content or image concerns on our Image Removal page, so you can trust that we prioritize transparency, quality, and reader safety.