Before and After Cleaning Transformations
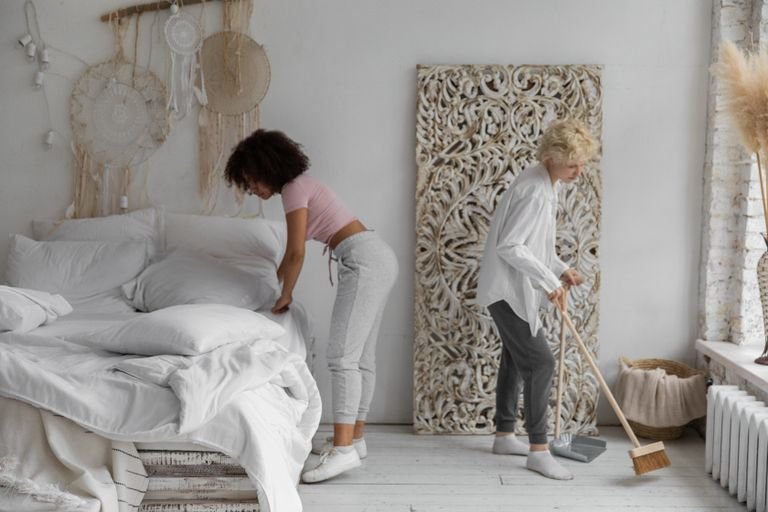
There is a particular kind of satisfaction that only a before-and-after cleaning transformation can give. You stand in the doorway, look at the room you have just cleaned, and it does not simply look tidier — it looks bigger, brighter and calmer. The light comes in differently. The surfaces shine. The room feels as though it can breathe again.
That feeling is not an accident. It is the result of a method: photographing honestly, working in the right order, giving cleaners time to work, and finishing only when everything is dry. This guide walks you through that method, room by room, with the exact recipes and timings that make the biggest visible difference — and a printable tick-off checklist at the end so you can repeat the transformation in every room.
How to Capture Before and After Photos That Actually Show the Difference
A transformation is only as good as its proof. If your before and after photos are taken from different angles, in different light, or after you have already tidied the worst of it away, the comparison tells you nothing — and it will not motivate you to do the next room.
Want a Better-Trained, Happier Dog?
Get practical guidance for obedience, behavior, and everyday dog training with a collection of helpful training guides designed for dog owners.
This post may contain affiliate links. If you purchase through our link, we may earn a commission at no additional cost to you.
Photograph first, before you tidy anything
Take your before photos before you move a single thing. Do not clear the counters, do not fluff the cushions, do not hide the pile of laundry. The honest, unflattering version is the one that makes the after photo meaningful.
Use the same angle and height every time
Stand in the same spot for both photos — usually the doorway, or the same corner of the room — and hold the camera at the same height, about chest height. If you move closer, higher or to the other side for the after shot, the room will look different even if you cleaned nothing.
Keep the same light
Use the same light for both photos: the same lamps on, the same curtains open or closed, and ideally the same time of day. A room photographed in daylight will always look cleaner than the same room photographed under a single lamp at night.
Take wide shots and detail shots
Take one wide shot of the whole room, then detail shots of the spots that change most: the hob, the grout, the shower glass, the tap, the sink. Wide shots show the transformation; detail shots prove it.
Take the after photo only when the room is fully dry
Wet floors, damp towels and steamy glass all look dull in a photo. Wait until floors have had 20–30 minutes to dry and the bathroom has been ventilated for 20–30 minutes. A dry room photographs brighter, and it is the room you will actually live in.
Do not stage the after photo
Do not borrow items from another room, hide clutter just outside the frame, or add flowers and candles you would never normally have there. The best after photo is an honest one: a room that is genuinely clean, genuinely dry, and genuinely yours.
The Order That Creates the Biggest Visible Difference
Cleaning in the wrong order is the fastest way to undo your own work. Dust falls down, dirty water splashes up, and a freshly mopped floor is ruined by one trip back across it with a vacuum cleaner. Work in this order, and every step makes the next one easier:
- Declutter first. Work clockwise from the door, sorting into keep, donate and bin. Put away what belongs elsewhere, and only then start cleaning. Cleaning around clutter just moves dust from one pile to another.
- Dust high to low. Start at ceiling corners, light fittings and the tops of wardrobes and shelves, and work down. Dust a slightly damp microfibre cloth over surfaces, and use a dry microfibre cloth or a duster for high, dusty surfaces first.
- Clean the surfaces. Wipe counters, tables, appliances and touchpoints, giving sprays and pastes their dwell time while you work elsewhere in the room.
- Do the floors last. Vacuum slowly in both directions, including edges and under furniture, then mop hard floors in sections and dry them straight away. Never walk back across a floor you have just finished.
That order — declutter, dust high to low, surfaces, floors last — is the single biggest reason some cleans look transformed and others just look rearranged.
The Kitchen Transformation
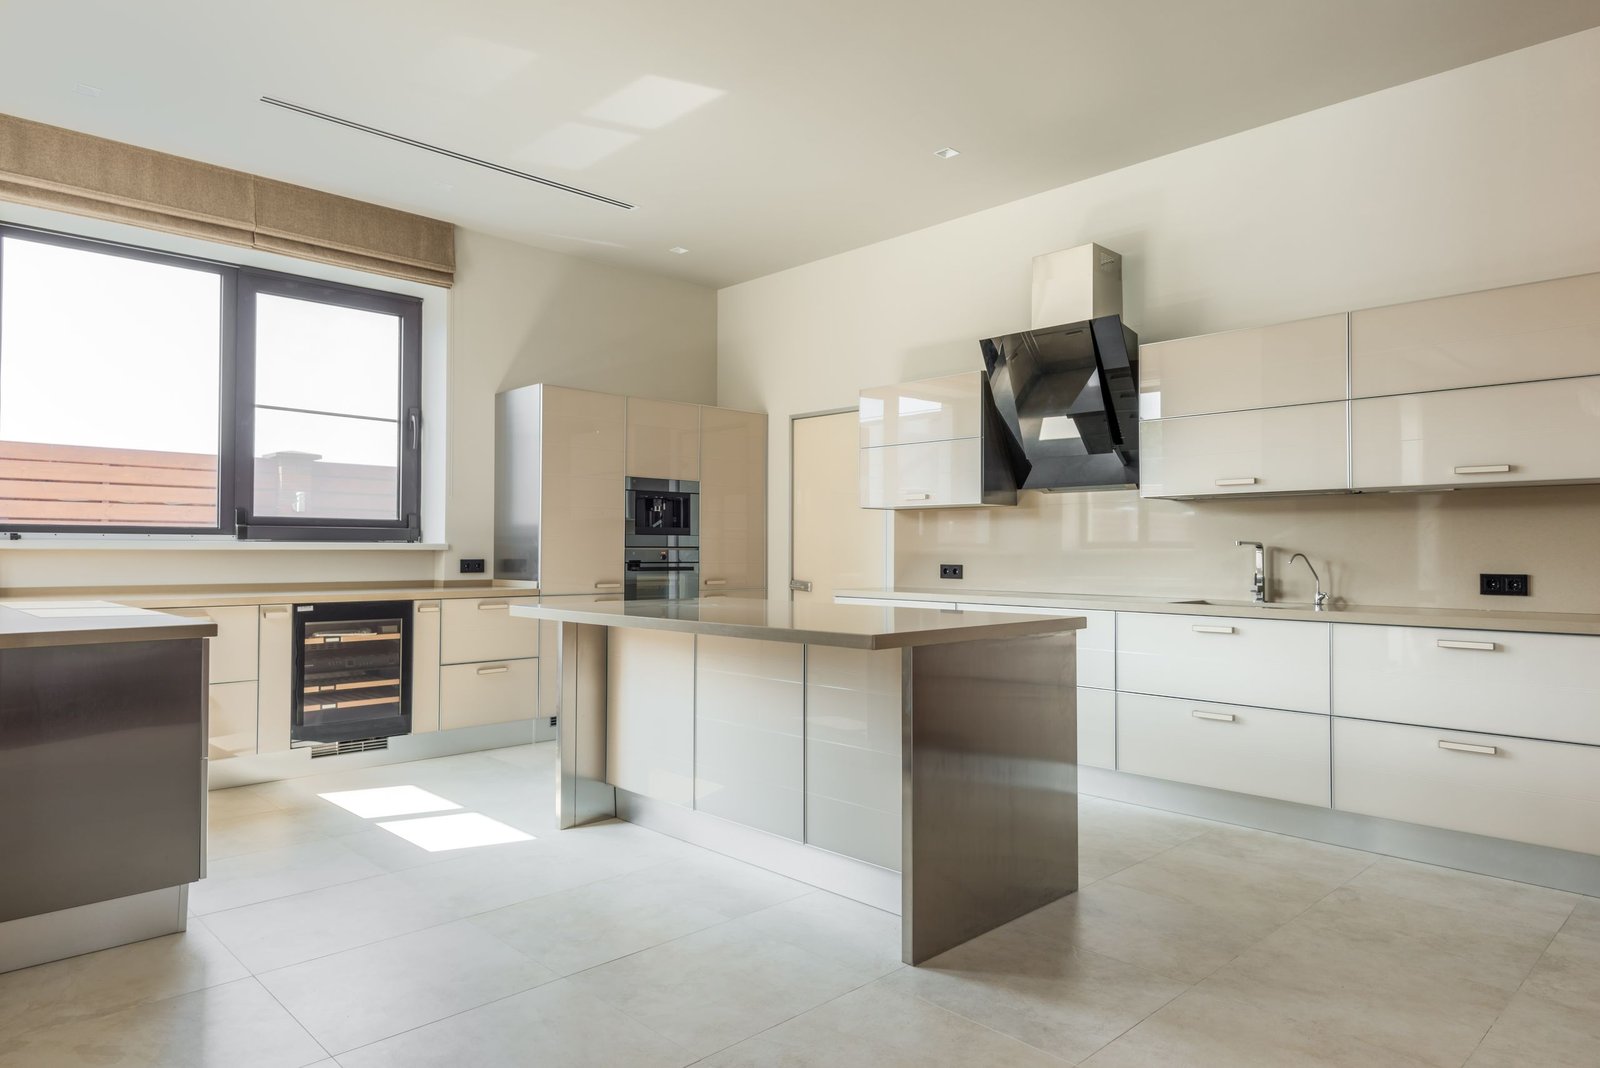
The kitchen is where a before-and-after photo earns its keep. Grease, crumbs and clutter hide the worktops and dull the whole room. Clear it properly, and the same kitchen looks twice as large.
Clear the counters completely. Take everything off, wipe the counters, and put back only what you use daily. Appliances that are not used every day go back in a cupboard. An empty stretch of worktop is the most visible change you can make in a kitchen.
Degrease the hob and splashback. Wipe with warm soapy water and leave it to dwell for 5 minutes, then wipe again. For burnt spots, make a baking soda paste with 3 tablespoons of baking soda and 1 tablespoon of water, spread it on the spot, leave it for 15 minutes, then wipe and rinse. Never spray cold water onto a hot glass cooktop — it can crack.
Deep-clean the oven. Make a paste with 1/2 cup of baking soda and 3 tablespoons of water, spread it inside the oven (avoiding the heating elements), and leave it overnight, or for at least 8 hours. Wipe it out, then use a paste on the door glass for 30 minutes for a clear view through the glass. Wear gloves for oven cleaner, and ventilate the room.
Wash the fridge properly. Empty it fully, remove the shelves and drawers, and wash them in warm water with 1 teaspoon of dish soap per 4 cups (1 litre) of water. Wipe the inside, rinse, and dry everything before you restock. A fridge that is wiped but left damp will smell again within days.
Descale the kettle. Fill it with a 1:1 mixture of vinegar and water, boil it, and leave it to dwell for 20–30 minutes. Rinse well and boil fresh water once before using it again.
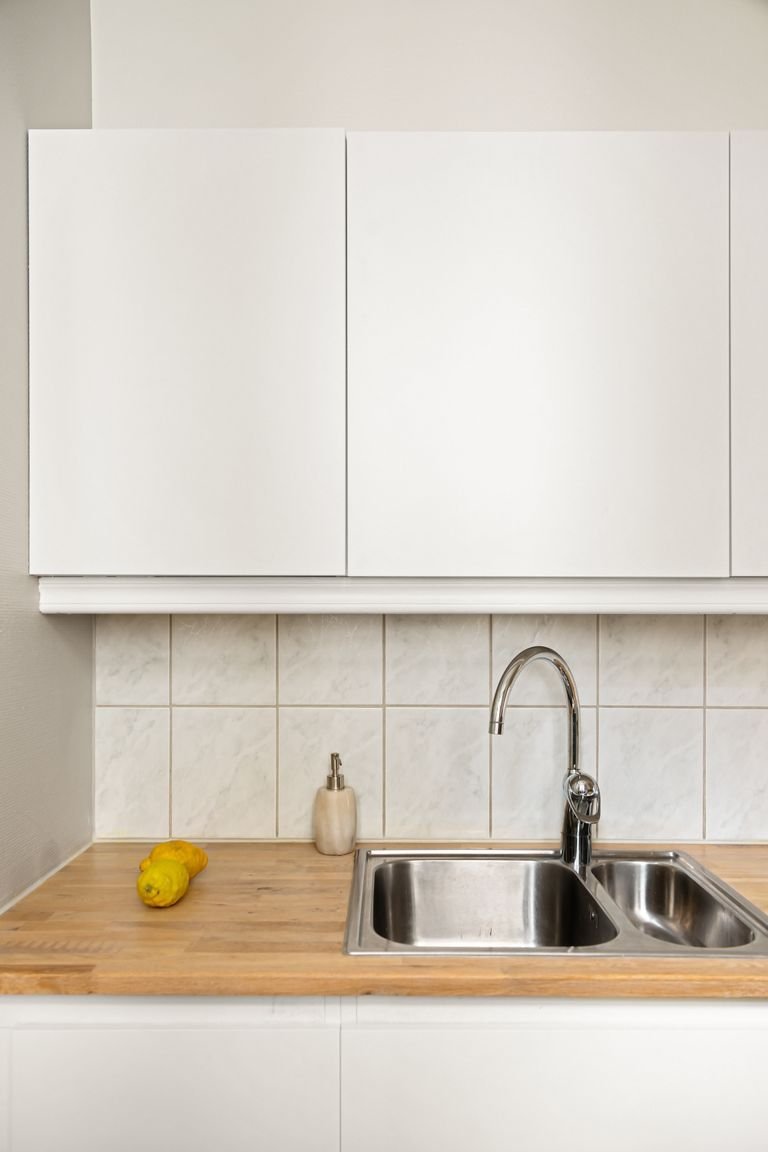
Scrub the sink. Scrub with 1/2 cup of baking soda, rinse, and shine stainless steel with vinegar on a cloth. A clean, dry sink is the finishing touch that makes the whole kitchen photograph well.
The Bathroom Transformation
The bathroom is won or lost on glass, grout and taps. Get those three right, and the whole room reads as clean even before you look at the floor.
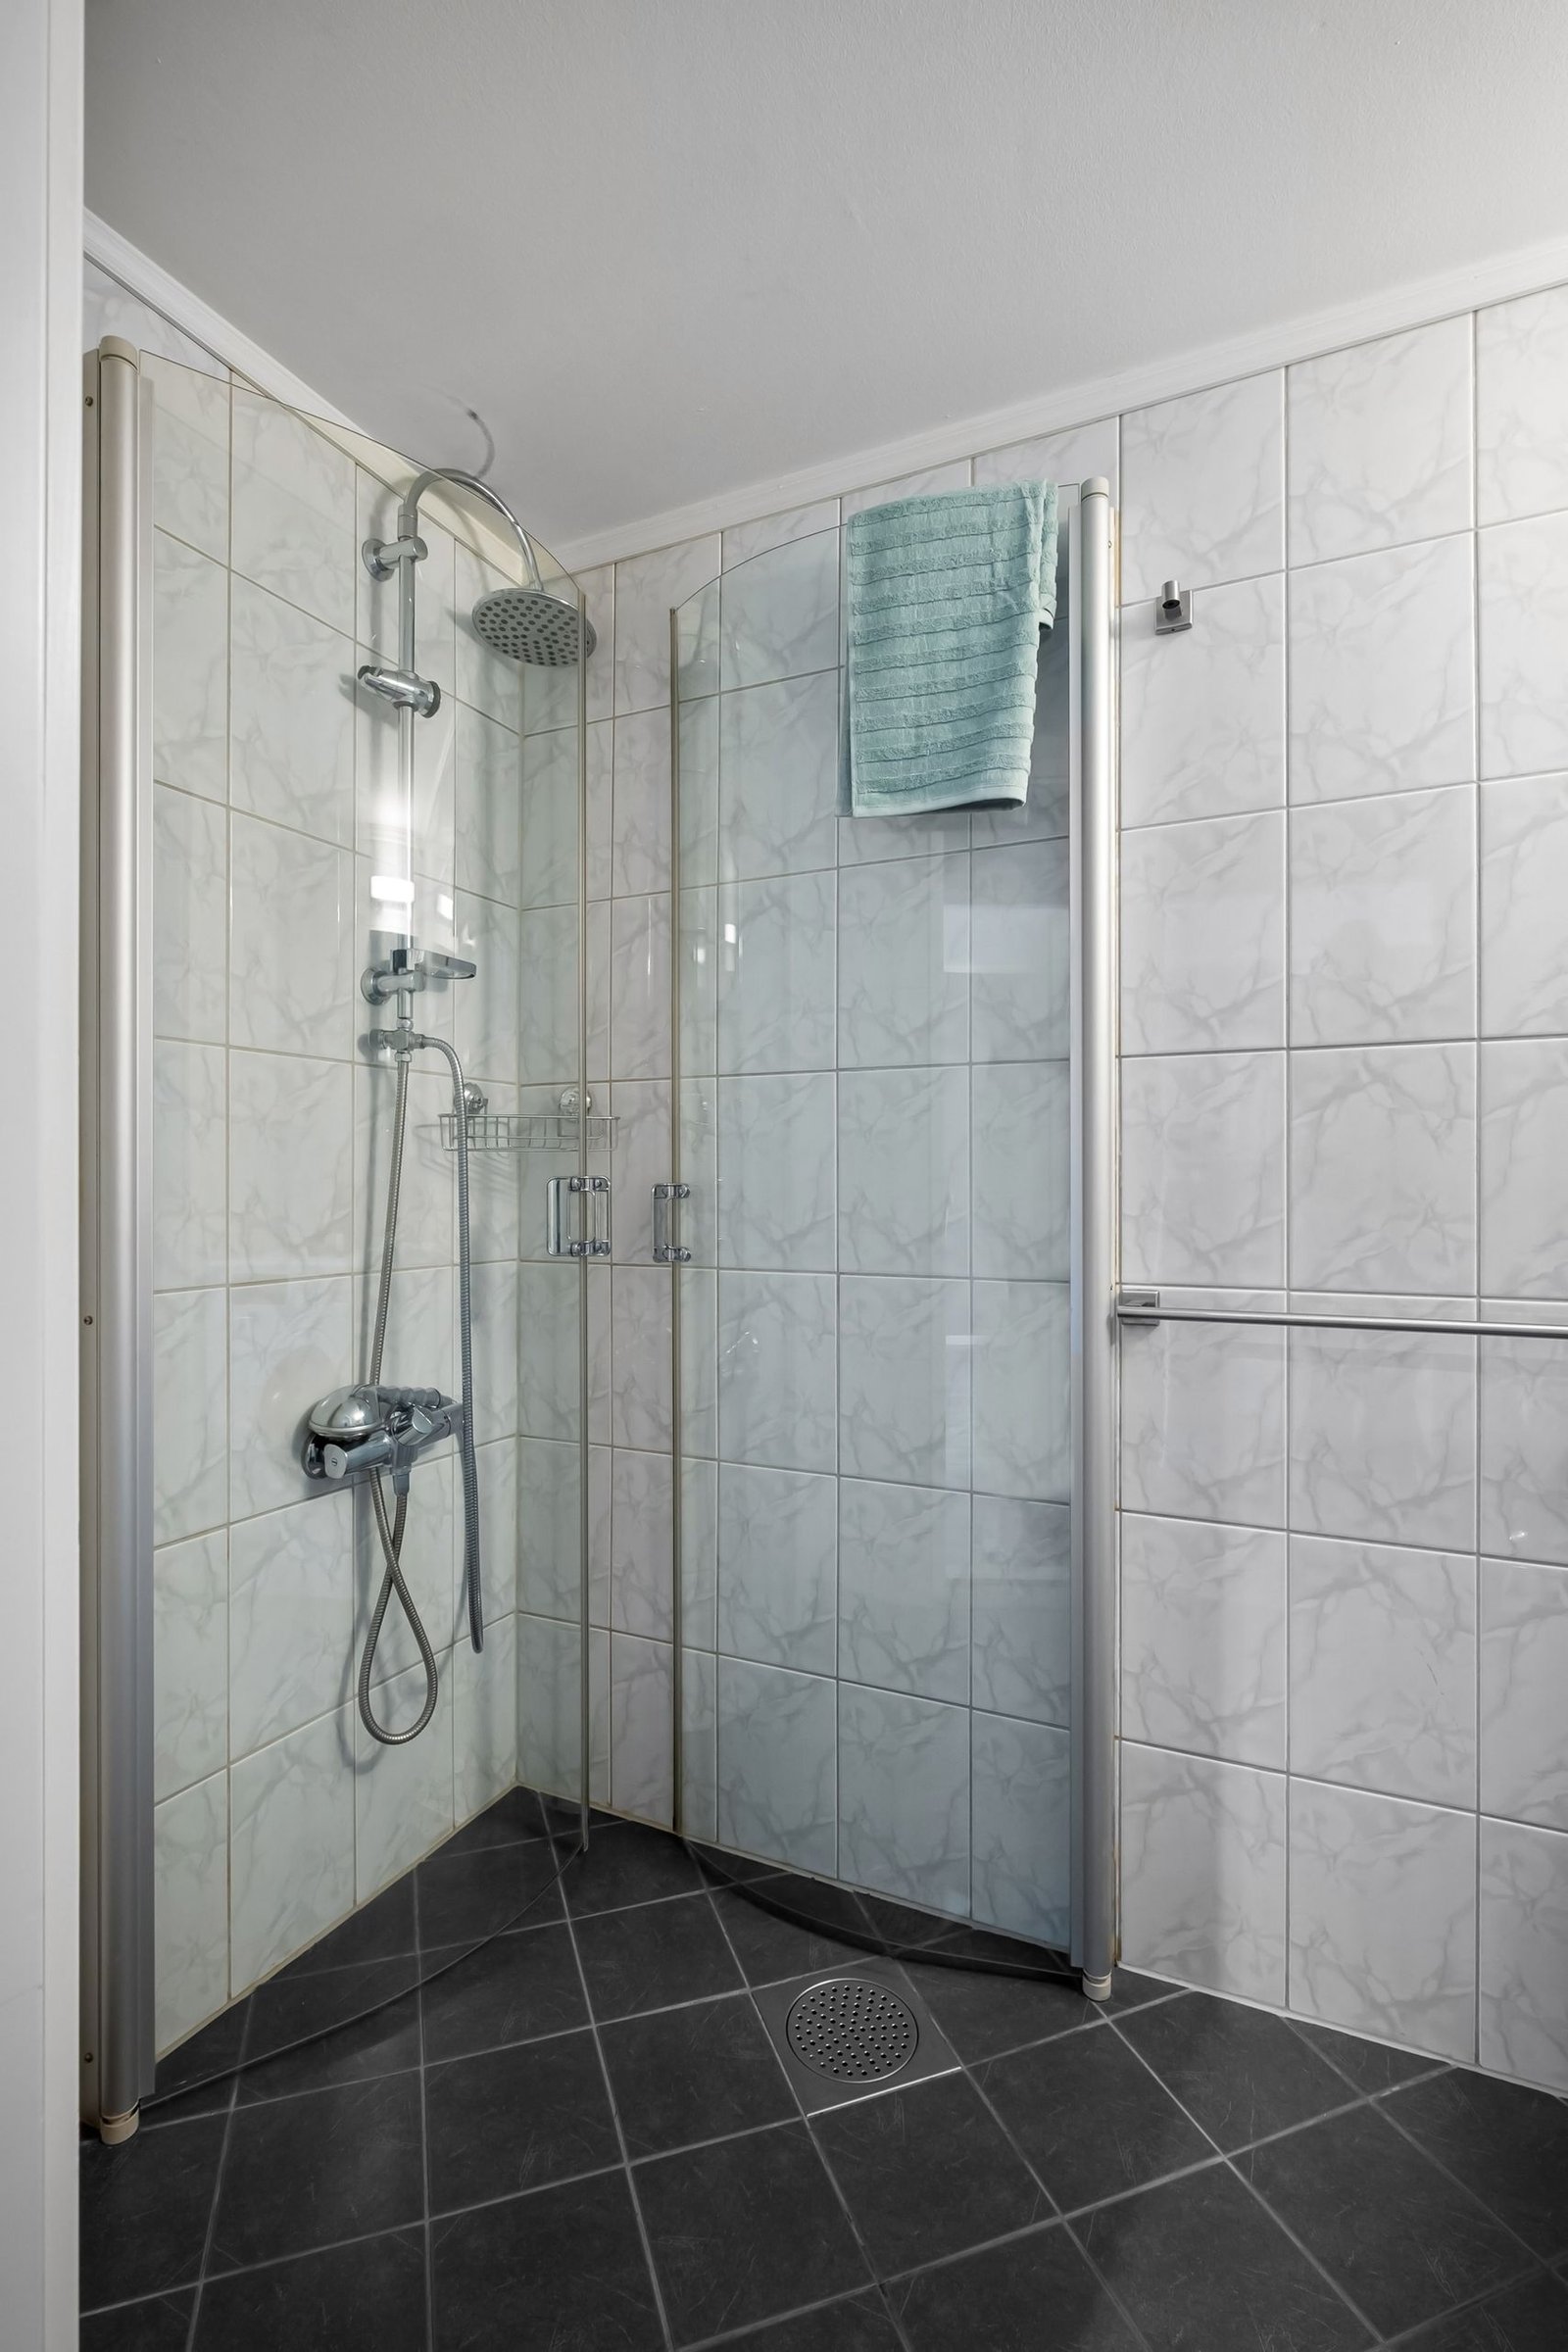
Spray first and let it dwell. Spray the shower, bath and toilet first, and leave the spray to dwell for 10–15 minutes while you clean elsewhere. Dwell time does the heavy lifting, so you scrub less and the result lasts longer.
Scrub the grout. Make a baking soda paste, work it into the grout lines with an old toothbrush, leave it for 10–15 minutes, then scrub and rinse. For mouldy grout, use 3% hydrogen peroxide, leave it for 10–15 minutes, then scrub and rinse. Never mix hydrogen peroxide with vinegar in the same solution, and wear gloves for mould treatment.
Squeegee the glass. After rinsing, squeegee the shower glass and tiles dry. Water left to dry on glass leaves spots, and spots are what make a clean shower look dirty again within a day.
Descale the showerhead. Soak it in 1 cup of vinegar and 1 cup of water for 30–60 minutes, or use the bag method for 1 hour, tying a bag of the same mixture around the showerhead. Flush it for 1–2 minutes before showering.
Descale and polish the taps. Wrap taps in a cloth soaked in vinegar for 20–30 minutes, then remove the cloth, rinse, and polish dry. A sparkling tap is a small detail with a disproportionate effect on how clean the bathroom looks.
Clean mirrors and glass the right way. Spray the cleaner onto the cloth, never onto the mirror or glass, then wipe and buff dry until streak-free. Spraying directly onto mirrors can damage the backing and leave drips that dry into streaks.
Finish with fresh towels, a clean bath mat, and a ventilated room: leave the bathroom ventilated for 20–30 minutes so it is fully dry before you take the after photo.
The Living Room Transformation
A living room transformation is mostly about light and surfaces. Clear the clutter, let the light in, and the room changes without a single new piece of furniture.
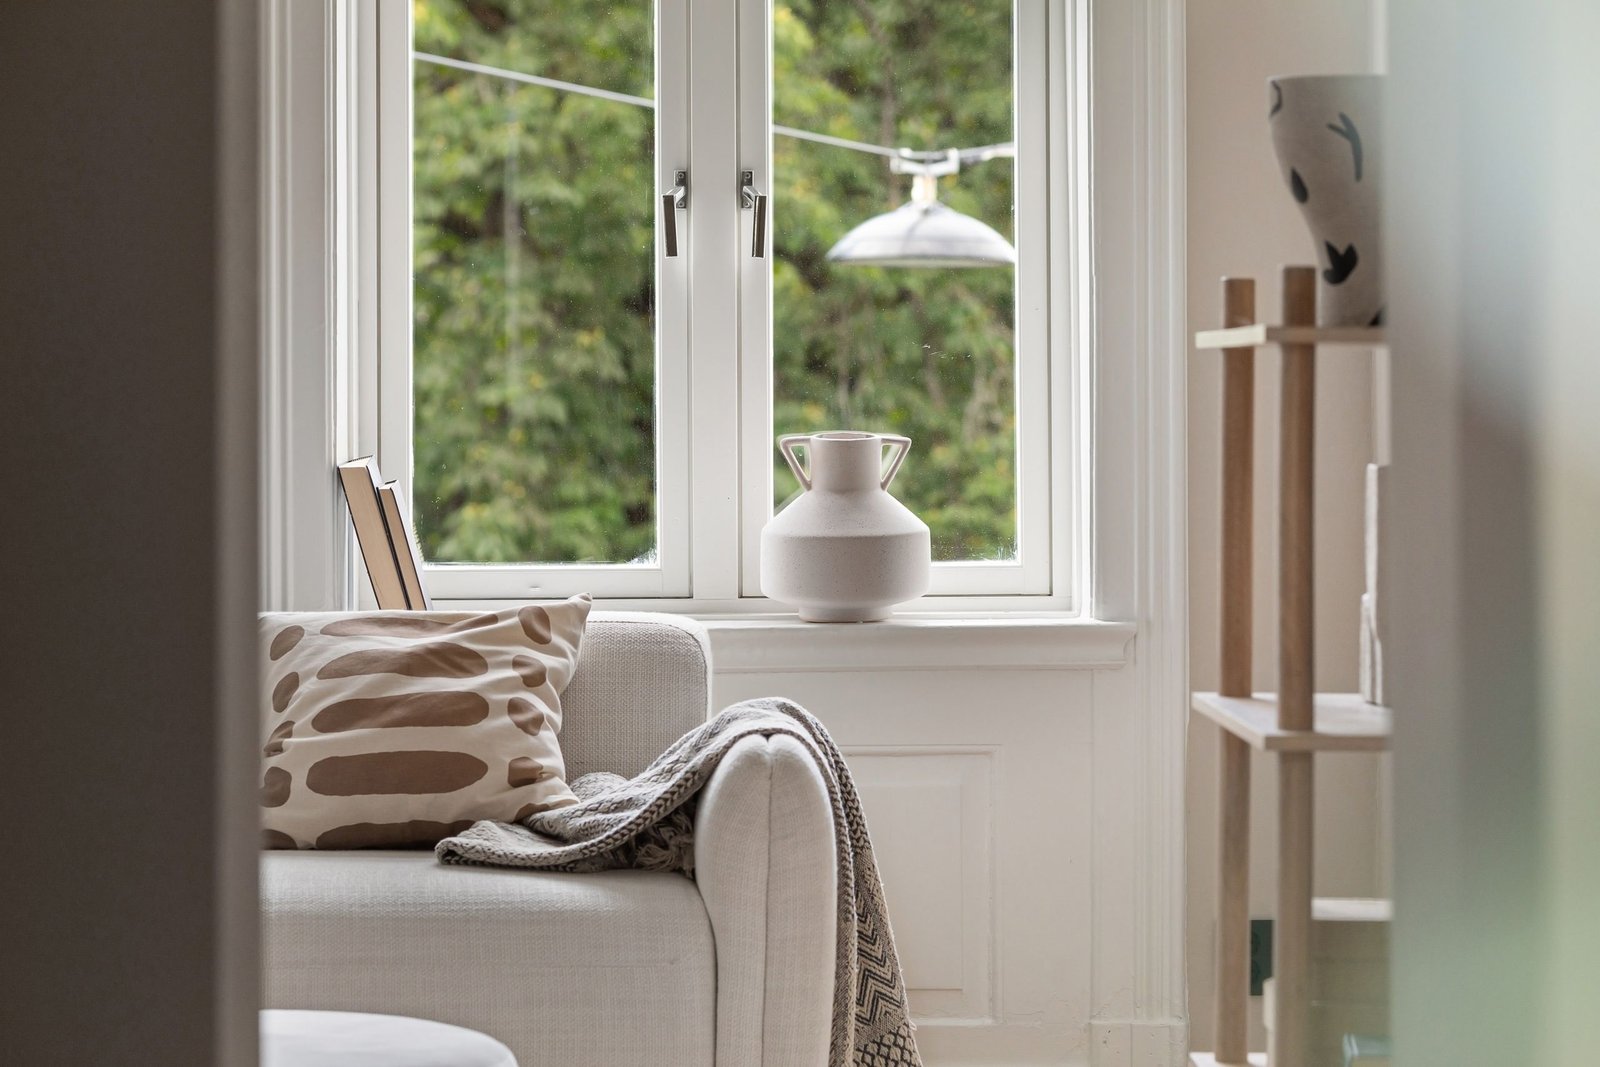
Start by clearing surfaces and putting back only what belongs in the room. Dust high to low, including light fittings, shelves and the tops of frames. Vacuum the sofa and cushions, including under the cushions and along the seams, where dust and crumbs collect unseen.
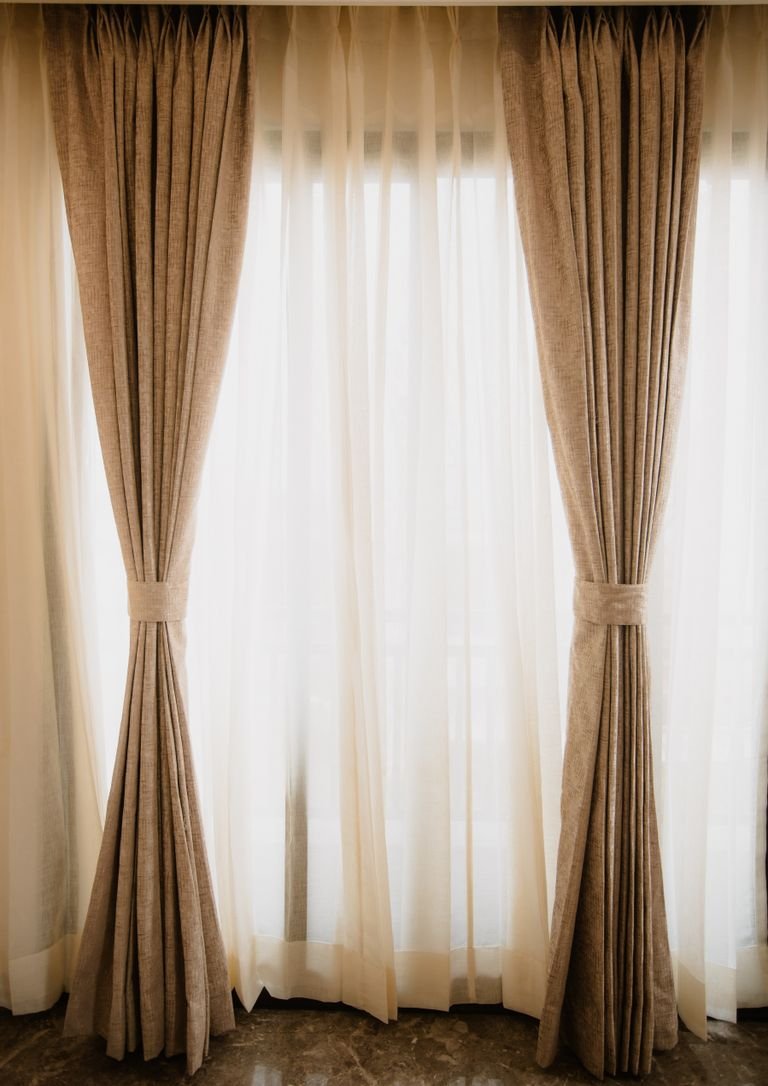
Clean the windows inside: spray onto the cloth, never directly onto the glass, wipe, and buff dry. Dust or wipe the blinds or curtains while you are there, because clean glass next to dusty blinds still looks dirty. Spot-clean rug marks by blotting — never rubbing — with 1 teaspoon of dish soap per 1 cup of cool water, working from the outside of the mark inward so you do not spread it.
Put back only what belongs, fluff the cushions, and leave the room to settle. The difference between a tidy living room and a transformed one is usually just the windows and the sofa: clean glass brings in more light, and a vacuumed sofa looks and smells fresh.
The Bedroom Transformation
Bedrooms transform when the bed is made properly and the surfaces are clear. A made bed alone makes the room look half-cleaned.
Strip the bed and wash the sheets at 30–40°C. While the bed is stripped, air the mattress for 30–60 minutes, then vacuum it and deodorise it: sprinkle 1 cup of baking soda over the mattress, leave it for 4–8 hours, then vacuum thoroughly. Never soak a mattress — damp cloths and blotting only.
Clear the bedroom surfaces, wipe them, and dry them immediately. Put back only items that belong in the bedroom. A clear bedside table and a made bed, with fresh sheets, will make the after photo unrecognisable from the before.
Floors and Grout: Where the Transformation Shows Up Close
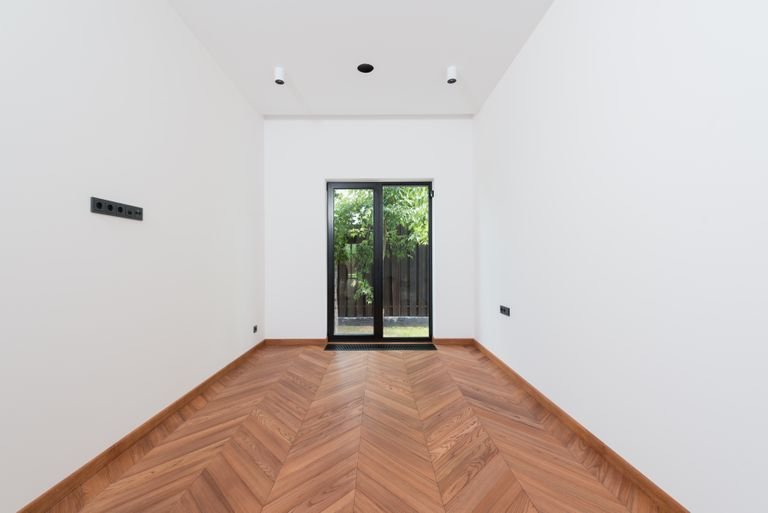
Floors cover more of the photo than anything else, so they deserve to be last — and to be done slowly. Vacuum slowly in both directions, including edges and under furniture, before you mop. Mop hard floors in sections, and dry each section straight away. Never soak a floor, and never steam-clean laminate or wood floors.
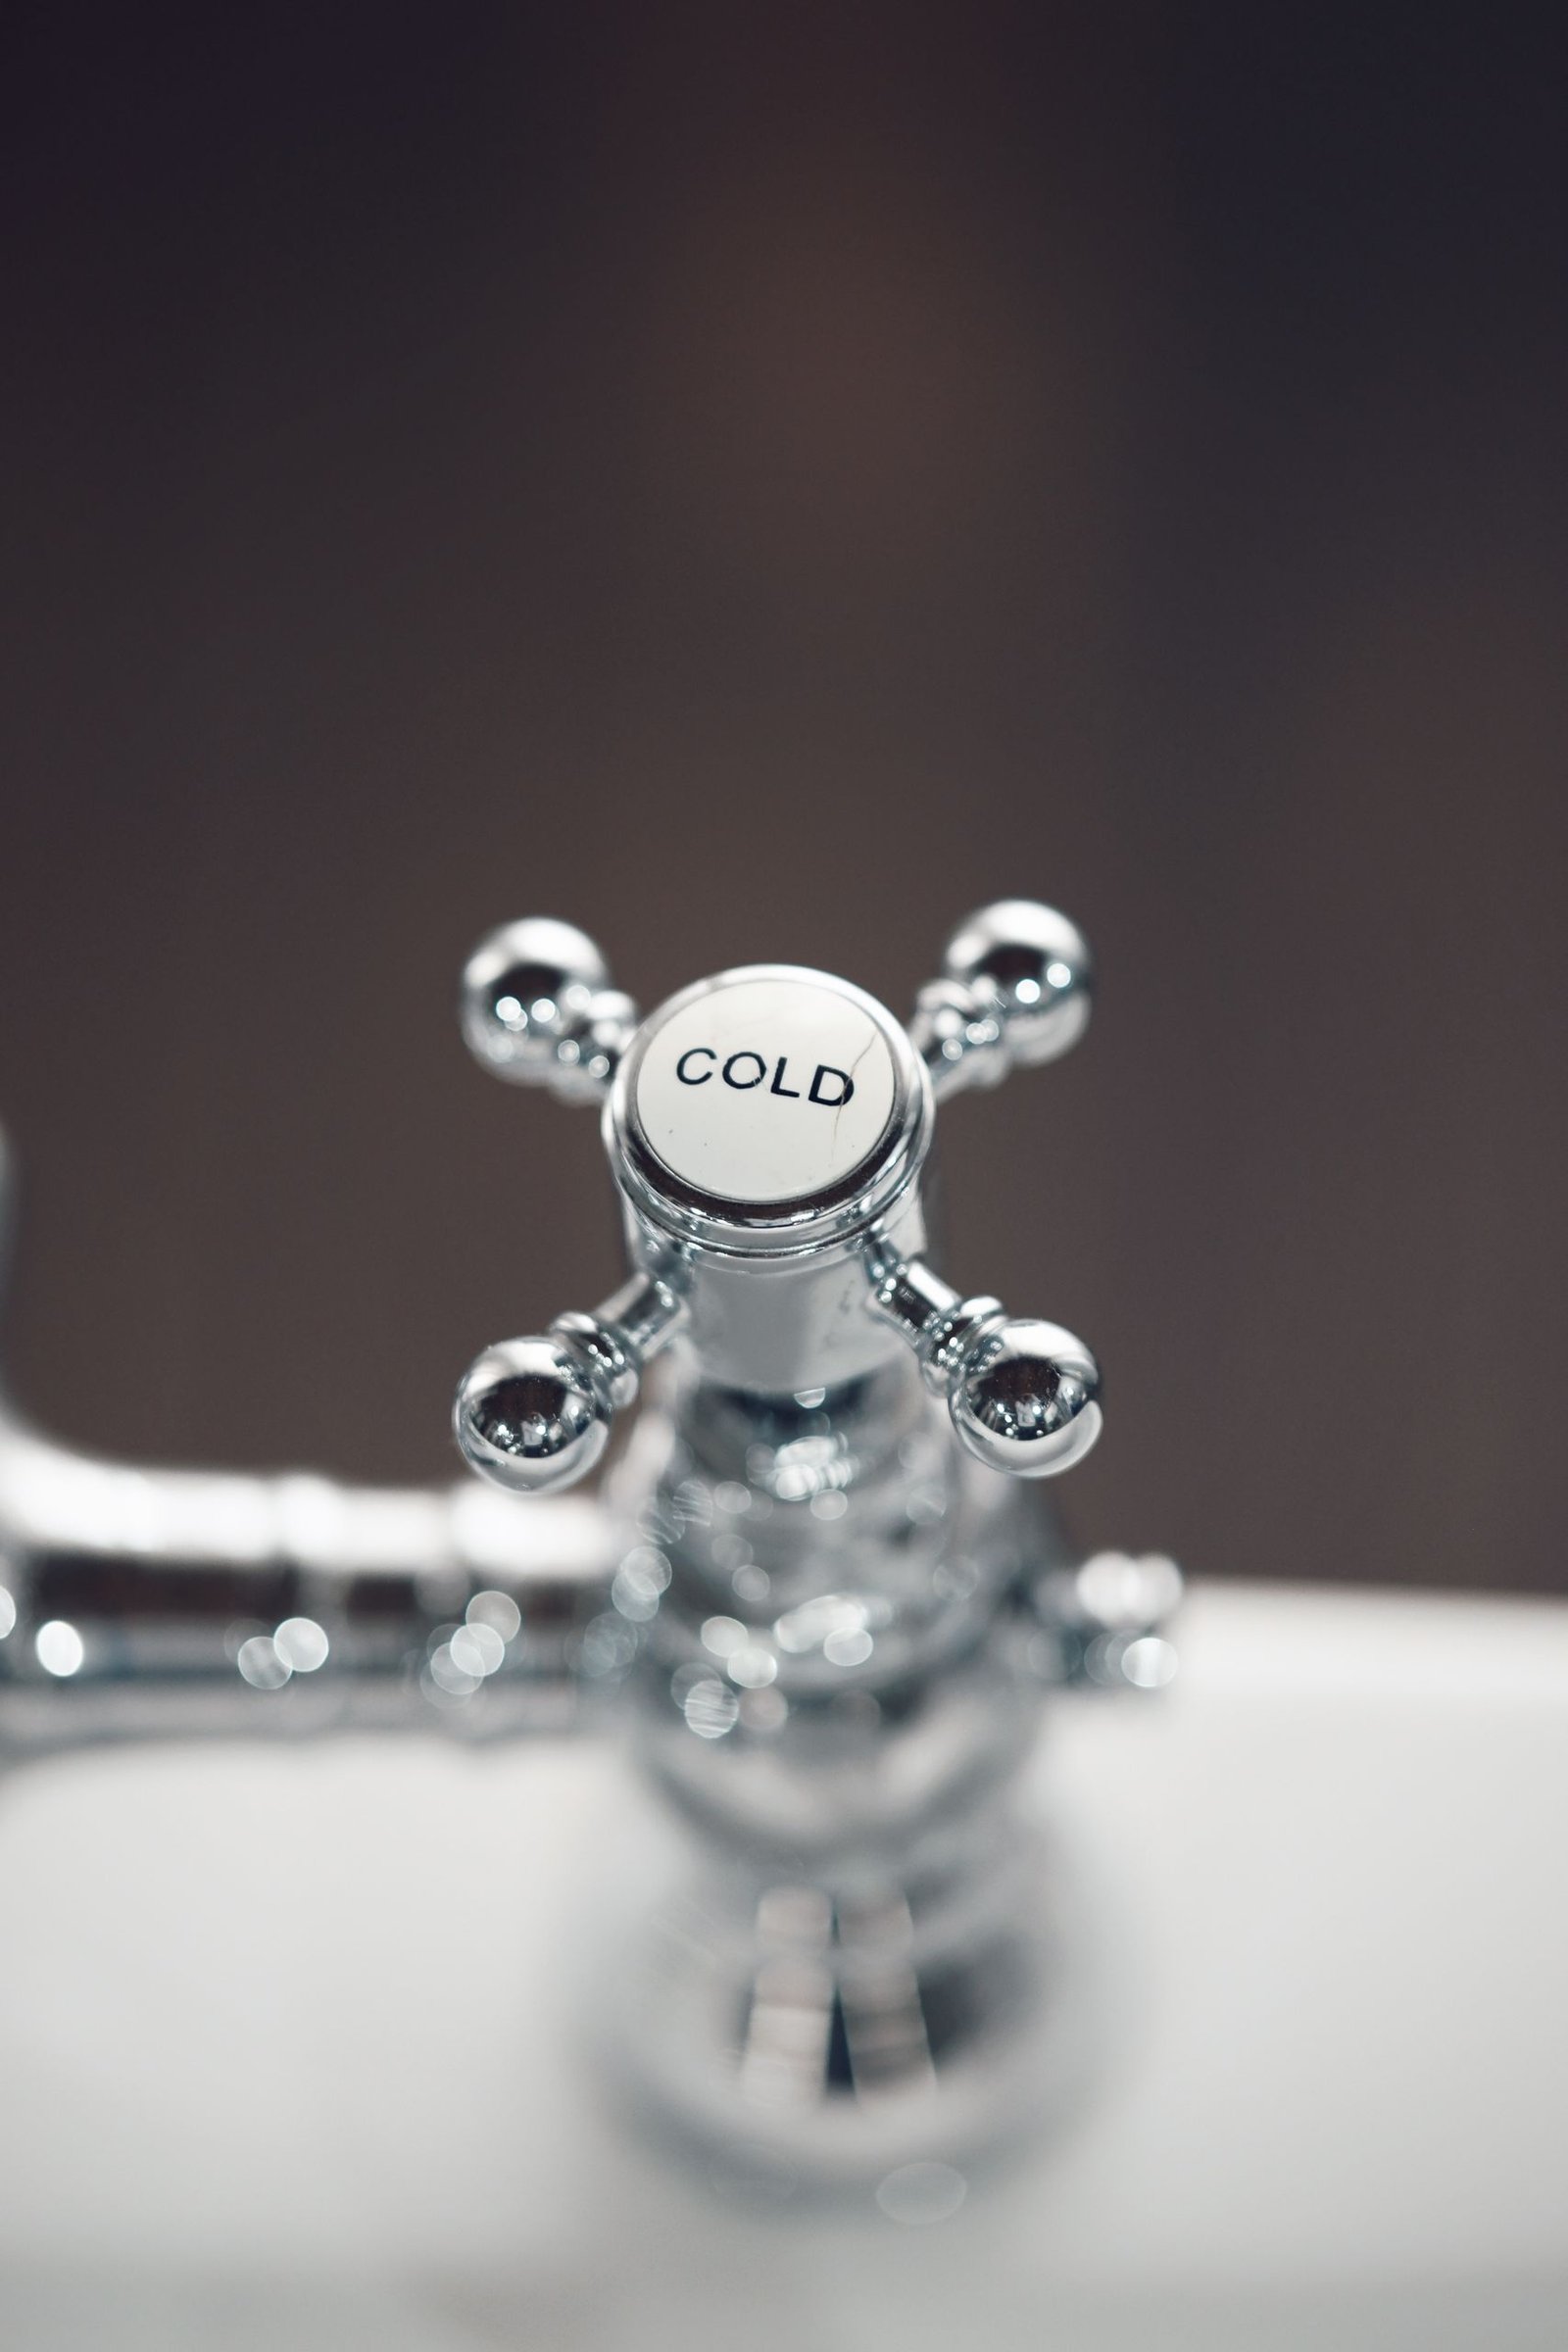
For grout, work the baking soda paste into the lines, leave it for 10–15 minutes, and scrub with an old toothbrush. For mouldy grout, 3% hydrogen peroxide for 10–15 minutes does the same job without bleaching coloured grout. Treat scuff marks on hard floors with a baking soda paste for 20–30 seconds, then wipe clean. Clean grout and a sparkling tap are the close-up details that convince the eye the whole room is clean.
Empty the bins, wipe them inside, and re-bag them. Wipe handles, switches and socket plates with a damp cloth — never sprayed directly — and put out fresh towels, a clean bath mat and a fresh tea towel. These last touches cost minutes and change the whole photograph.
Small Changes That Make a Big Difference
- Clear one surface completely, rather than tidying every surface a little.
- Clean the glass — windows, mirrors and shower screens — because light is what makes a room look clean.
- Polish the taps and shine the sink; small shiny details catch the eye in a photo.
- Put out fresh towels and a fresh tea towel; they signal a finished room instantly.
- Empty every bin and re-bag it; a full bin undermines an otherwise clean room.
- Let the room dry fully before the after photo — floors 20–30 minutes, bathroom ventilated 20–30 minutes.
What NOT to Do
- Do not fake the before photo. A staged before (extra mess added for drama) makes the after meaningless — and you will know it every time you look at it.
- Do not clean around clutter. Declutter first, every time. Cleaning a cluttered room just moves dust from one pile to another.
- Do not use the wrong cleaner for a quick win. Bleach on coloured grout, vinegar on marble, or an abrasive pad on a glass cooktop can cause permanent damage in seconds — and there is no after photo that fixes etching or scratches.
- Do not soak what should never be soaked. Mattresses, laminate and wood floors, and unwashable rugs must never be saturated. Damp cloths and blotting only.
- Do not skip drying. A floor left wet, a mattress remade while damp, or a bathroom shut up wet will smell musty within days and undo the transformation.
- Do not try to transform the whole house in one day. One room done properly beats five rooms done halfway. Photograph each room as you finish it, and let the progress build.
- Do not compare your after to a staged photo. Real homes have lived-in corners. A room that is 90% transformed and stays that way beats a perfect photo that lasts one afternoon.
Safety — Please Read First
- Never mix cleaners. Never mix bleach with vinegar, ammonia, or any other cleaner — the fumes are dangerous. Use one product at a time and rinse well between products. Never mix hydrogen peroxide with vinegar in the same bottle or solution.
- Never use vinegar, lemon, or acidic cleaners on natural stone (granite, marble, travertine, limestone) — acid etches stone permanently. Use a pH-neutral stone cleaner instead.
- Never spray cleaner directly onto switches, outlets, mirrors, or appliance controls. Spray the cloth, then wipe.
- Never pour boiling water into a cold porcelain toilet or onto an acrylic bath — thermal shock can crack porcelain and warp acrylic. Never spray cold water onto a hot glass cooktop — it can crack.
- Ladder safety: for high shelves, fan blades, or window tops, use a stable step ladder on a flat, dry floor — never a chair, a wobbly stool, or a stack of books. Keep both feet on the ladder, keep your hips within the frame, and never lean out sideways.
- Wear gloves for bleach, oven cleaner, drain products, and mould treatment, and ventilate the room — open a window or run the fan — whenever you use sprays or strong cleaners.
Your Before and After Cleaning Tick-Off Checklist
Tick each box as you finish the job. Print this page and keep it with your cleaning kit — or download the free printable below.
- ☐ Before photos taken — same angle, same light, room as found
- ☐ Same angle and height planned for after photos (doorway or same corner, chest height)
- ☐ Room decluttered clockwise from door — keep, donate, bin sorted
- ☐ Surfaces dusted high to low with a slightly damp microfibre cloth
- ☐ Kitchen counters cleared completely; appliances not used daily put away
- ☐ Hob and splashback degreased (soapy water, 5 minutes dwell; burnt spots with baking soda paste, 15 minutes)
- ☐ Oven deep-cleaned (baking soda paste overnight or at least 8 hours; door glass paste 30 minutes)
- ☐ Fridge fully emptied, shelves and drawers washed, inside wiped and rinsed, dried before restocking
- ☐ Kettle descaled (1:1 water and vinegar, boiled, 20–30 minutes dwell, rinsed)
- ☐ Sink scrubbed with baking soda (1/2 cup), stainless steel shined with vinegar on a cloth
- ☐ Bathroom spray applied first and left to dwell 10–15 minutes (shower, bath, toilet)
- ☐ Grout scrubbed with baking soda paste (10–15 minutes; mouldy grout with 3% peroxide, 10–15 minutes)
- ☐ Shower glass and tiles squeegeed dry after rinsing
- ☐ Showerhead descaled (1 cup vinegar + 1 cup water, 30–60 minutes soak or 1-hour bag method, flushed 1–2 minutes)
- ☐ Taps descaled (vinegar cloth wrap, 20–30 minutes) and polished dry
- ☐ Mirrors cleaned (spray on cloth, never on glass) and buffed streak-free
- ☐ Windows cleaned inside (spray on cloth, buffed dry) and blinds/curtains dusted or wiped
- ☐ Sofa and cushions vacuumed, including under cushions and along seams
- ☐ Rug marks spot-cleaned by blotting (1 teaspoon dish soap per 1 cup cool water, outside inward)
- ☐ Bed stripped, sheets washed (30–40°C), mattress aired 30–60 minutes
- ☐ Mattress vacuumed and deodorised (1 cup baking soda, 4–8 hours, vacuumed thoroughly)
- ☐ Bedroom surfaces cleared, wiped, and dried immediately; only belonging items put back
- ☐ Floors vacuumed slowly in both directions, including edges and under furniture
- ☐ Hard floors mopped in sections and dried straight away (never soaked, never steam on laminate/wood)
- ☐ Scuff marks treated with baking soda paste (20–30 seconds)
- ☐ Fresh towels, clean bath mat, and fresh tea towel put out
- ☐ Handles, switches, and socket plates wiped (damp cloth, never sprayed directly)
- ☐ Bins emptied, wiped inside, and re-bagged
- ☐ Room left to dry fully (floors 20–30 minutes, bathroom ventilated 20–30 minutes)
- ☐ After photos taken — same angle, same light, room fully dry, honestly unstaged
- ☐ No cleaners mixed; no vinegar used on natural stone; nothing soaked that should not be soaked; step ladder used safely
Download Your Free Printable Checklist
Get the full before-and-after cleaning checklist as a print-friendly PDF, ready to keep with your cleaning kit.
PDF • Print-friendly
Looking for more free printables? See all free printables on our Cleaning Resources page.